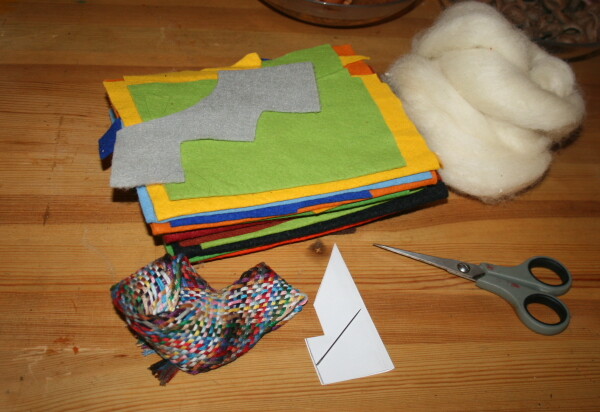
Gnomi di pannolenci – materiale occorrente
Servono dei ritagli di feltro o pannolenci (ma va bene anche qualsiasi altro tessuto se abbastanza consistente), della lana bianca (oppure ovatta), e filo da ricamo.
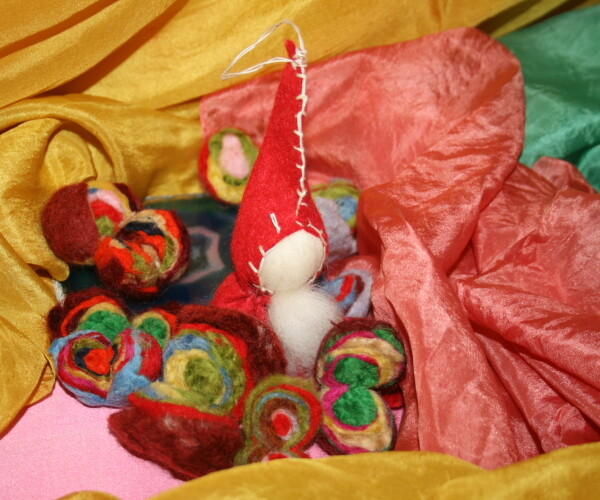
Puoi scaricare il cartamodello qui:
Gnomi di pannolenci – come si fanno
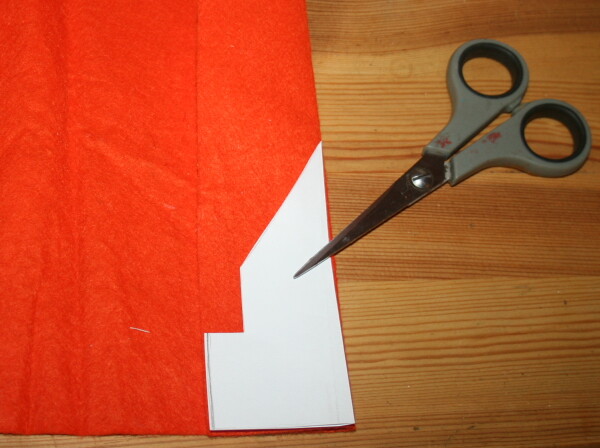
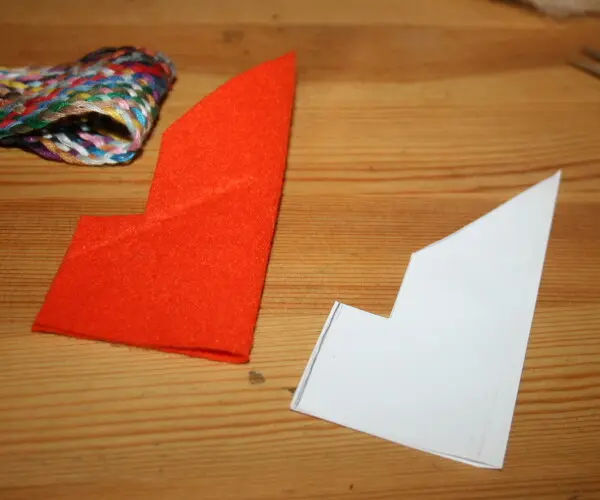
Per prima cosa ritaglia il tessuto, tenuto a doppio, seguendo il cartamodello:
Poi cuci il cappuccio a doppio, così:
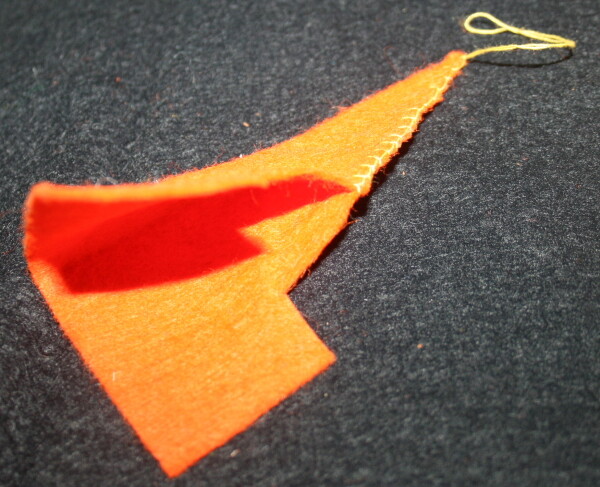
Per spiegare ai bambini il punto festone, mostra che l’ago fa infilato da dietro verso il davanti:
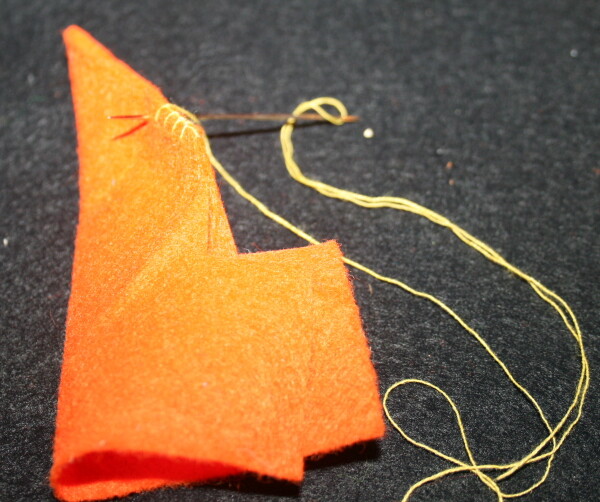
poi bisogna tirare il filo ma non completamente, in modo che resti un piccolo cappio:
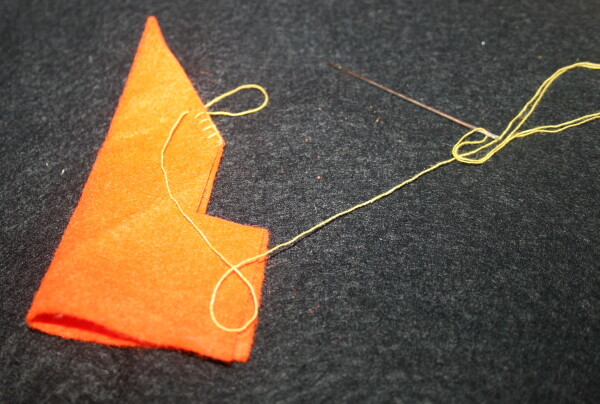
poi, sempre da dietro verso il davanti si infila l’ago nel cappio:
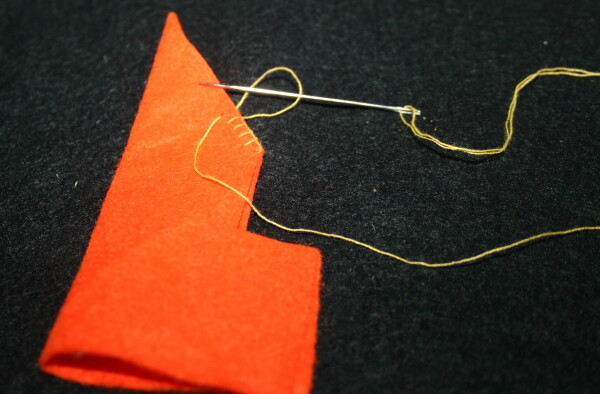
e si tira, così:
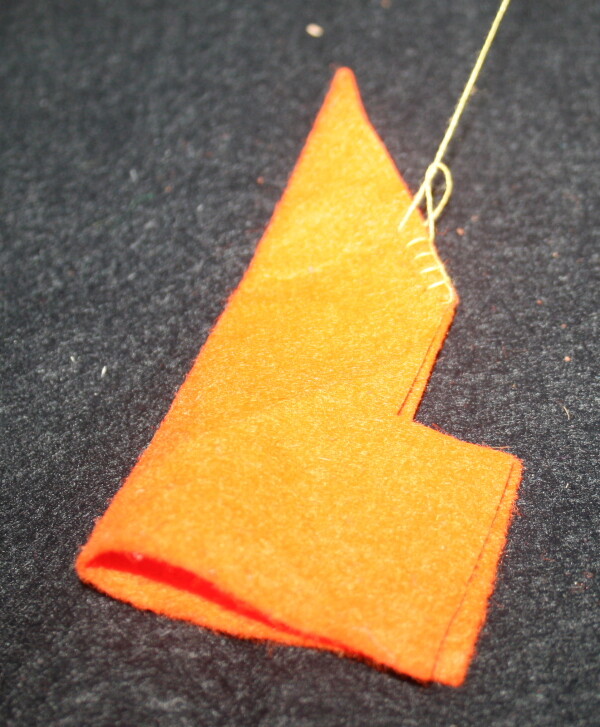
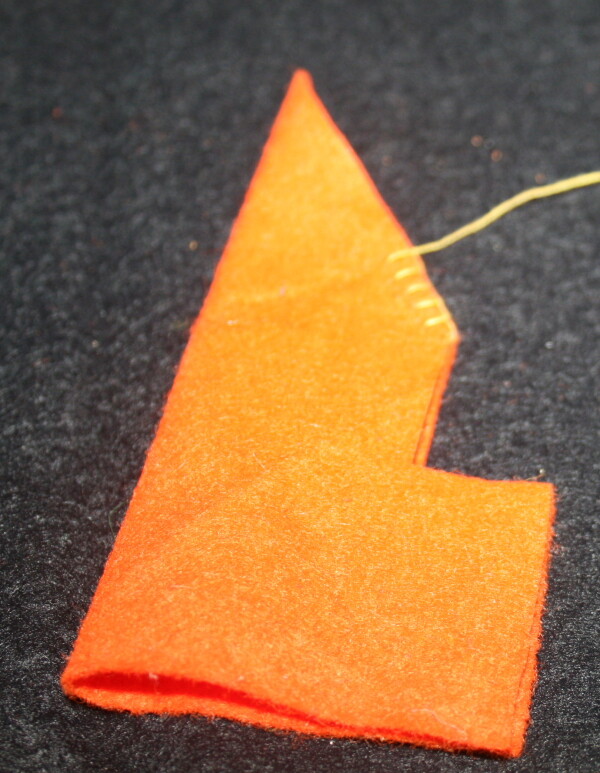
Dopo aver cucito il cappuccio, si passa a fare un’arricciatura come mostrato nelle foto (ai bambini si può tracciare il percorso con del gesso):
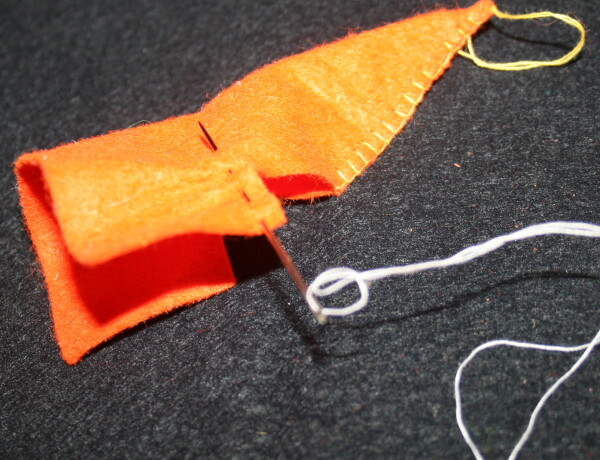
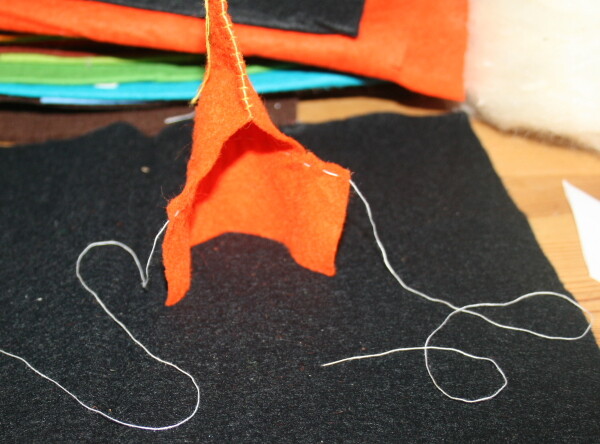
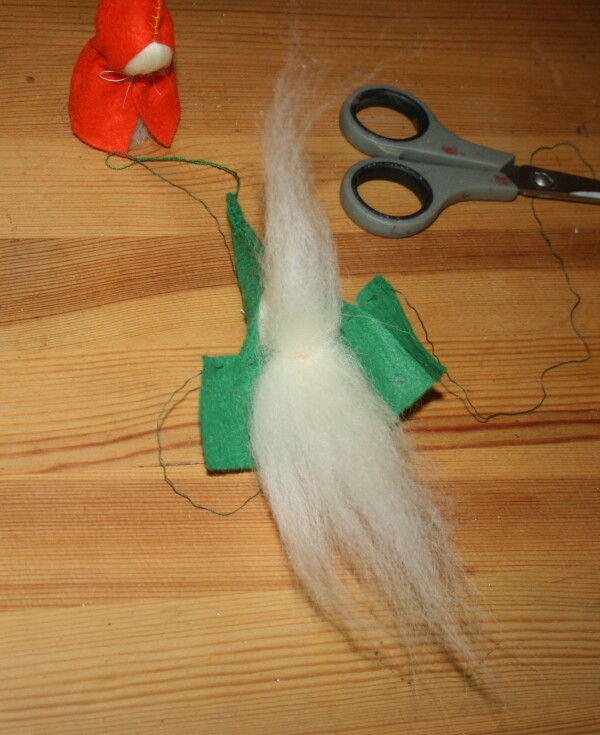
Ora prendiamo una falda di lana e facciamo un nodo al centro:
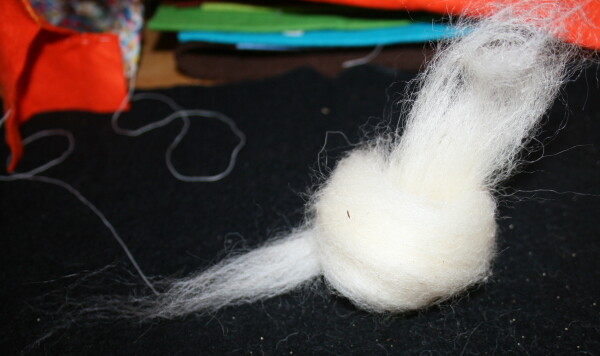
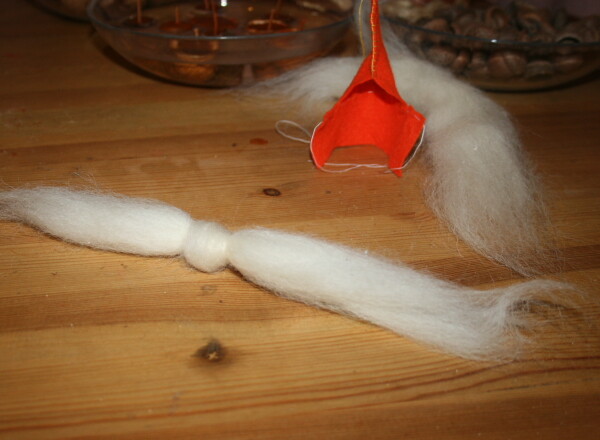
Dividiamo in due una delle estremità e rivoltiamole sul nodo, in modo da rivestirlo, quindi stringiamo con un po’ di lana intorno al “collo”, e inseriamo la testina nel cappuccio:
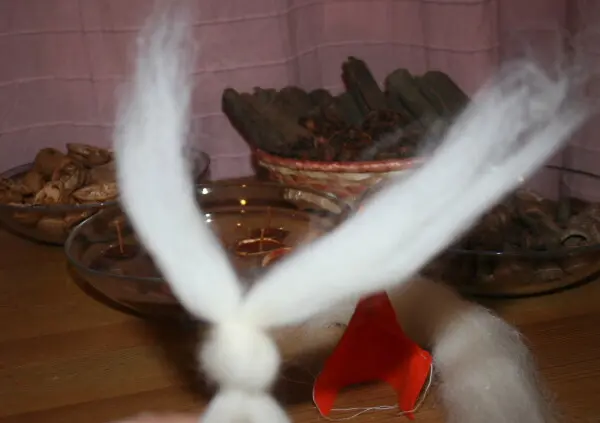
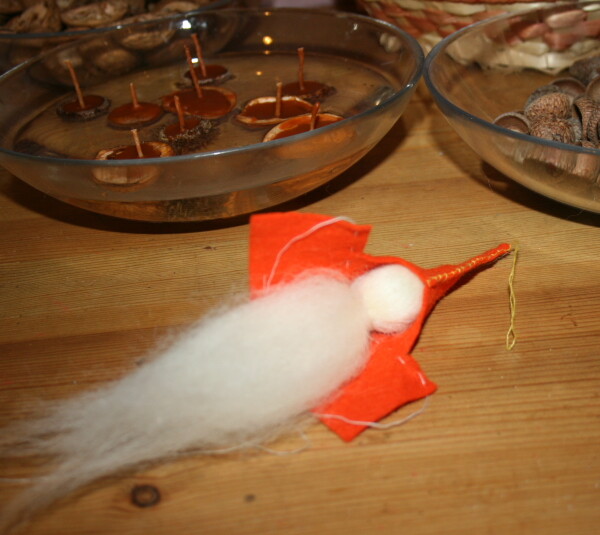
Utilizzando il filo rimasto libero arricciamo e facciamo un bel fiocchetto, quindi tagliamo la lana eccedente:
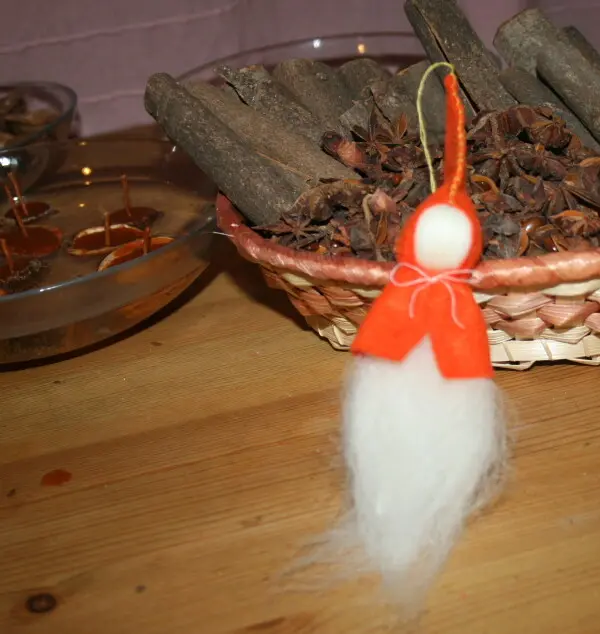
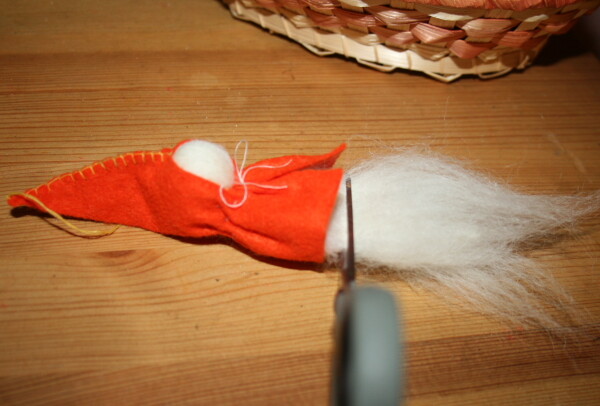
Se vogliamo che il nostro gnomo abbia la barba, basta sollevare un ciuffetto di lana lasciandola fuori dall’arricciatura, così:
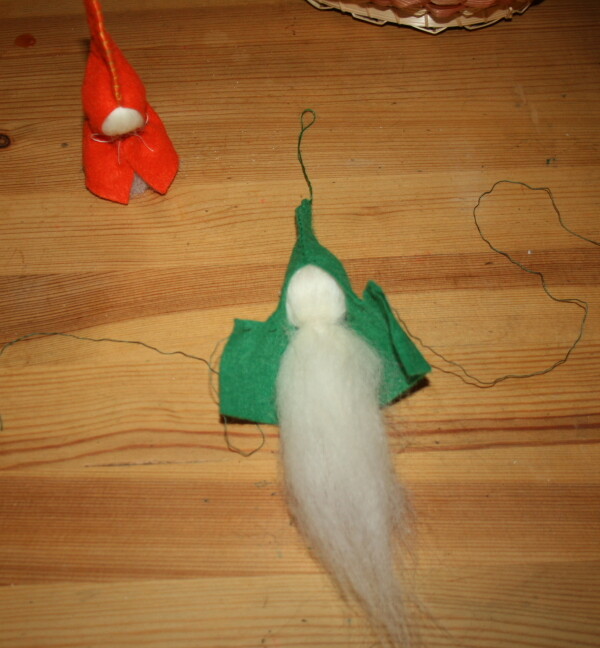
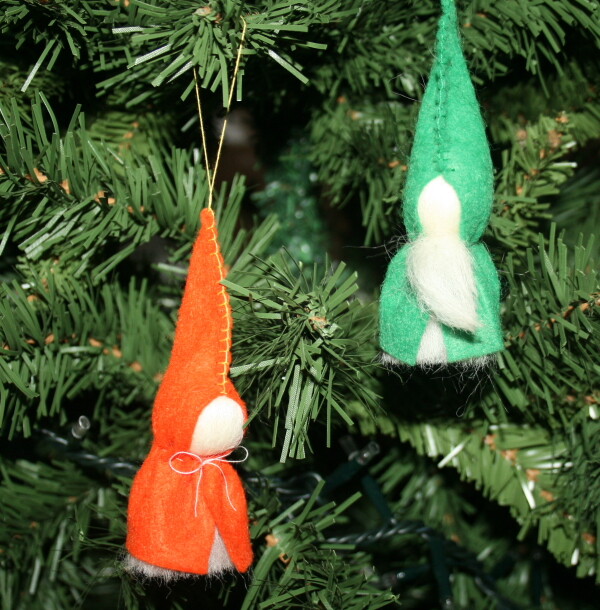
Con questi gnometti di panno si può decorare l’albero, si possono preparare dei mobiles o dei festoni colorati, e naturalmente giocare…
Qui ho trovato anche una bella idea per un regalo da fare a mano:
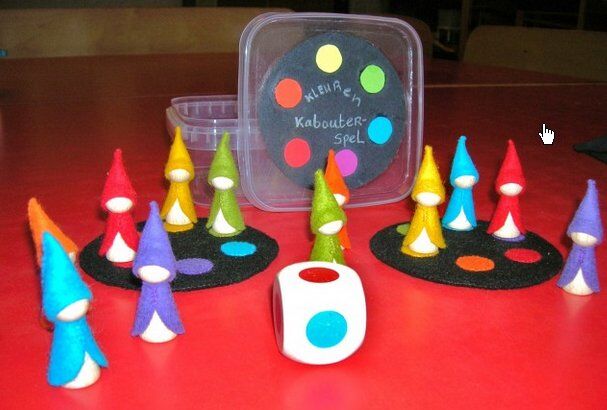
http://www.atelierpippilotta.nl/
Si preparano due tappetini neri con dei cerchietti colorati: i colori corrispondono a quelli segnati dal dado e naturalmente per ogni colore ci saranno due gnometti. I bambini lanciano il dado e posizionano lo gnomo del colore indicato sul loro tappetino, a turno. Se esce il colore di uno gnomo che era già uscito, il dado passa all’altro bambino e vince chi per primo riesce a completare il tappetino.
