Fare libretti coi bambini: progetti davvero semplicissimi per ottenere un libretto utilizzando un solo foglio. Il progetto può essere utile anche se si vuole stampare un testo e poi piegarlo. Mini libretti bellissimi possono essere ottenuti dalla piegatura di pitture ad acquarello.
Fare libretti coi bambini – Libretto a 6 pagine
Materiale occorrente
un foglio di carta (io ho usato un foglio A4
forbici o taglierino
eventualmente colla
Come si fa
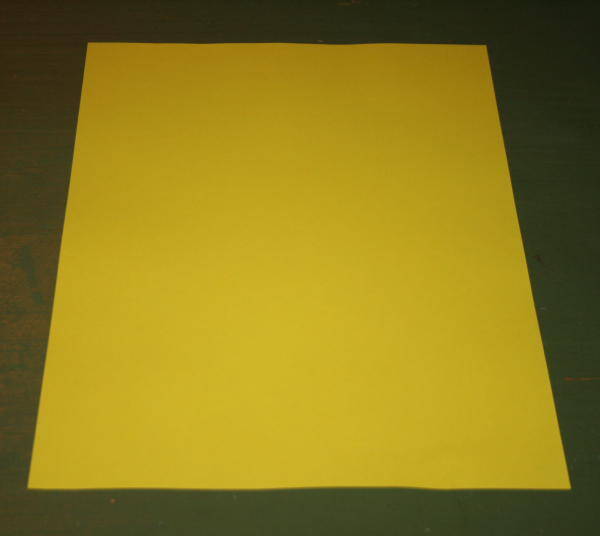
Posizionate il foglio sul tavolo come nell’immagine:
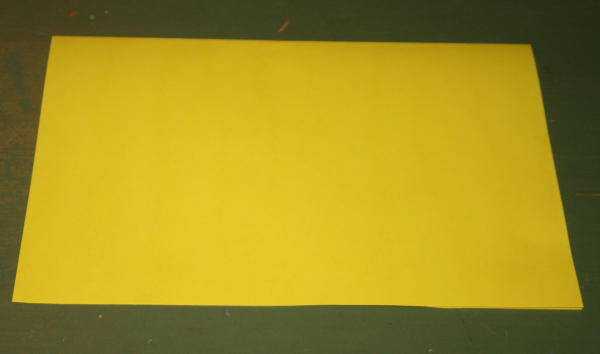
piegate il foglio a metà:
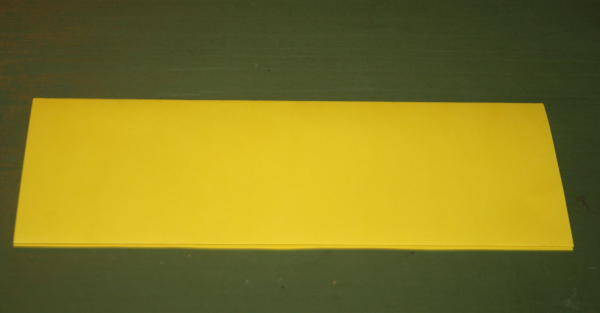
e poi piegate un’altra volta così:
ora piegate a metà, ma questa volta sovrapponendo da sinistra a destra:
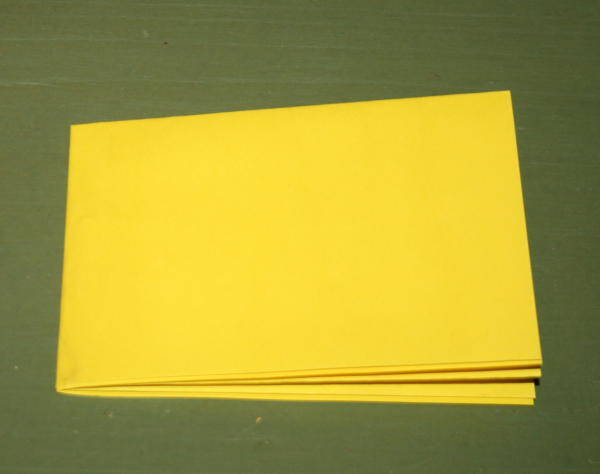
Ora aprite il foglio così:
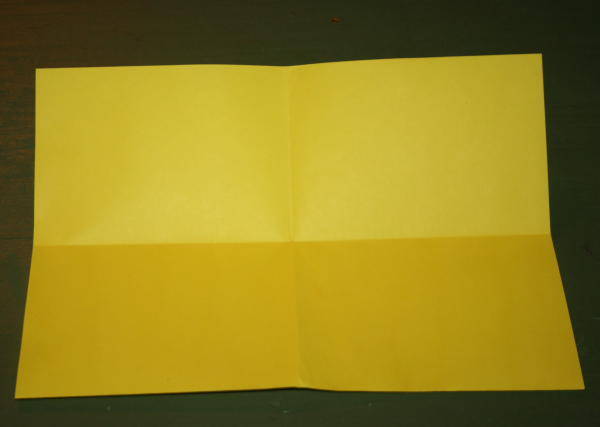
e tagliate:
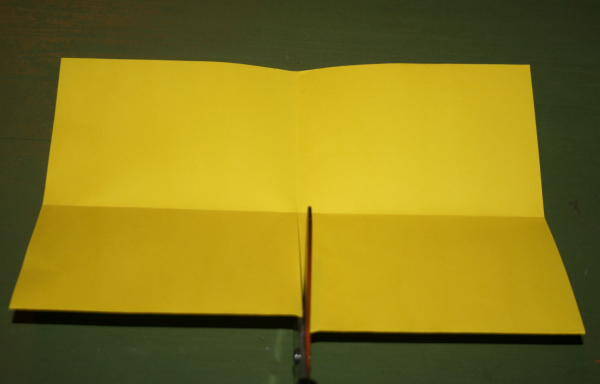
aprite tutto il foglio:
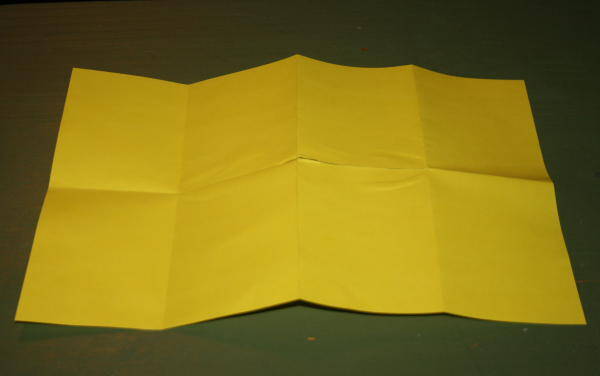
e ripiegatelo nuovamente, ma così:
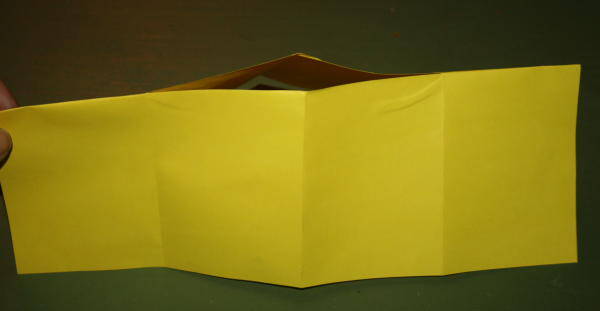
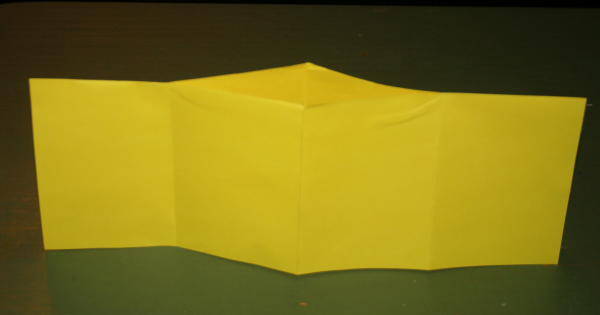
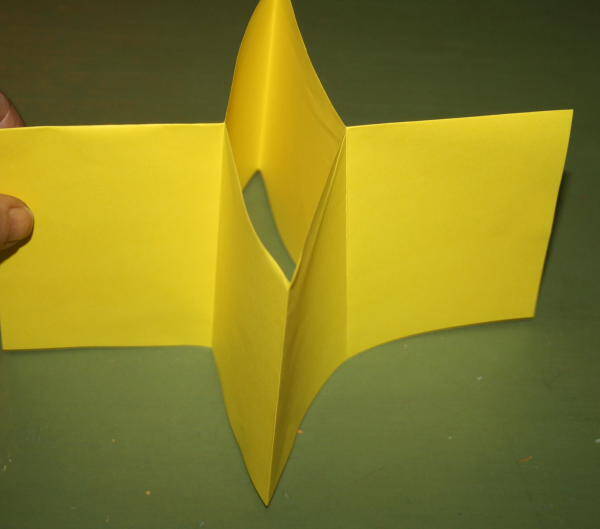
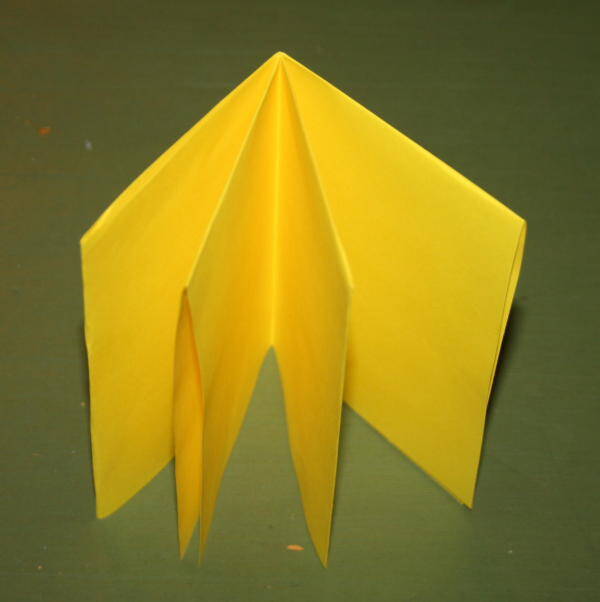
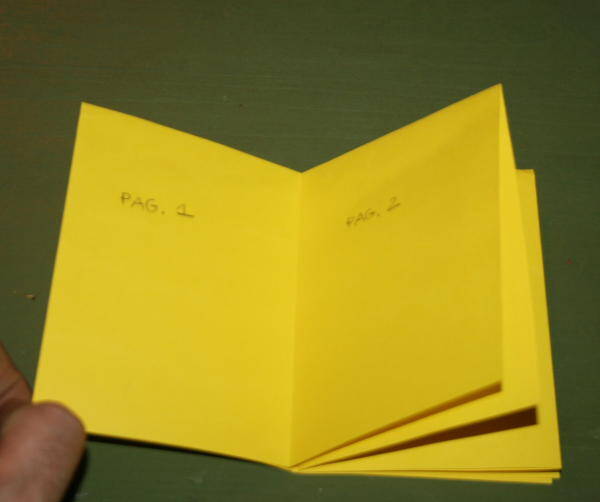
Il libretto è pronto. Se preferite potete incollare tra loro le pagine doppie, ma non è indispensabile…
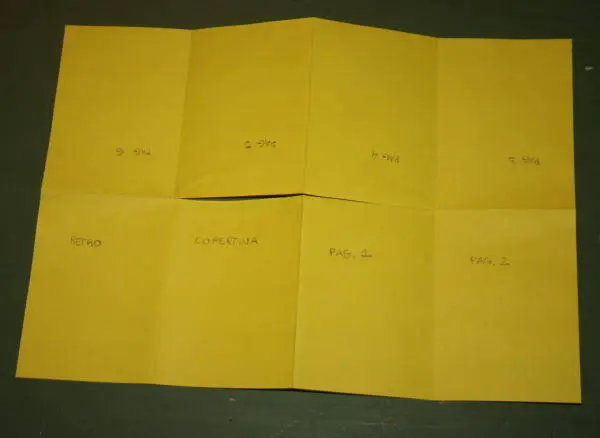
Questo è lo schema che può essere utile per la stampa:
Fare libretti coi bambini – Libretto a 16 pagine
Materiale occorrente
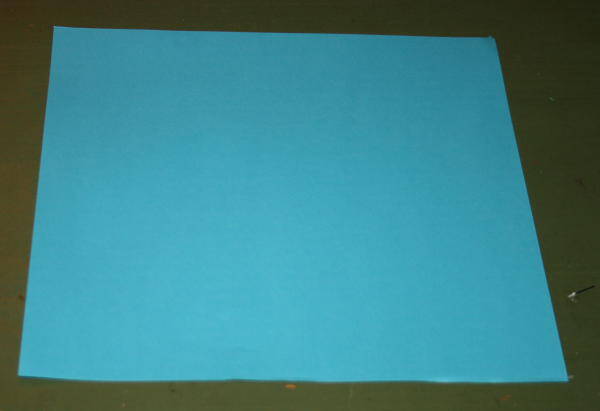
un foglio quadrato (io l’ho ricavato da un foglio A4)
forbici o taglierino
colla da carta
Come si fa
Piegate il quadrato di carta in modo da dividerlo in 16 quadretti:
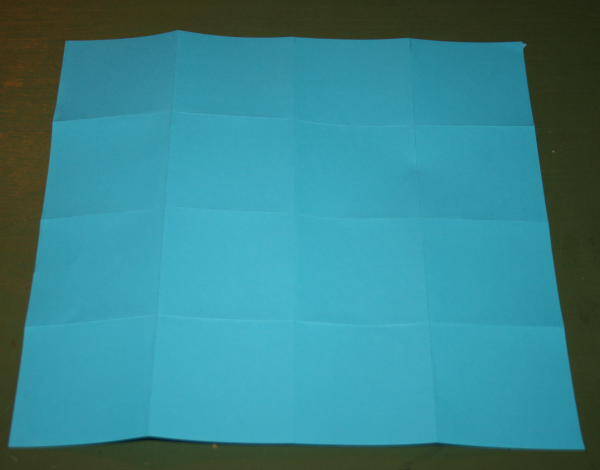
tracciate queste linee:
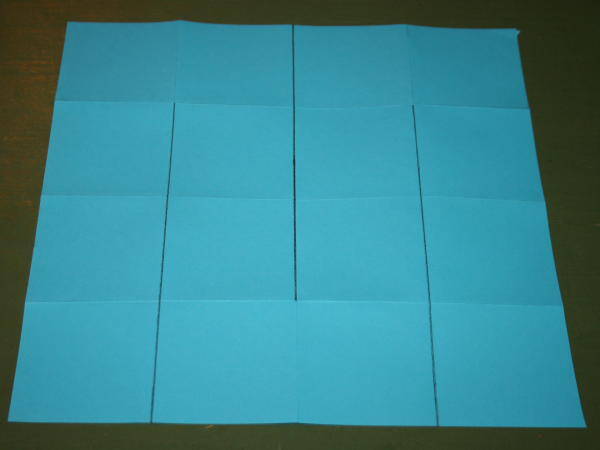
e tagliate:
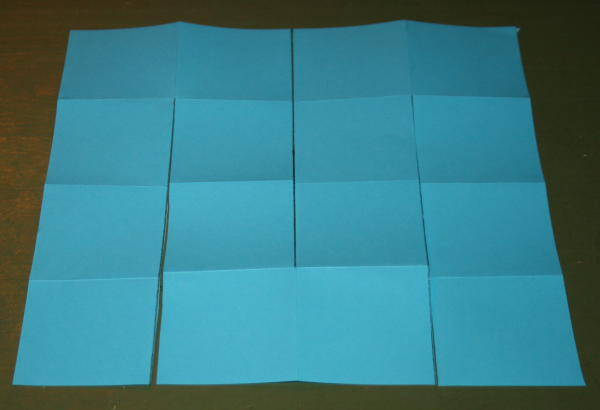
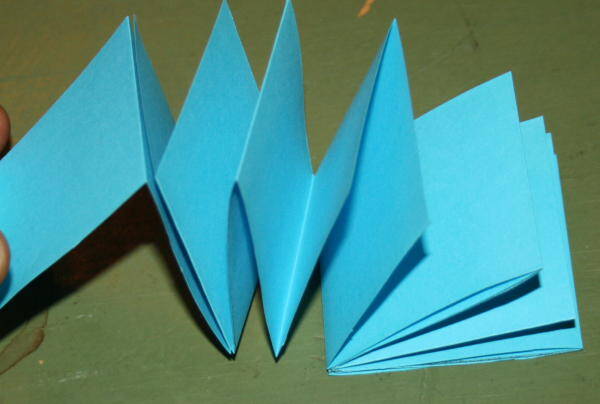
Ora bisogna solo ripiegare i quadretti partendo dal primo a destra e procedendo come nelle immagini seguenti, piegandoli sempre una volta sopra il foglio, e la volta successiva sotto:
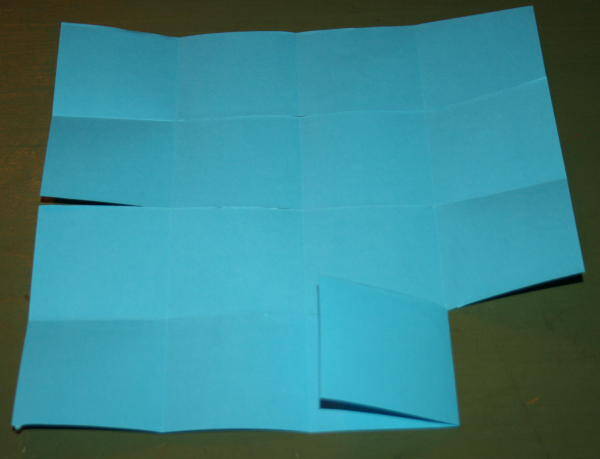
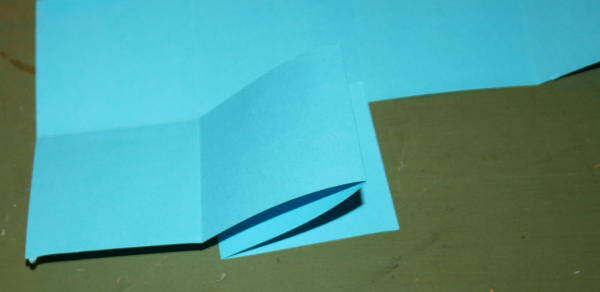
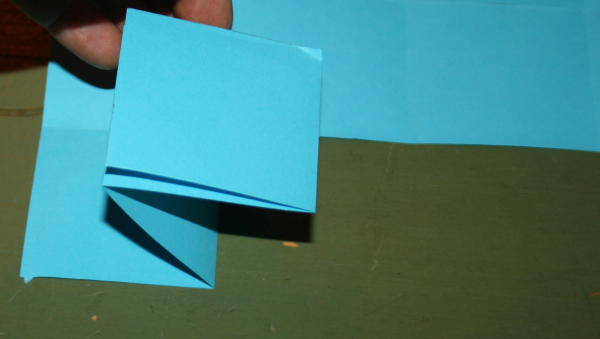
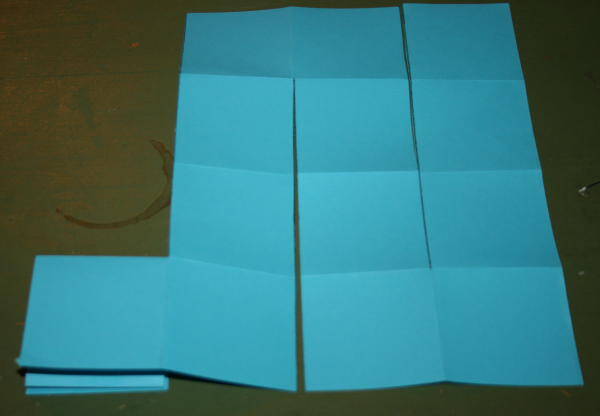
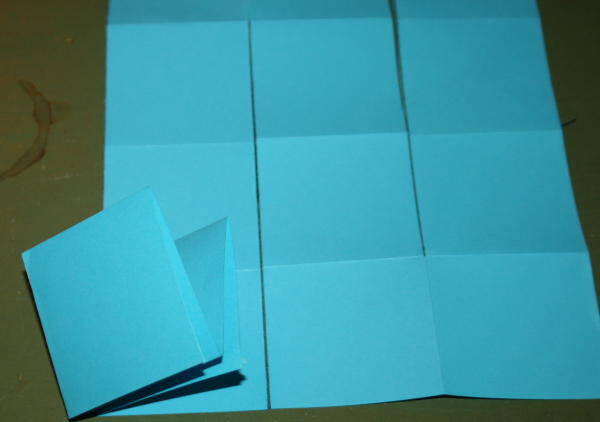
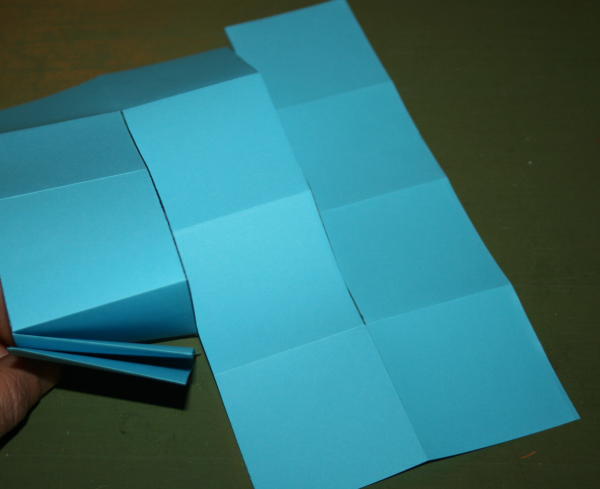
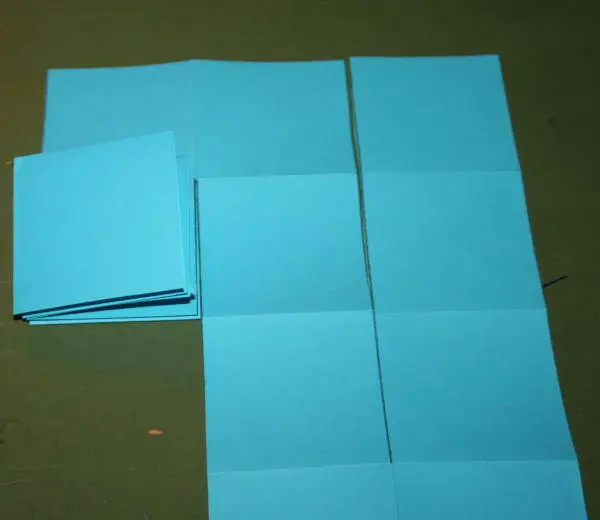
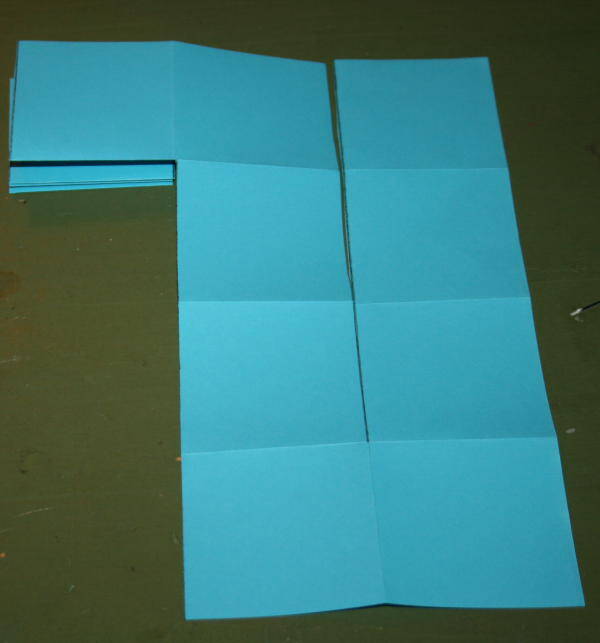
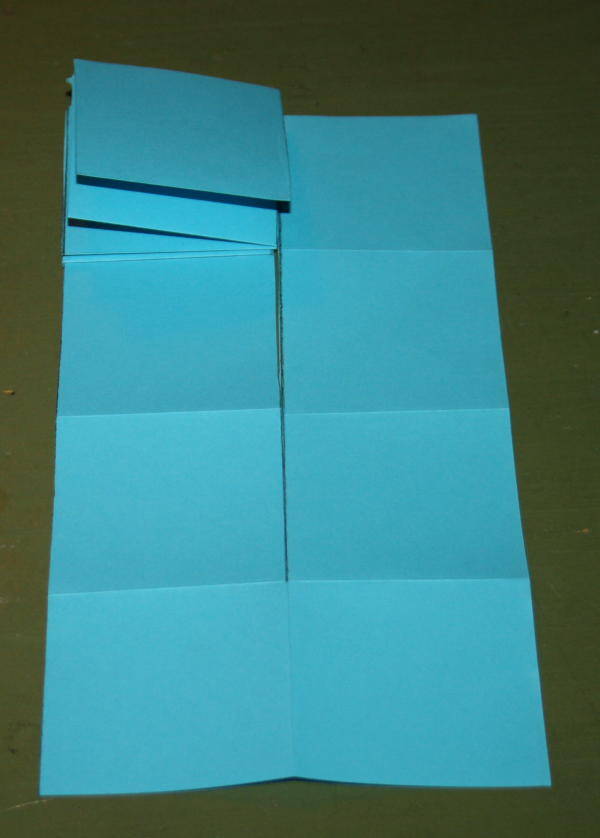
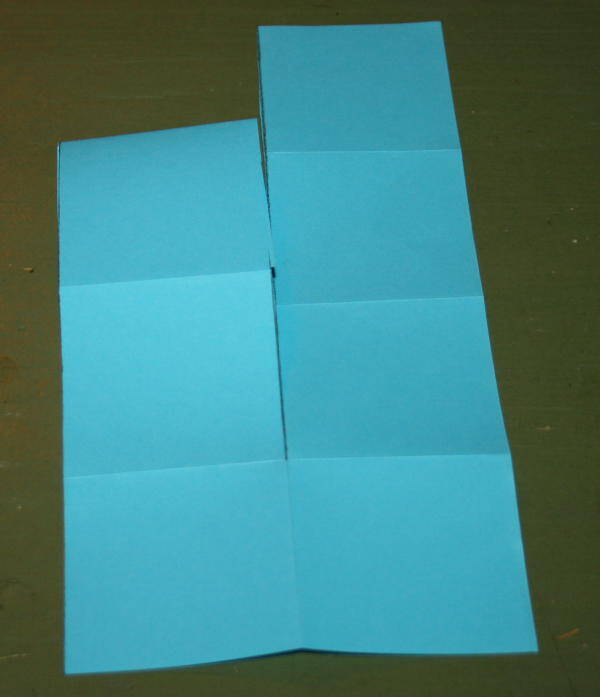
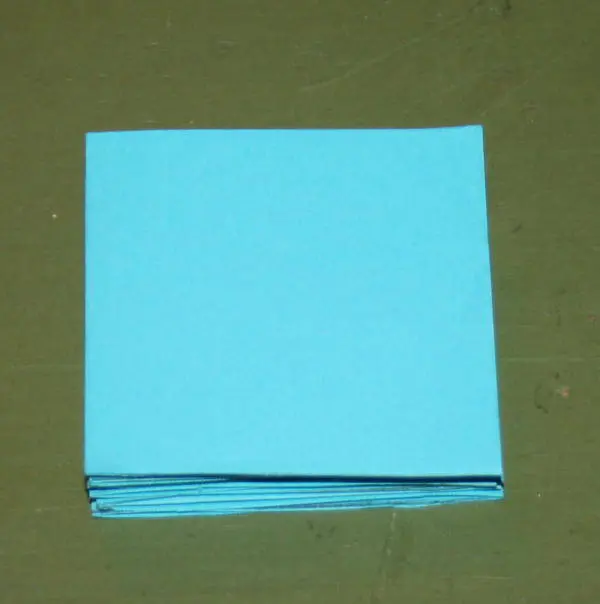
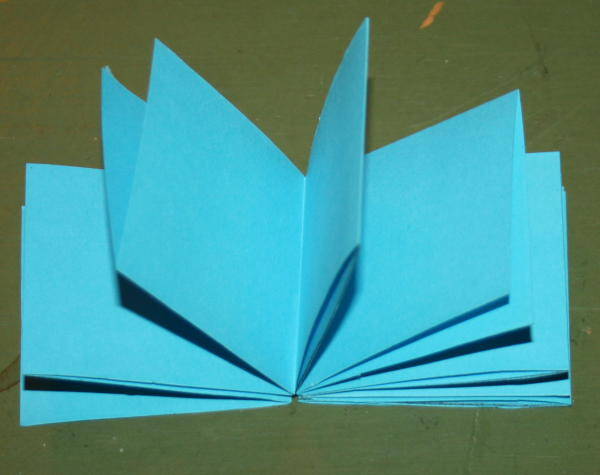
Questo è il risultato delle varie piegature:
Per dare compattezza al libretto, è consigliabile incollare tra loro le pagine doppie:
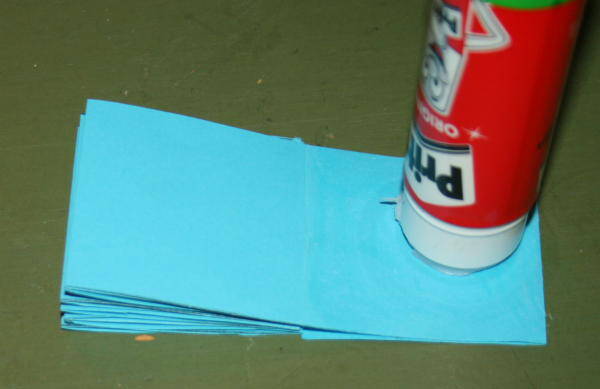
Questo il risultato finale:
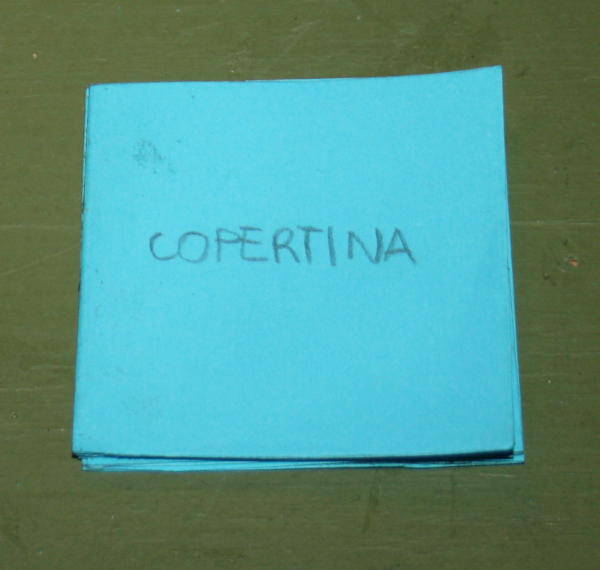
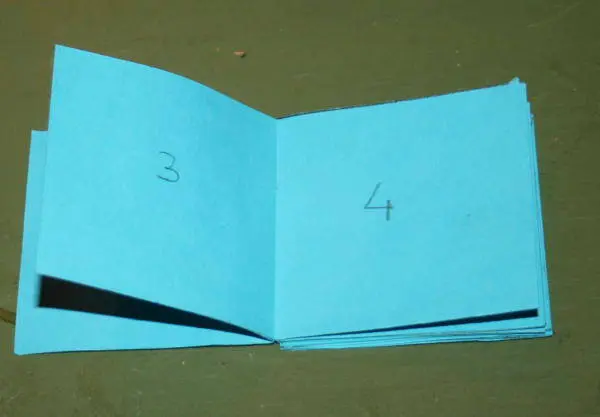
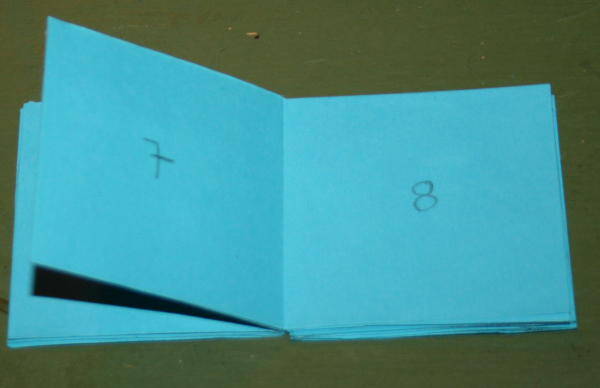
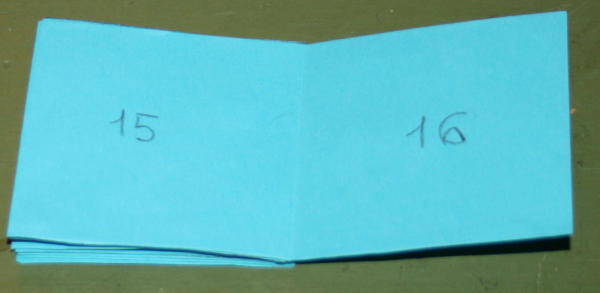
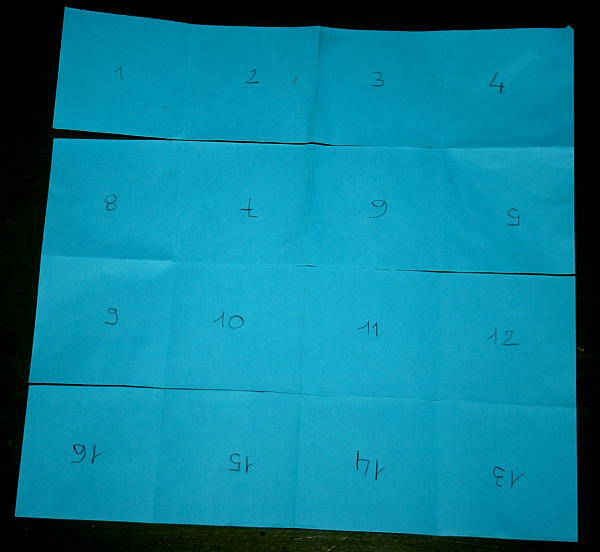
Questo è lo schema da seguire per la stampa:
Questo articolo fa parte dell’Album di Vita pratica:

Simple booklets from a single sheet tutorial: projects really simple to get a book using a single sheet of paper. The project can also be useful if you want to print a text and then fold. Beautiful mini booklets can be obtained by the folding of watercolor paintings.
Simple booklets from a single sheet tutorial
Book at 6 pages
What do you need?
a sheet of paper (I used an A4 sheet)
scissors or cutter
possibly glue
What to do?
Place the paper on the table as in the image:

fold the paper in half:

and then fold again so:

Now fold in half, but this time by overlapping from left to right:

Now open the sheet as follows:

and cut:

open all over the sheet:

and fold it again, but in this way:


The booklet is ready. If you prefer you can glue the double pages, but it is not essential …

This is the pattern that can be useful for printing:

Simple booklets from a single sheet tutorial
Book at 16 pages
What do you need?
a square sheet (I have obtained from an A4 sheet)
scissors or cutter
Glue for paper

What to do?
Fold the square of paper in order to divide it into 16 squares:

draw these lines:

and cut:

Now we just fold the squares from the first to the right and proceeding as in the following images,
folding them once over the paper, and the next time below:


This is the result of the various folds:


To give firmness to the bookletit is advisable to glue the double pages:

This is the final result:


This is the pattern to follow for printing:


