Insegniamo ai bambini con apparecchio ortodontico a curare la propria igiene dentale. Questo progetto è adatto a bambini di quarta quinta classe di scuola primaria ed oltre, può essere realizzato in autonomia e si lega allo studio del corpo umano.
Servono:
– uno schema delle arcate dentali superiore e inferiore
– play dough rosso e bianco
– due pezzi di cartoncino spesso (o plastica) rosso
– fil di ferro sottile
– carta stagnola
– una vernice trasparente tipo flatting o vernidas
Come procedere
Preparare un ovale con la pasta rossa, quindi dividerla a metà
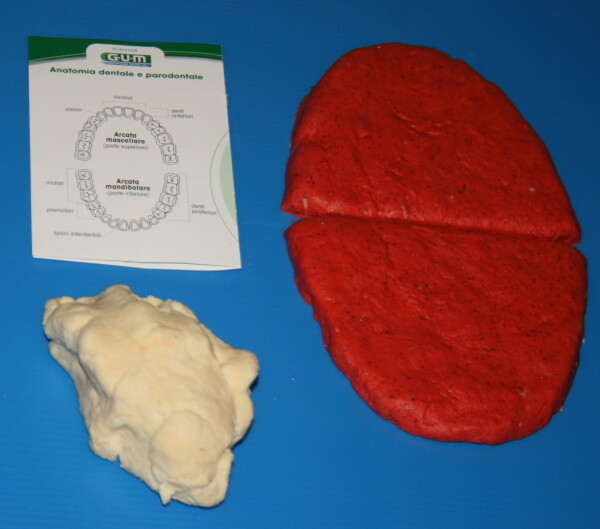
Per ognuna delle metà ritagliare una sagoma di plastica o cartone rosso che faccia da supporto, poi, seguendo lo schema delle arcate dentali, modellare i denti ed incastrarli bene nella base. Per i molari basta modellare un abbozzo di cubo ed incidere una croce con un coltellino:
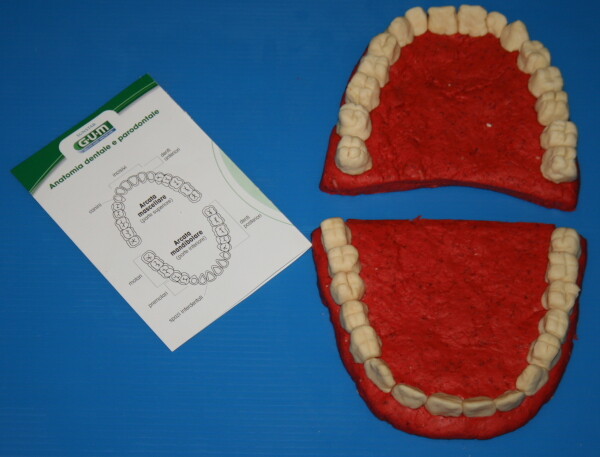
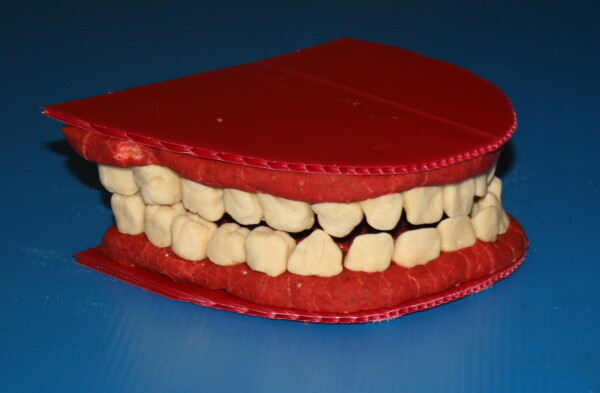
Far asciugare perfettamente; una volta indurito il modello può essere sovrapposto così:
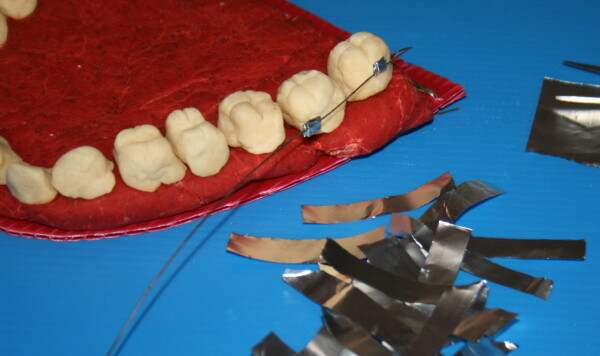
Se il bambino porta l’apparecchio ortodontico, può riprodurlo su almeno una delle arcate utilizzando fil di ferro sottile e carta stagnola:
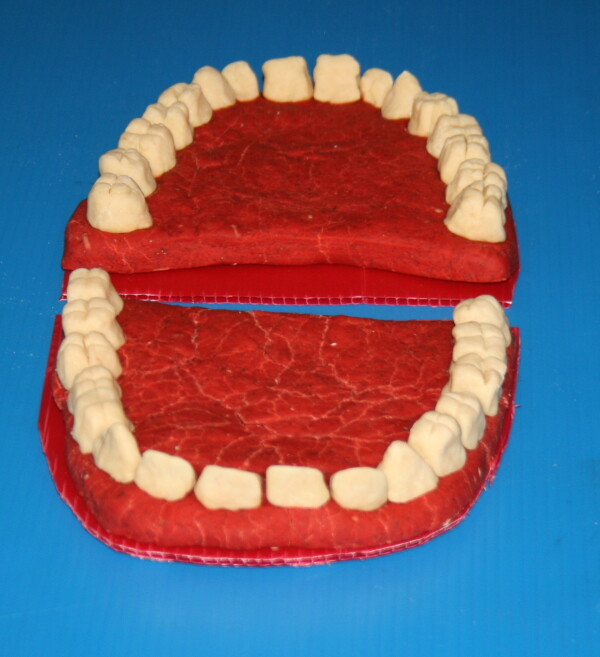
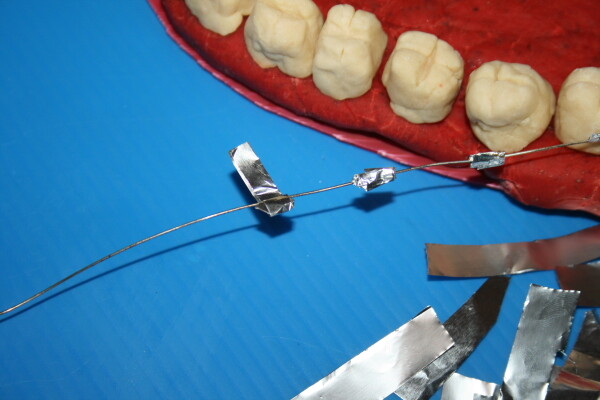
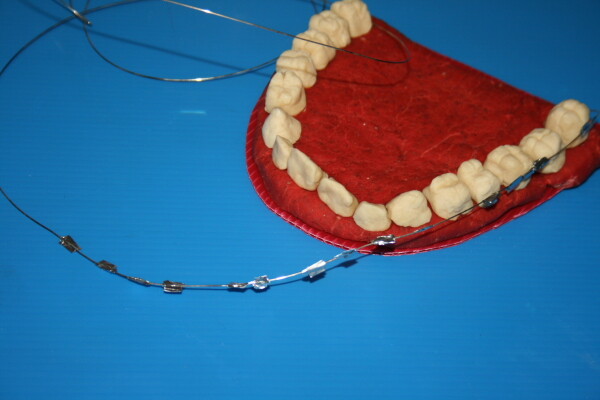
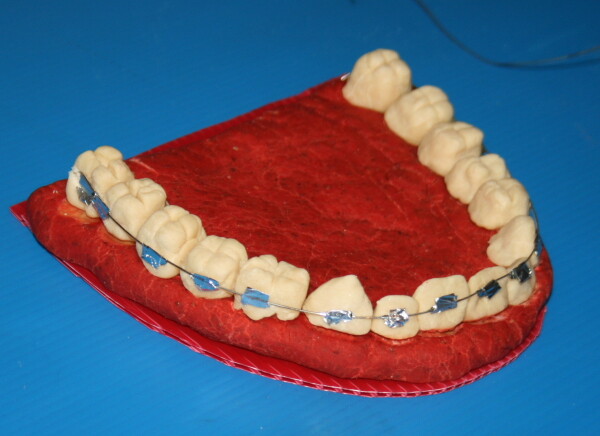
Rivestire il tutto con abbondanti pennellate di vernice trasparente, e far asciugare perfettamente. Il modello è pronto.
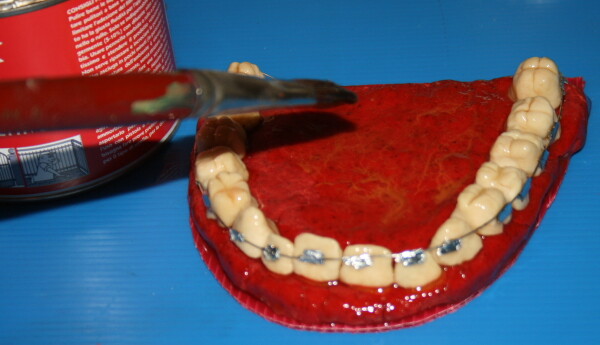
Attività di igiene orale con o senza apparecchio ortodontico
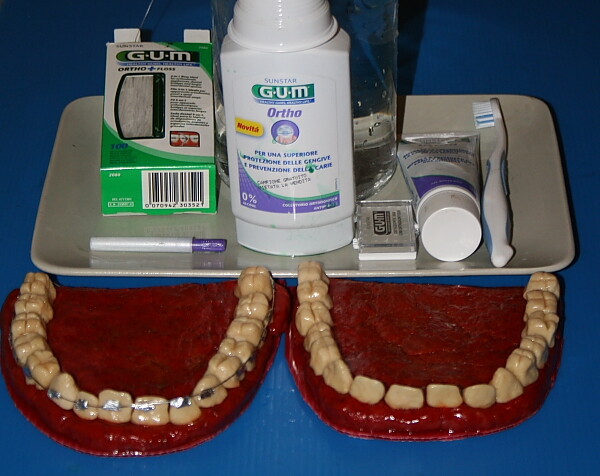
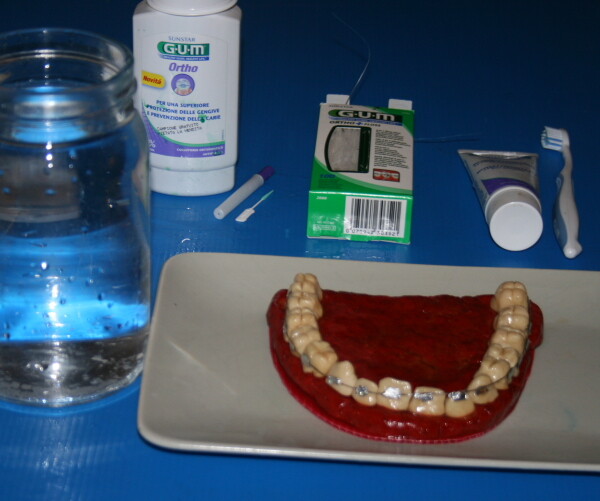
Il bambino prepara un vassoio con spazzolino, dentifricio, filo interdentale, scovolini, collutorio e un vaso d’acqua, e magari un timer, poi dispone il modello e il materiale ad esempio così:
Sporca il modello con acquarelli e pezzetti di carta negli spazi interdentali e anche tra dente e apparecchio.
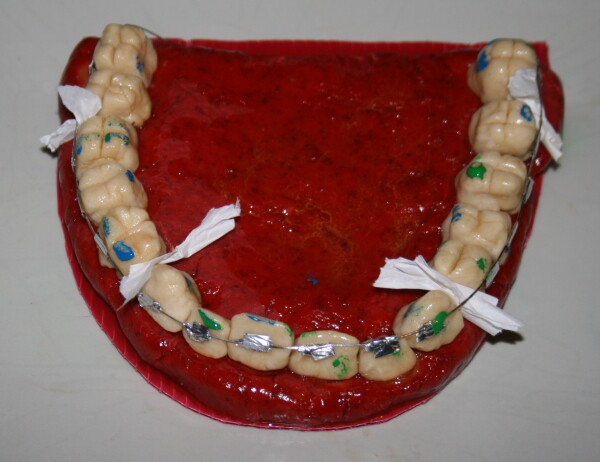
Quindi procede, cominciando con lo spazzolare bene i denti con spazzolino e dentifricio, e acqua tutte le volte che occorre.
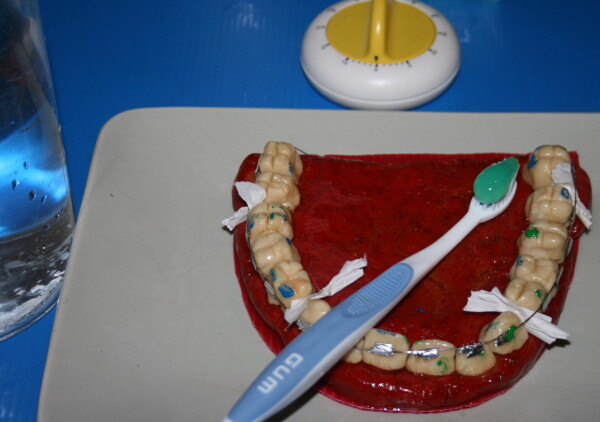
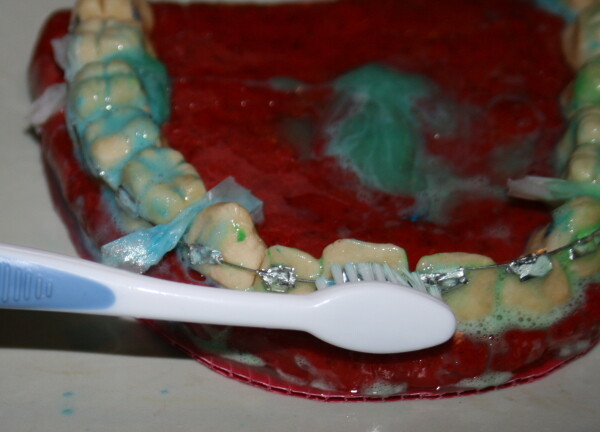
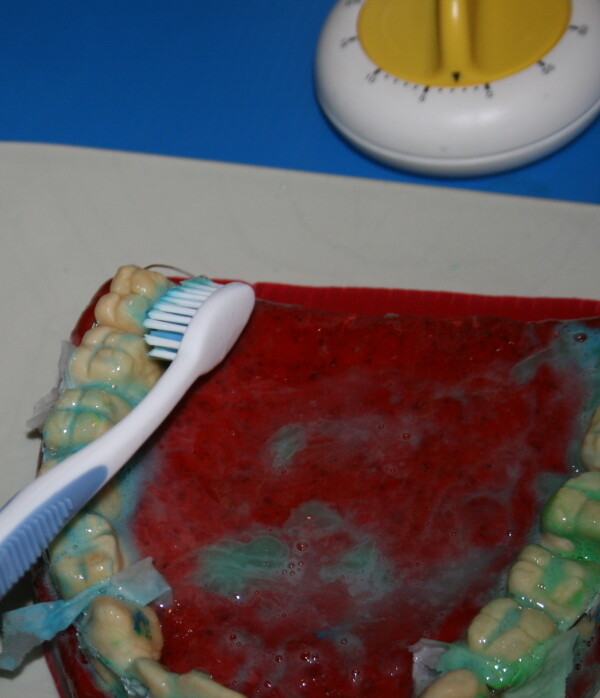
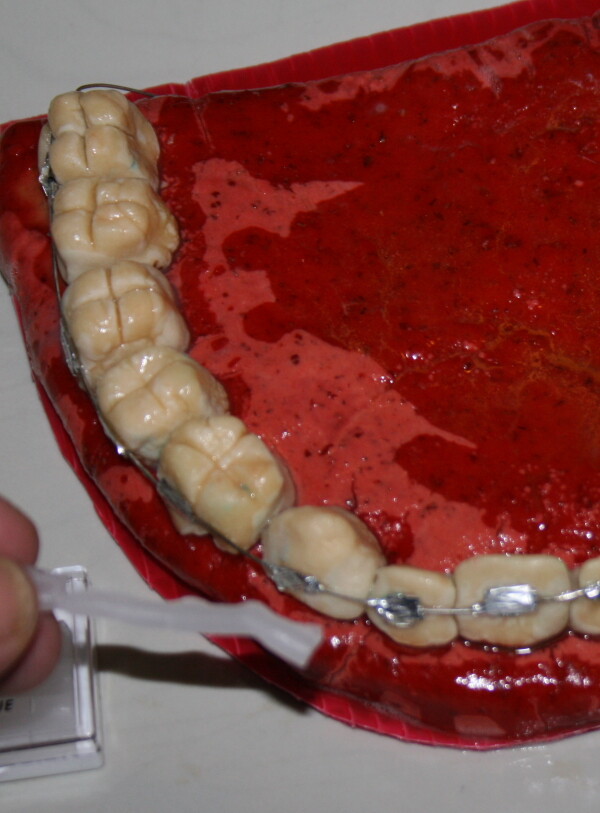
Dopo aver spazzolato bene, per almeno 3 minuti (ma vedrete che ne serviranno almeno una decina), il bambino può dedicarsi alla rimozione dei residui rimasti tra gli spazi interdentali col filo:
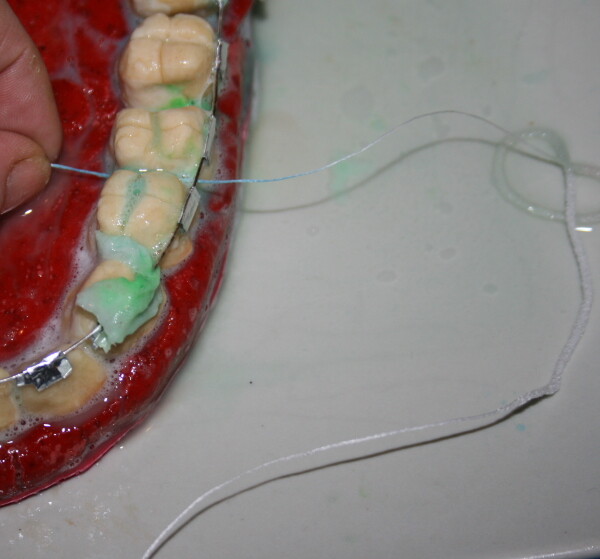
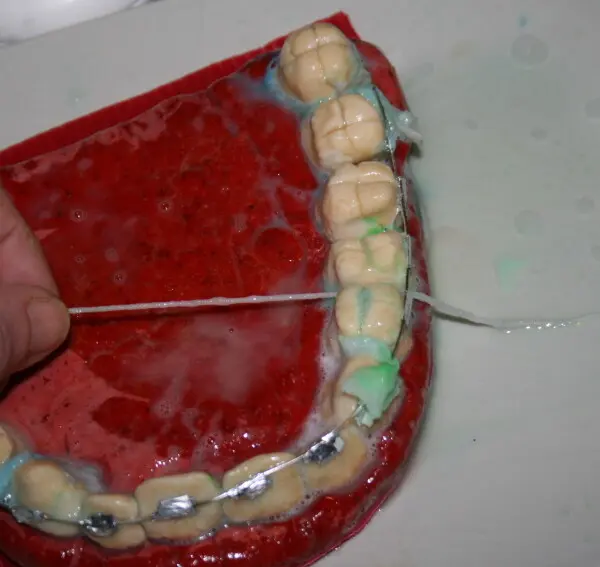
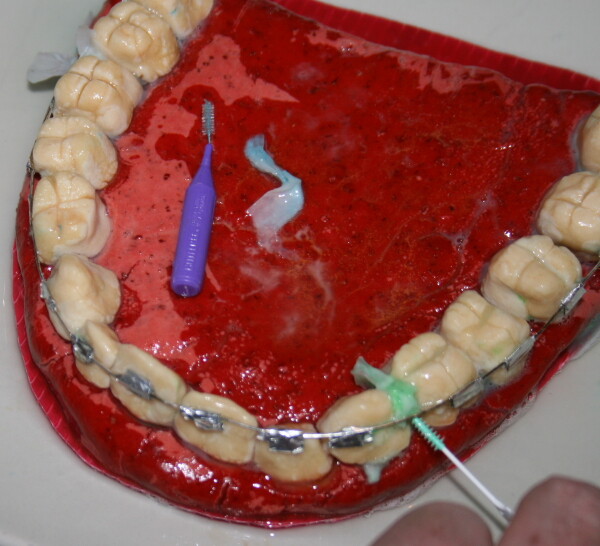
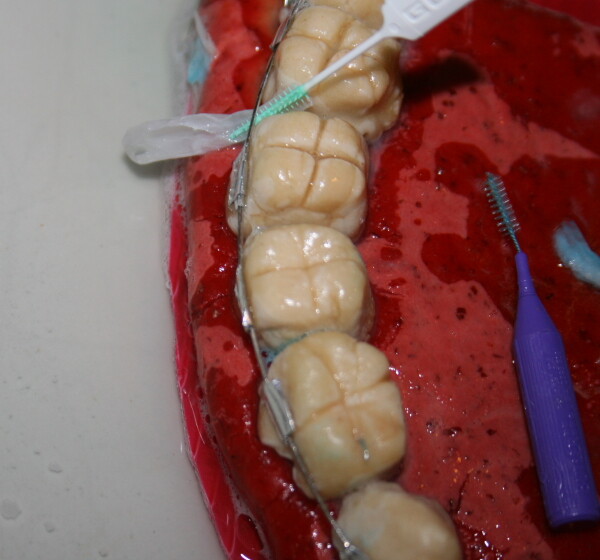
e a quelli rimasti tra dente e apparecchio con gli scovolini:
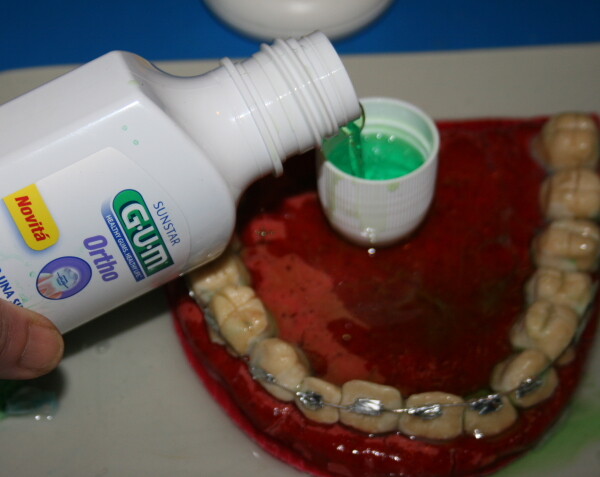
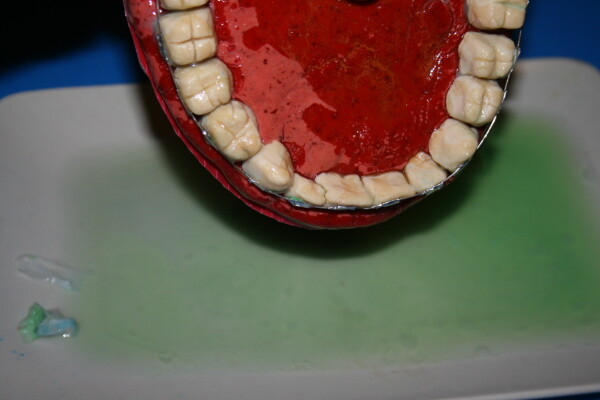
Infine potrà completare con un risciacquo col collutorio versandolo col tappo sui denti e poi inclinando il modello per “sputare”:
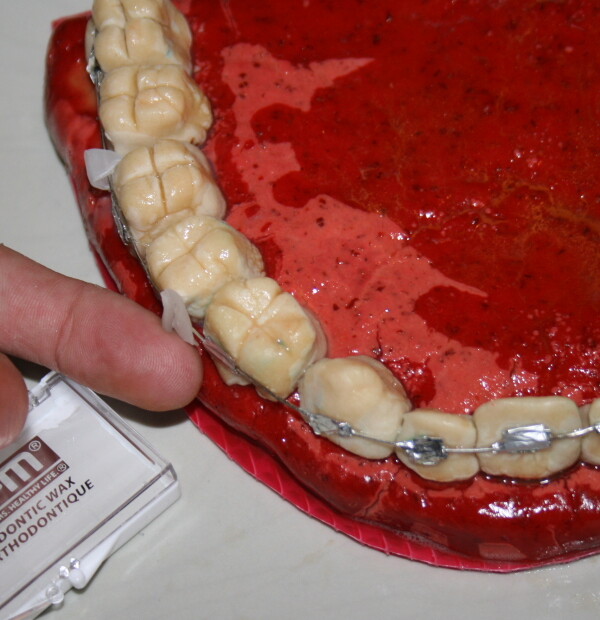
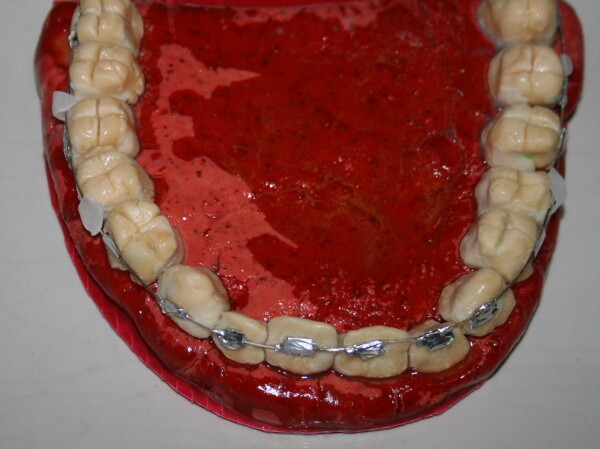
Ora non resta che esercitarsi a scaldare la cera tra i polpastrelli ed applicarla all’apparecchio:
___________________
La trattazione dell’argomento “igiene orale” mi è stata ispirata dalla collaborazione con Genitori Channel, che ha realizzato questo video-comic sulla corretta igiene dei denti dei bambini (con o senza apparecchio ortodontico):
ed è sostenuta da:
Riferimenti all’argomento nel web:
– lessons.atozteacherstuff.com
– healthguide.howstuffworks.com
Questo articolo fa parte dell’Album di Vita pratica:

Oral care: complete model with orthodontic appliance. We teach children with orthodontic appliance to cure their dental hygiene. This project is suitable for children of fourth fifth class of primary school and in addition, it can be realized autonomously and connects to the study of the human body.
Oral care: complete model with orthodontic appliance
What do you need?
– a diagram of the upper and lower dental arches
– Play dough red and white
– Two pieces of thick cardboard (or plastic) red
– Thin wire
– tin foil
– A transparent waterproofing paint.
Oral care: complete model with orthodontic appliance
What to do?
Prepare a red oval with play dough, then divide it in half:

For each of the half cut out a silhouette of plastic or cardboard red to serve as support, then, following the pattern of the dental arches, model teeth and stick them right in the base. For molars just shape a sketch of cube and affect a cross with a boxcutter:

Let dry thoroughly; once hardened, the model can be superimposed so:

If your child has orthodontic appliance, it can do it in at least one of the arches using thin wire and foil:



Cover everything with abundant touches of clear varnish and let dry thoroughly. The model is ready.


The child prepares a tray with a toothbrush, toothpaste, dental floss, brushes, mouthwash and a jar of water, and maybe a timer, then it has the model and material for example in this way:

Dirty the model with watercolors and small pieces of paper in the interdental spaces and also between the tooth and appliance.

Then proceeds, starting with brushing the teeth with toothbrush and paste, and water as often as necessary.


After brushing well, for at least 3 minutes (but you will see that it will need at least ten), the child can concentrate on removing residual remained within the interdental spaces with dental floss:


and those that remained between tooth and appliance with interdental brushes:


Finally, it may be completed with a rinse with mouthwash with pouring cap on the teeth and then tilting the model for “spit”:


Now you have to practice to warm the wax between the fingertips and apply it:


___________________
Dealing with the subject “oral care” I was inspired by the collaboration with “Genitori Channel“, which has made this video-comic on the proper care of the teeth of the children (in Italian):
and it is supported by:

_________________________
Oral care: complete model with orthodontic appliance
Other links:
– lessons.atozteacherstuff.com

