
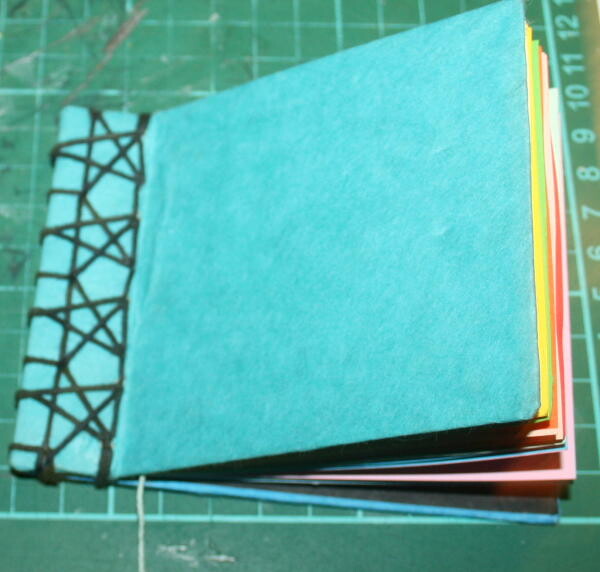
Creare libri per i bambini: preparazione dei libretti per le rilegature giapponesi. Le rilegature giapponesi sono semplici da realizzare e permettono di ottenere libretti che si presentano davvero ben rifiniti, solidi, e facili da sfogliare.
Esistono un’infinità di disegni diversi, qui la tecnica base per preparare i fogli e la copertina, prima di passare al modello di rilegatura giapponese scelta.
Nel tutorial spiego la preparazione di un libretto realizzato con carta non di recupero, ma il bello delle rilegature giapponesi è che potete ottenere anche meravigliosi blocchetti per appunti utilizzando carta riciclata (ad esempio rilegando dalla parte non stampata fotocopie e carta della stampante utilizzata) e magari scegliendo anche per la copertina un ritaglio da una scatola (pasta, cereali, ecc…) anche senza rivestirla.
Creare libri – preparazione dei libri per rilegature giapponesi
Materiale occorrente
due pezzetti di cartone di uguale dimensione
foglietti di carta della stessa dimensione del cartone
colla da carta
un punteruolo
carta decorativa, se volete rivestire il cartone
mollette
ago e filo robusto (cerato o normale)
il cartamodello per la rilegatura scelta
Creare libri – preparazione dei libri per rilegature giapponesi
Come si fa
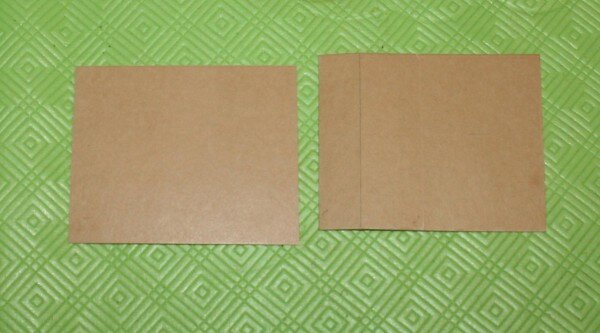
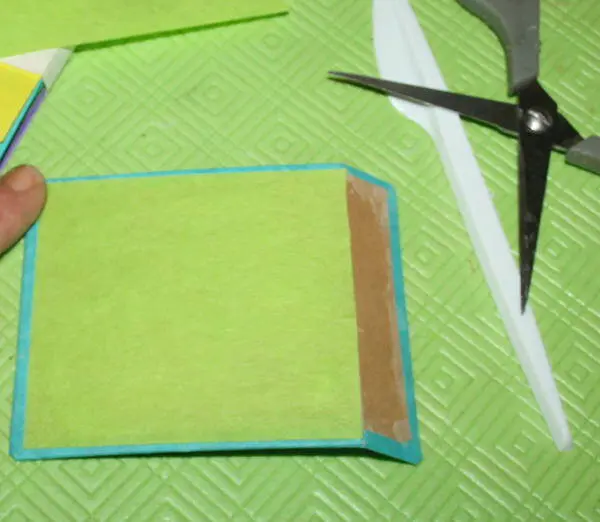
Preparate i due fogli di cartone in questo modo. In uno dei due praticate un taglietto non profondo proporzionato alle dimensioni del vostro libretto, per la rilegatura (il mio libretto misura 11 cm x 9 cm, e il taglietto è a 2 cm). Il taglio poco profondo serve a rendere facilmente piegabile la copertina anteriore…

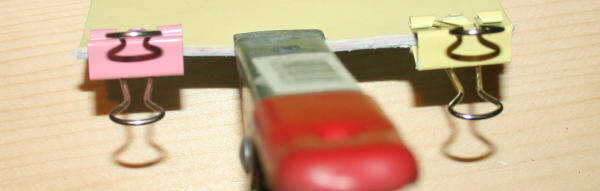
fate un mazzetto ordinato dei foglietti e fermateli con delle mollette:

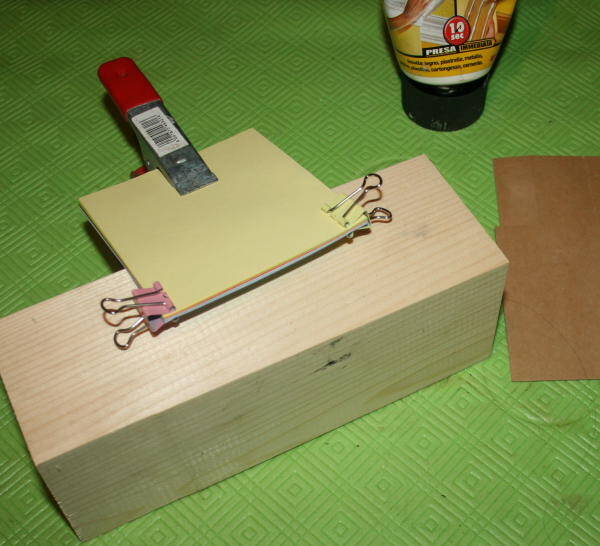
quindi spalmate poca colla lungo il margine da rilegare e aspettate che asciughi, tenendo pressato con le mollette:

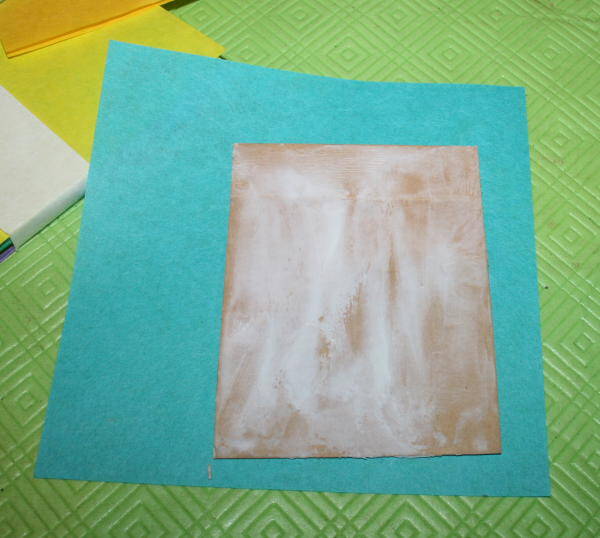
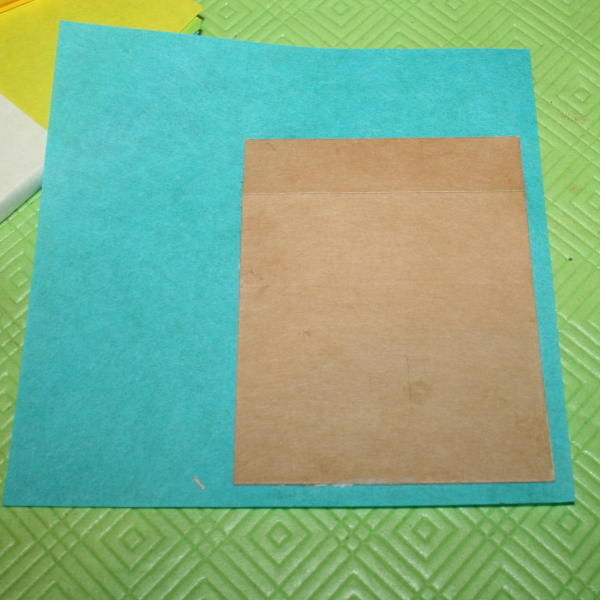
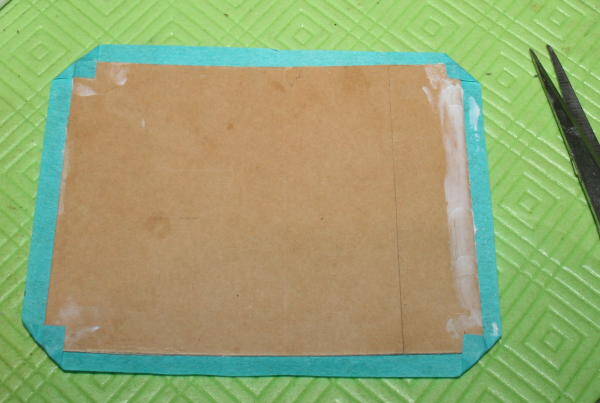
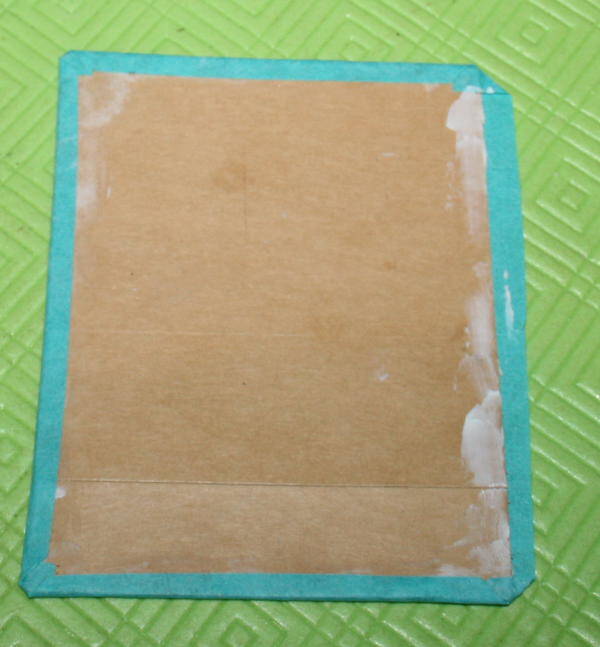
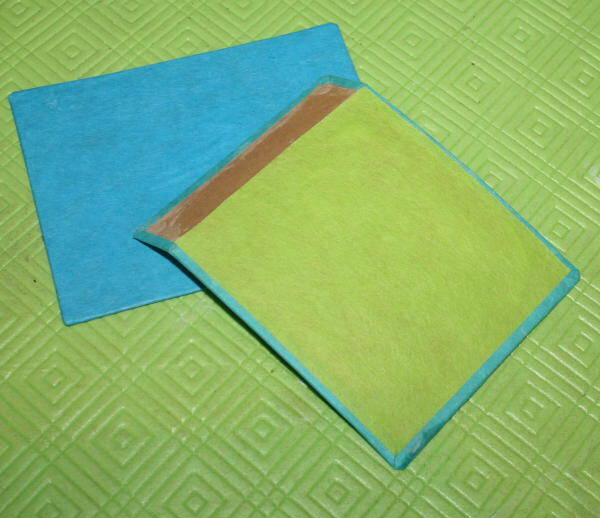
Rivestite le due copertine di cartone in questo modo:


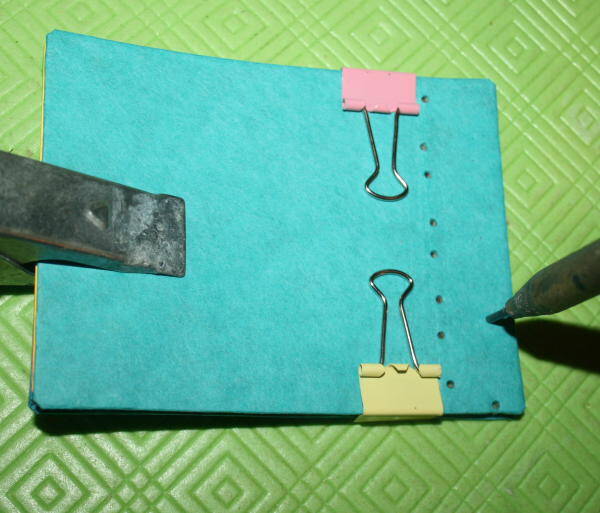
Componete il libretto inserendo tra le due copertine i foglietti, tenete unito il tutto con delle mollette, e riportate il cartamodello scelto per la rilegatura, segnando i fori necessari con un ago:

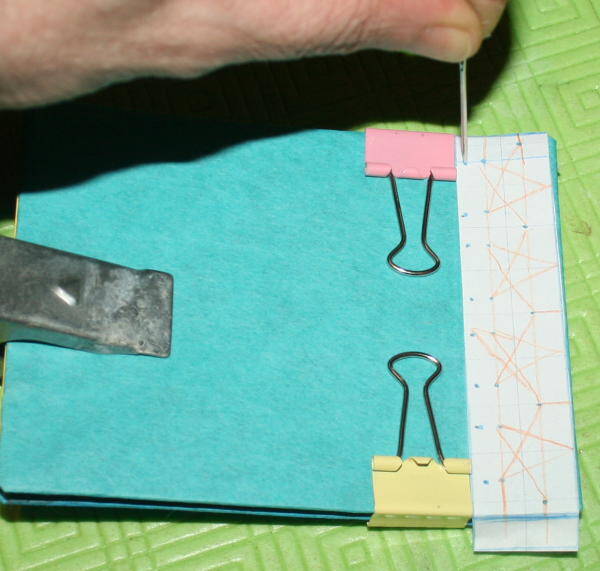

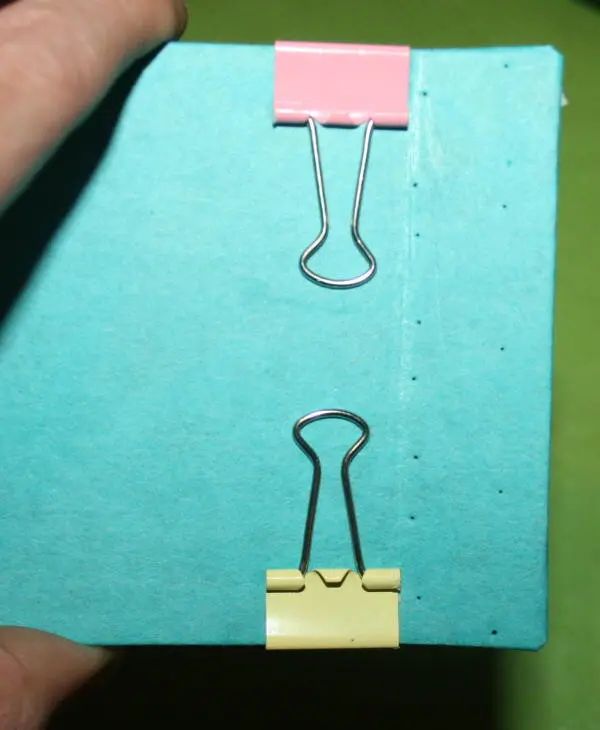
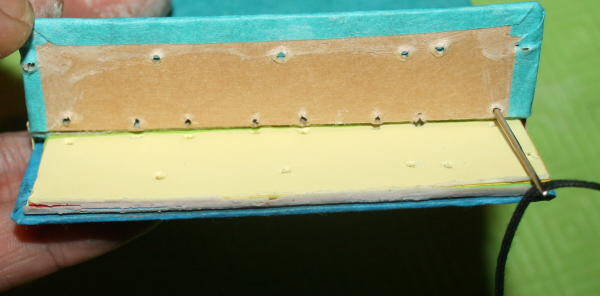
Praticate i fori col punteruolo, facendo in modo che risultino ugualmente marcati nelle due copertine e nei fogli interni:

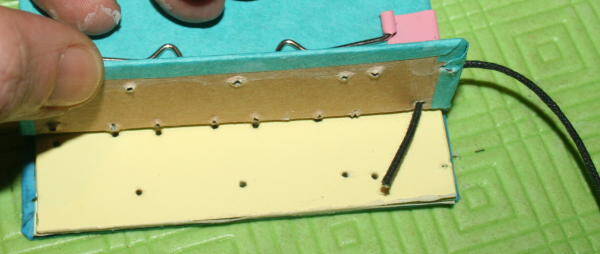
Procedete alla rilegatura scelta; qualunque sia il cartamodello scelto, per evitare di fare nodi che creerebbero degli spessori poco estetici, date avvio alla rilegatura così:


Nei prossimi giorni i cartamodelli delle rilegature giapponesi che ho realizzato per vari libretti…