Fare i libri coi bambini – i libri tunnel
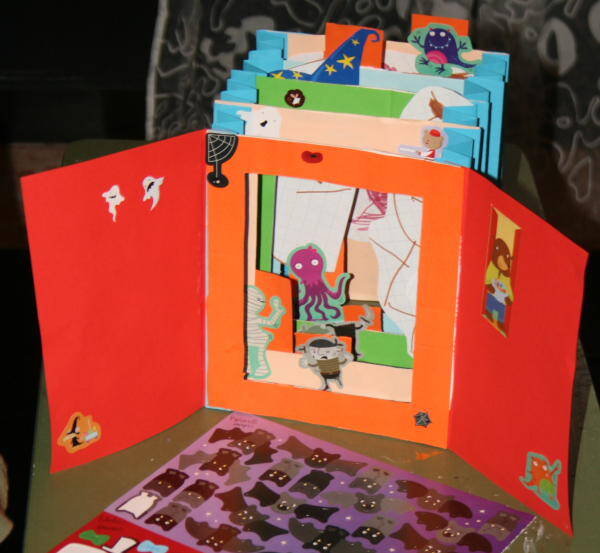
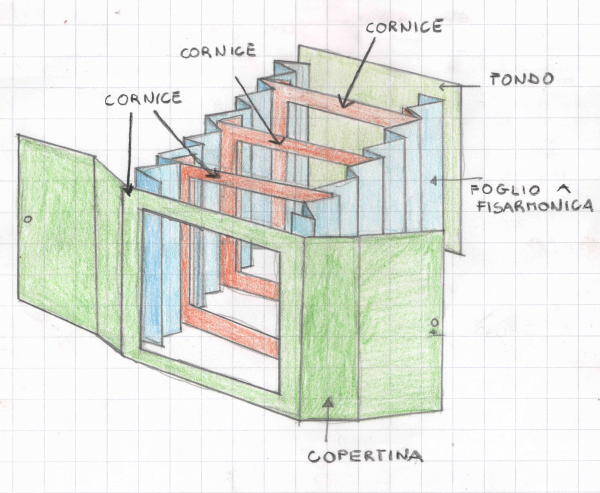
Fare i libri coi bambini – i libri tunnel: questo è lo schema base per costruirli:
Materiale occorrente
– cartone più spesso per le cornici e il fondo (io ho usato con la piccola i miei soliti cartoni per pizza 🙂 )
– carta le pareti a fisarmonica, la copertina e le decorazioni
– colla da carta
– forbici e taglierino
Come si fa
Come vedrete poi, i tunnel books possono essere vere opere d’arte; questo è il modello più semplice che conosco, e si può realizzare anche coi bambini della scuola d’infanzia (la bimba ha 4 anni).
Si compone di questi elementi:
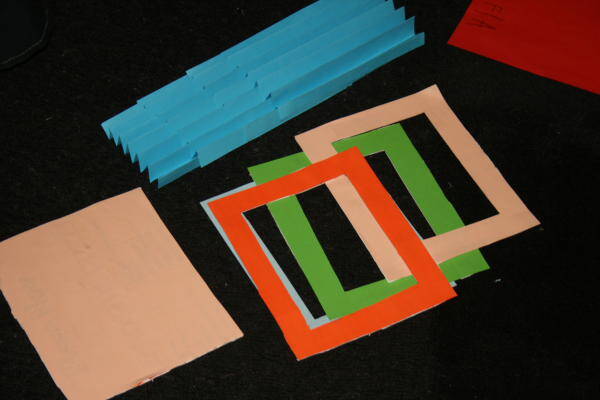
– 4 cornici di cartone
– il fondo (delle stesse dimensioni della cornice)
– due pareti di carta pieghettata a fisarmonica.
Coi bambini si può lavorare così…
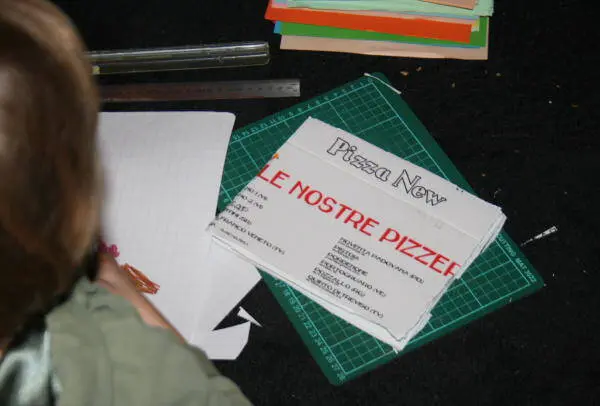
Per prima cosa si tagliano nel cartone 5 rettangoli uguali. Se per le pareti a fisarmonica usate fogli A4, è comodo fare in modo che i rettangoli di cartone abbiano la stessa altezza del lato corto del foglio a4, e la larghezza che si vuole:
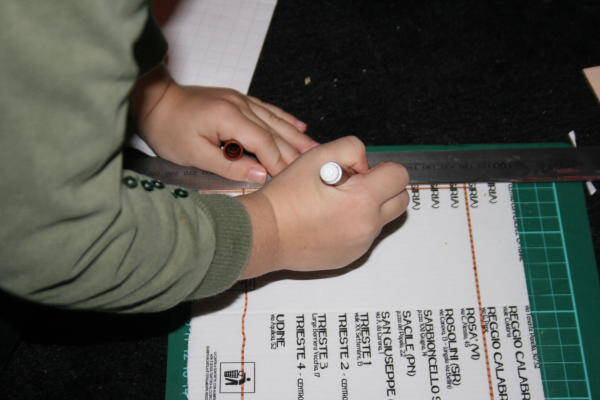
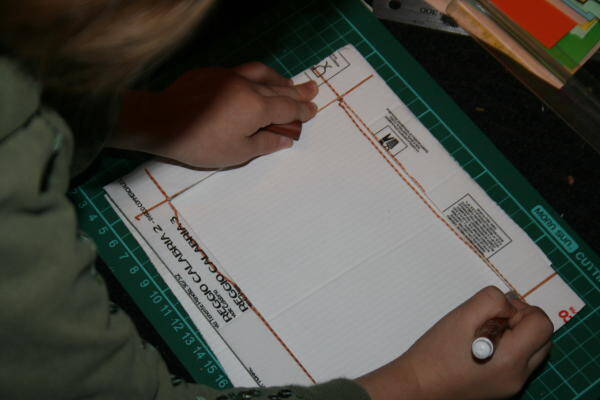
In quattro dei cinque rettangoli di cartone il bambino può tracciare con pennarello e righello i contorni della cornice (senza prendere misure, il punto di riferimento può essere semplicemente la larghezza del righello posizionato sul bordo):
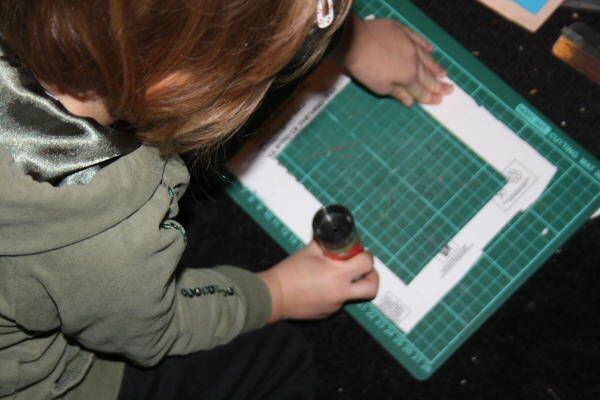
Incidete col taglierino in corrispondenza dei segni, poi date al bambino da separare:
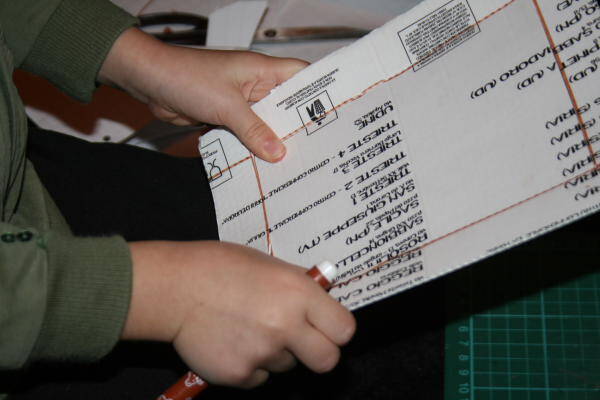
Fatta la prima cornice, il bambino può tracciare i segni per le altre utilizzando la prima come modello:
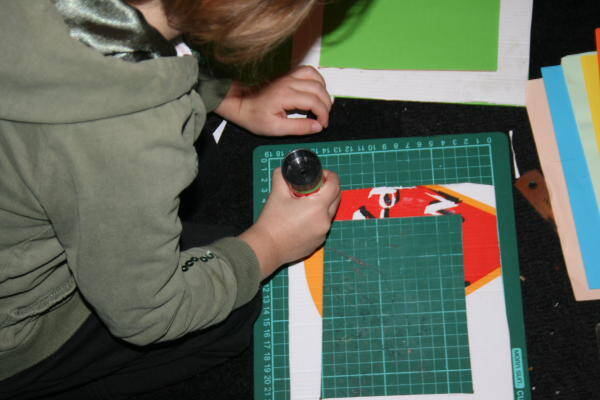
Ora il bambino potrà rivestire le quattro cornici e il rettangolo per il fondo con la carta colorata:
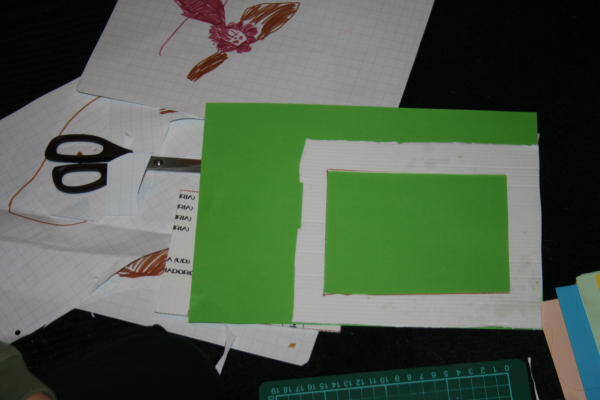
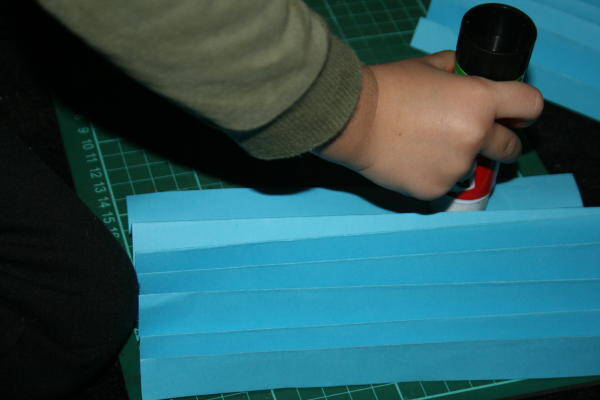
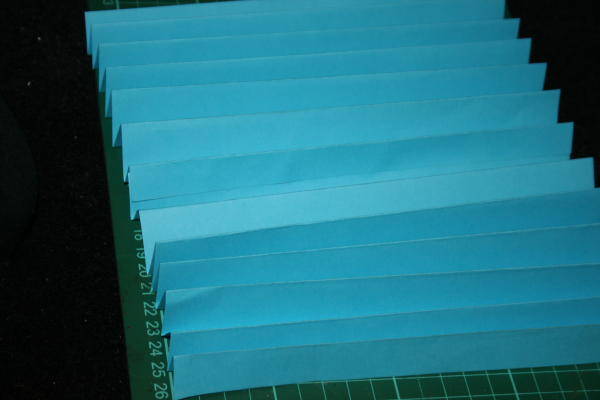
Se il bambino non è in grado di farlo, preparate voi (magari prima) quattro fogli A4 a fisarmonica. Prendete i fogli dal lato corto e fate pieghe larghe 2 centimetri

I fogli a fisarmonica vanno incollati a due a due, per arrivare alla lunghezza giusta, e qui il bambino può aiutare:
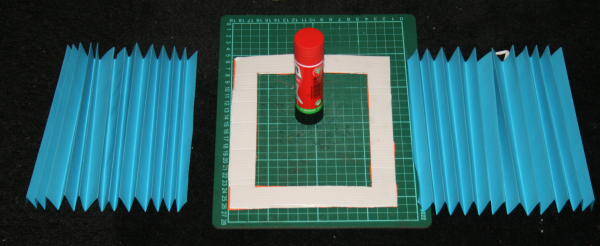
per poi continuare mettendo la colla ai lati della prima cornice e applicando le prime estremità della fisarmonica:
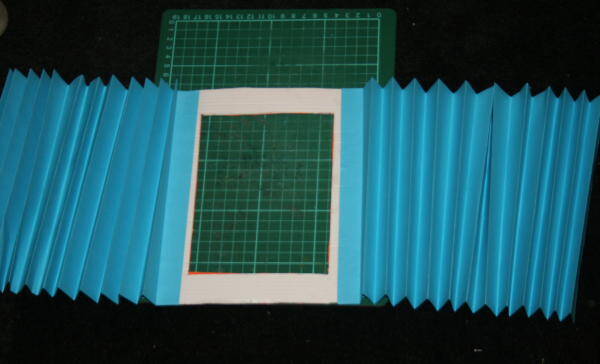
Allo stesso modo può incollare la fisarmonica al retro; ora il libro può stare in piedi:
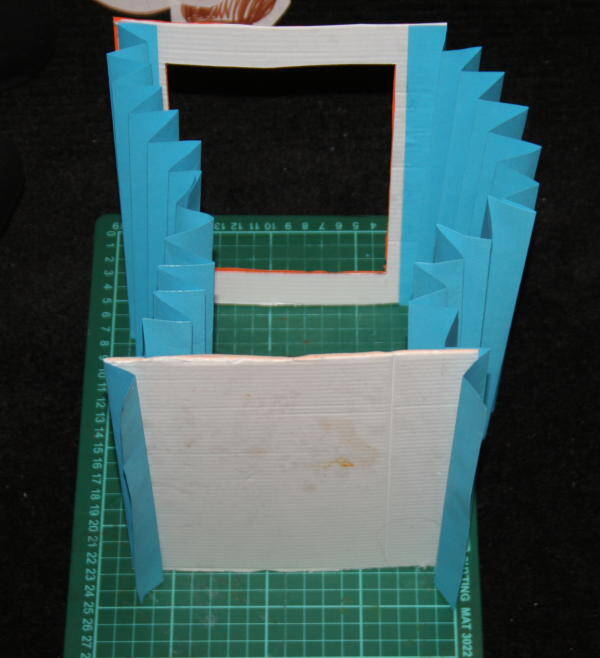
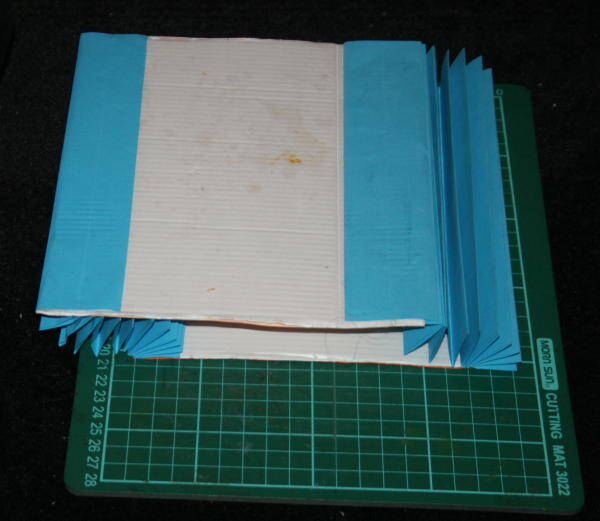
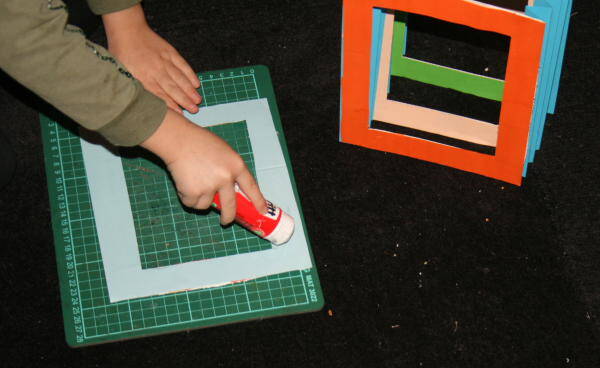
Ora bisogna stendere la colla sulle cornici, sui lati esterni, davanti e dietro:
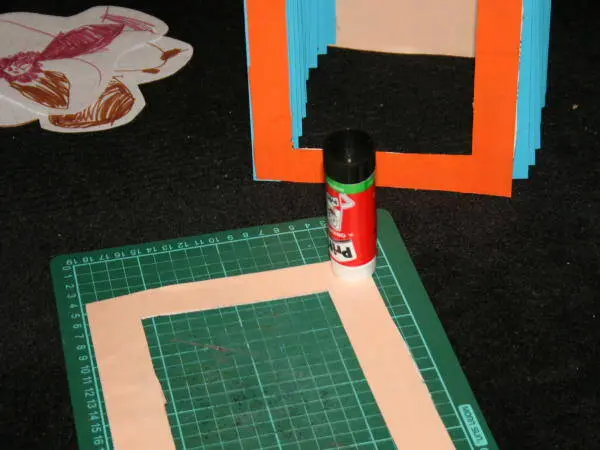
e inserirli a distanza regolare nella fisarmonica:
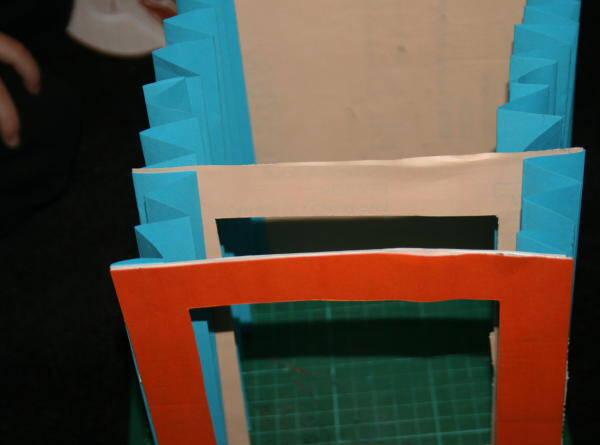
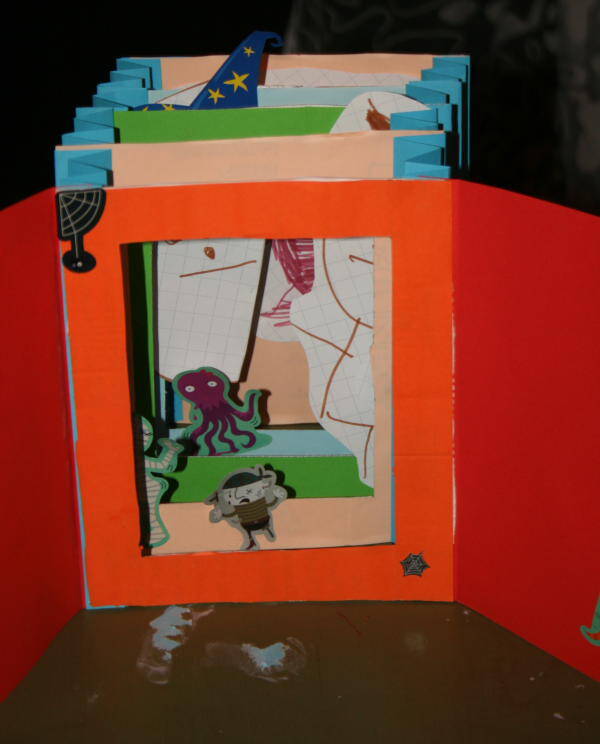
La struttura del nostro libro tunnel è pronta:
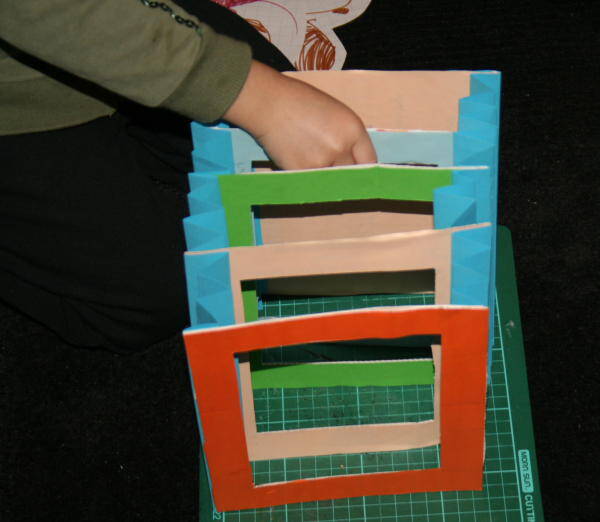
Restano da incollare a destra ed a sinistra della prima cornice due fogli che faranno da copertina e permetteranno di chiudere il libro (come volete sul davanti per nascondere i disegni, o anche sul retro per contenere la fisarmonica chiusa).
Come vedrete poi, coi bambini più grandi questa struttura permette di creare immagini in prospettiva, accentuandone la profondità; ma non rinunciamo al progetto anche coi bambini più piccoli…
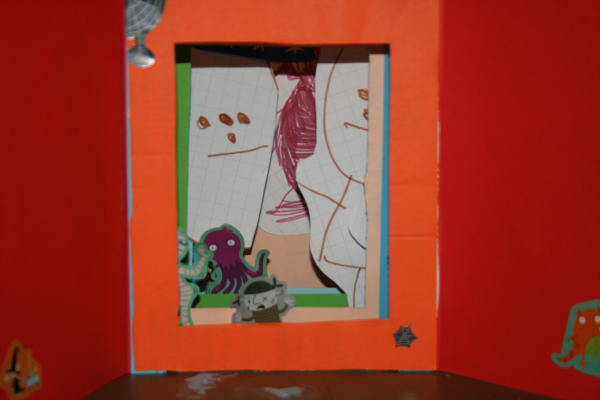
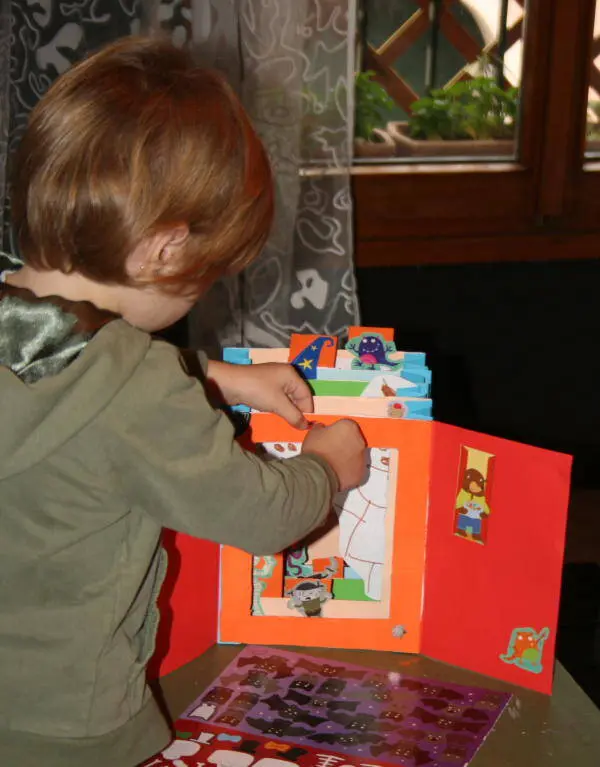
… la bimba, ad esempio, sulla scia della festa di Halloween appena trascorso, ha voluto disegnare dei mostri. Li ha ritagliati:
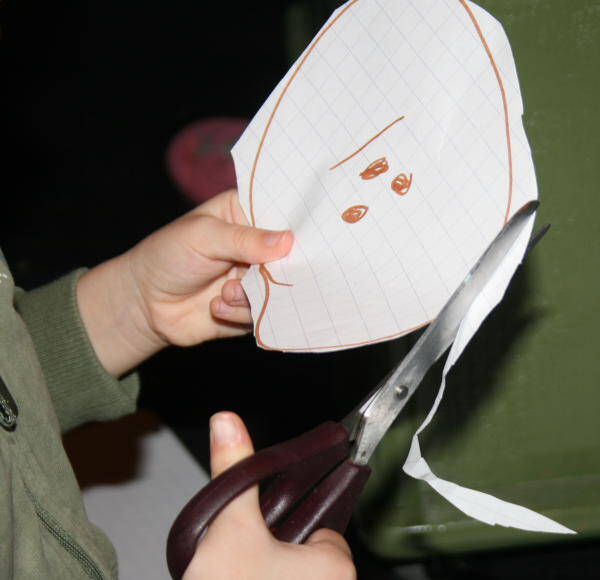
E incollati nel tunnel…
… oggi però la voglia di disegnare non era ai livelli soliti, per cui abbiamo potuto completare l’opera aggiungendo ai disegni vari adesivi a tema:


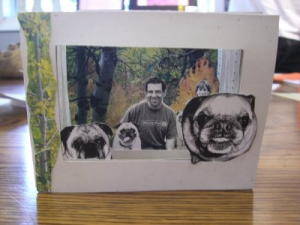
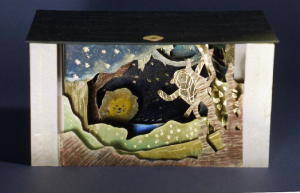
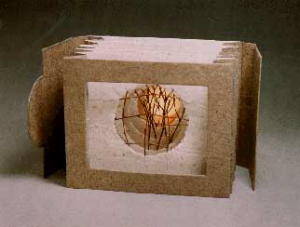
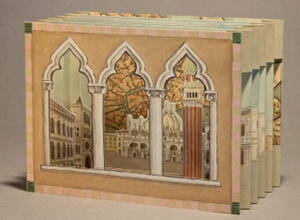
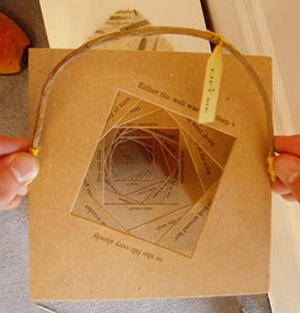
Fare i libri coi bambini – i libri tunnel – Esempi di tunnel books d’autore
http://monkeymoo12345pdp.wordpress.com/
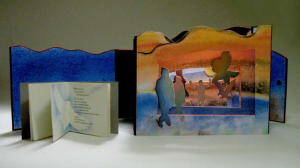
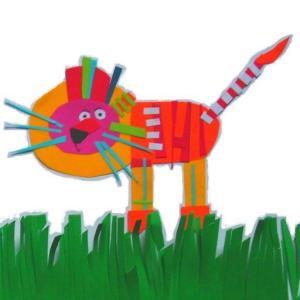
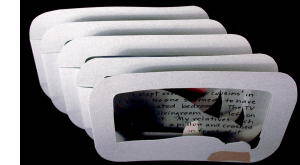
Fare i libri coi bambini – i libri tunnel – Esempi di tunnel books realizzati da bambini più grandi
Questo articolo fa parte dell’Album di Vita pratica:


Tunnel books tutorial – This is the basic scheme to build them:
(CORNICE: frame, FONDO: bottom, FOGLIO A FISARMONICA: accordion sheet, COPERTINA:cover)

Tunnel books tutorial
What do you need?
– Thicker cardboard for the frames and the bottom (I used with my usual small pizza boxes :-))
– paper for the accordion walls, the cover and the decorations
– Glue for paper
– Scissors and cutter
What to do?
As you will see later, the tunnel books are true artworks; this is the simplest model that I know, and can also be made with the children of kindergarten (my little girl is 4 years old).
It consists of these elements:

– 4 frames of cardboard
– the bottom (of the same size
of frame)
– two walls of accordion-pleated paper.
With children you can work in this way…
First they cut in the cardboard 5 equal rectangles. If for the walls on accordion you use A4 sheets, it is convenient to do so that the rectangles of cardboard have the same height of the short side of the sheet, and the width that you want:

In four of the five rectangles of cardboard the child can draw with marker pen and ruler the contours of the frame (without taking measures, the reference point can be simply the width of the ruler positioned on the edge):

Engrave with the cutter in correspondence with the signs, then give the child to be separated:

Made the first frame, the child can trace the signs for the other using the first as a model:

Now the child can cover all four frames and rectangle for the bottom with colored paper:


If the child is unable to do so, prepare you (maybe first) four A4 sheets accordion. Take the paper from the short side and make pleats 2 cm wide:

The accordion sheets are glued two by two, to arrive at the right length, and here the child can help us:


then continue putting glue to the sides of the first frame and applying the first ends of the accordion:

Similarly he can glue the accordion to the back; now the book can stand on:


Now we need to spread the glue on the frames, on the outside, front and back:

and place them at regular intervals in the accordion:


The structure of our tunnel book is ready:

Remain to be glued to the right and to the left of the first frame two sheets that will be the cover and allow to close the book.
As you will see later, with the older children this structure allows you to create images in perspective, emphasizing the depth; but we do not reject the project even with younger children …
… my little girl, for example, in the wake of Halloween just passed, has wanted to draw monsters. She cut them:

And glued in the tunnel …
… But today the desire to draw was not at usual levels, so we were able to complete the work, adding to the drawings various themed stickers:


Tunnel books tutorial
Examples of tunnel books of author
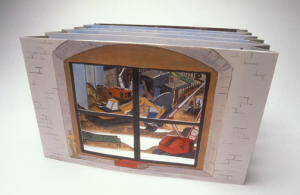
http://www.popularkinetics.com/
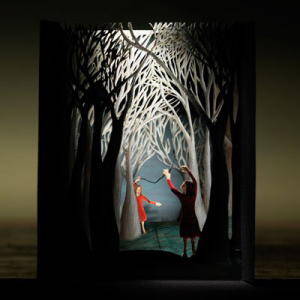
http://monkeymoo12345pdp.wordpress.com/

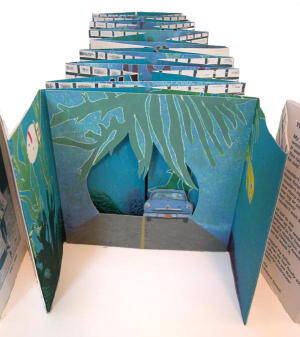
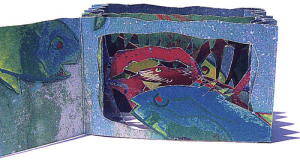
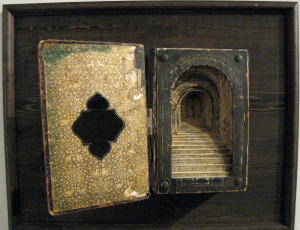
http://doradueck.wordpress.com/
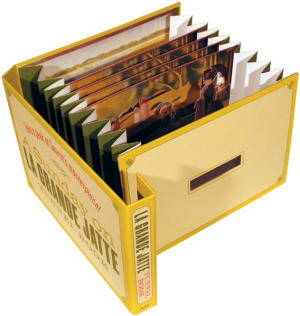
http://www.tunnelvisionbooks.com/
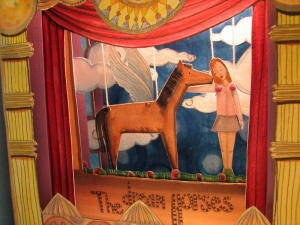
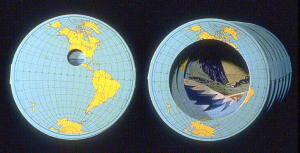
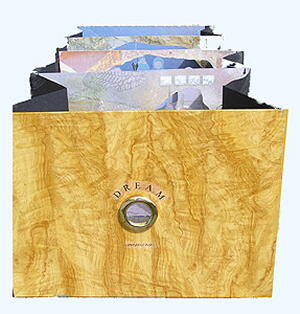
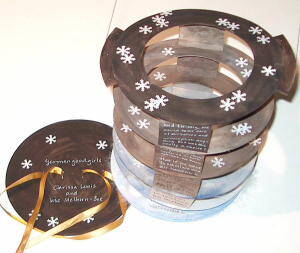
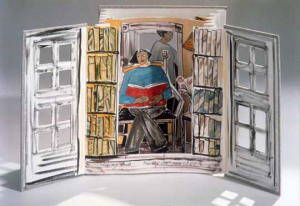
Tunnel books tutorial
Examples of tunnel books made by older children
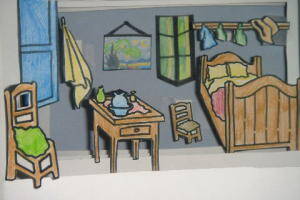
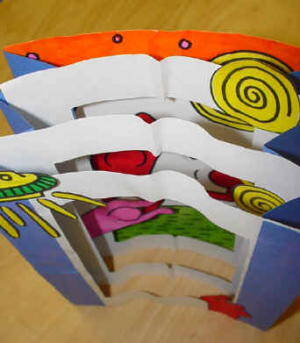
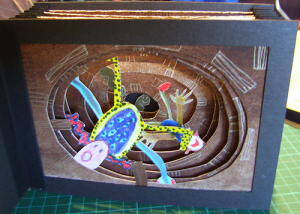
http://ampersandduck.blogspot.it
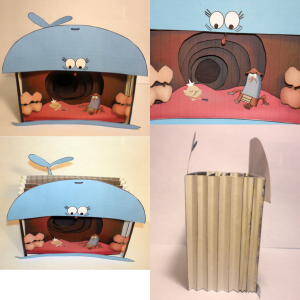
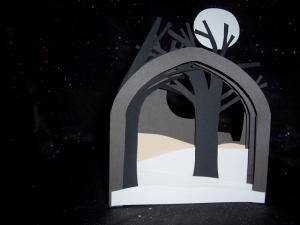
http://onecreativefishmonger.blogspot.it/
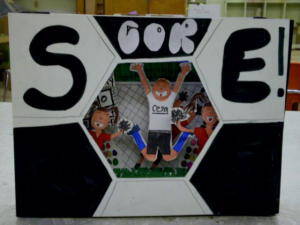
http://teachers.greenville.k12.sc.us/
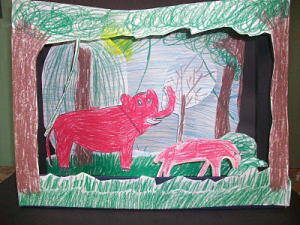
http://megankimball.blogspot.it/
