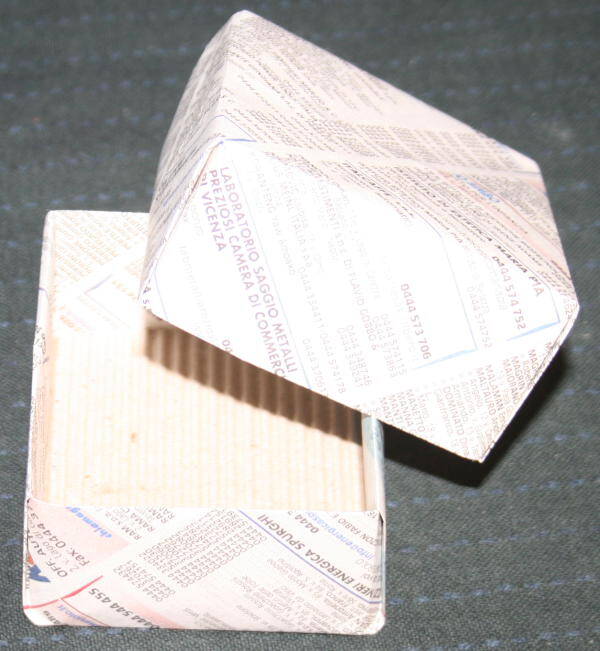
Scatola origami con coperchio, nella versione più semplice che conosco. Le scatoline, soprattutto coi bambini (e soprattutto se si simpatizza per il metodo Montessori), non bastano mai… Queste scatoline quadrate, con coperchio, possono essere realizzate nella misura che si desidera, e anche utilizzando carta o cartoncino di recupero. Si preparano in pochi minuti.
Materiale occorrente
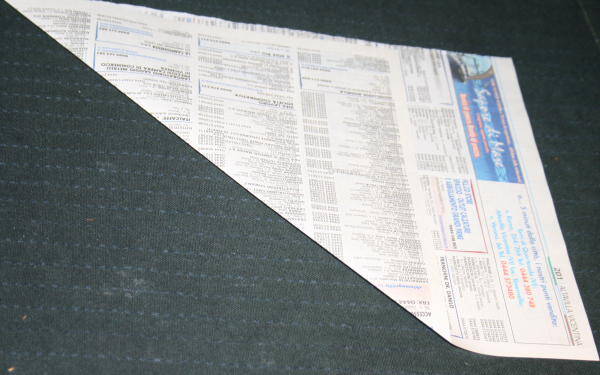
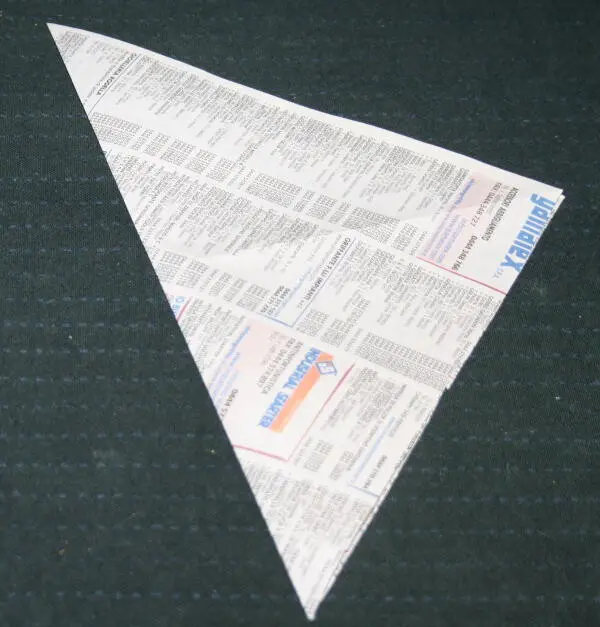
due fogli di carta quadrata, (uno per la scatola e uno per il coperchio); uno dei due quadrati deve essere circa mezzo centimetro più piccolo dell’altro. Io ho usato i fogli delle Pagine Bianche. Per ottenere il quadrato ho piegato in diagonale e tagliato i margini eccedenti:
Se disponete di un foglio già quadrato, piegate comunque la diagonale:
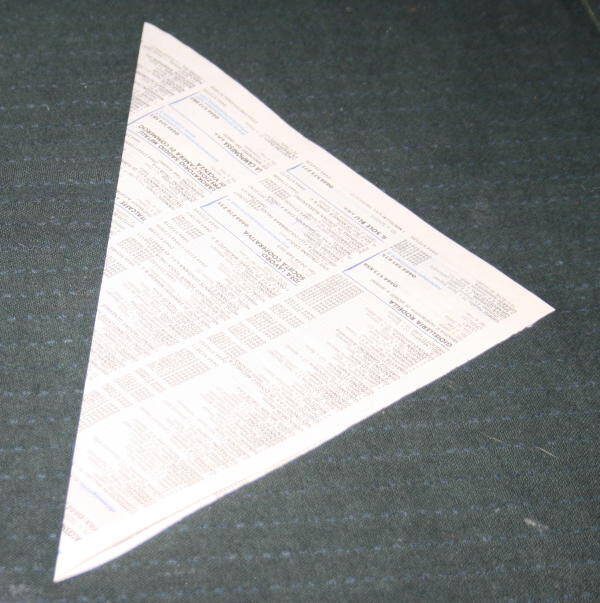
aprite:
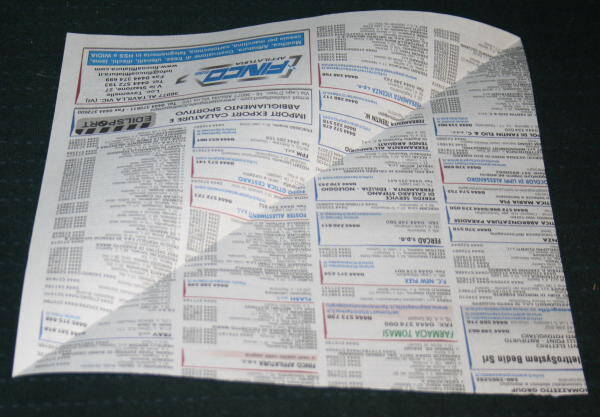
piegate l’altra diagonale:
aprite:
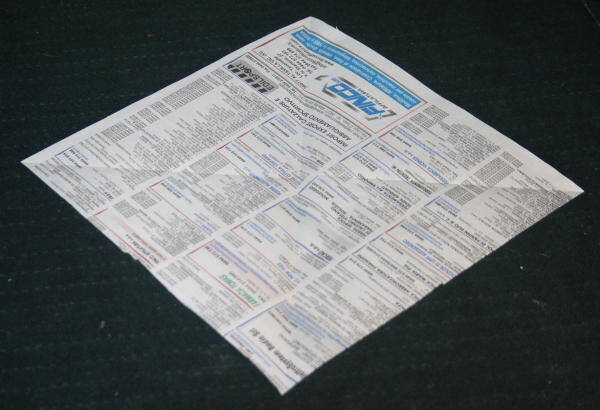
ora piegate i quattro angoli (punta che cade all’incrocio delle diagonali, al centro del foglio), così:
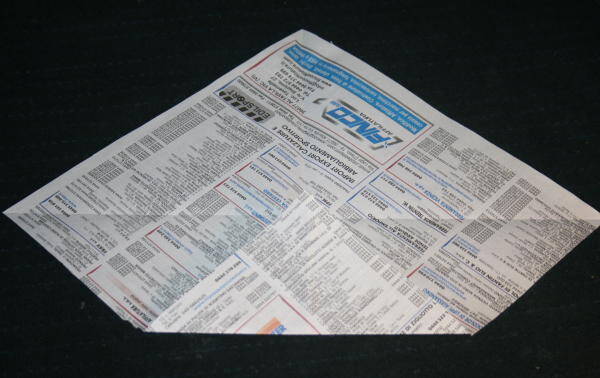
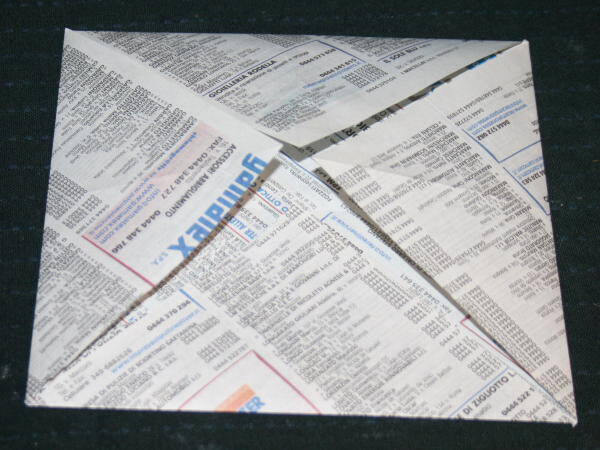
Piegate il quadrato ottenuto dal margine esterno al centro così:
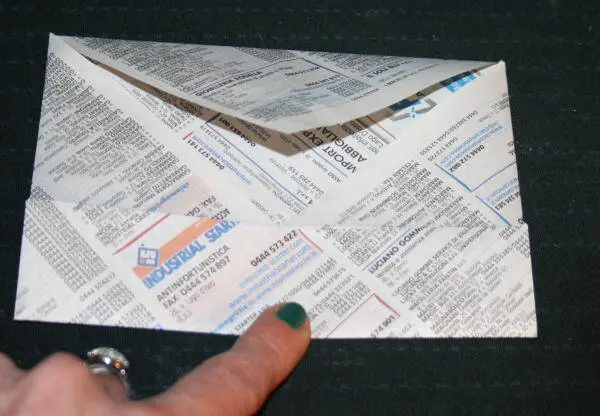
e fate lo stesso col margine opposto:
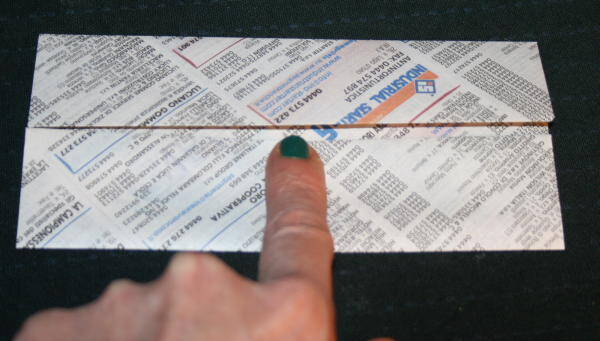
aprite:
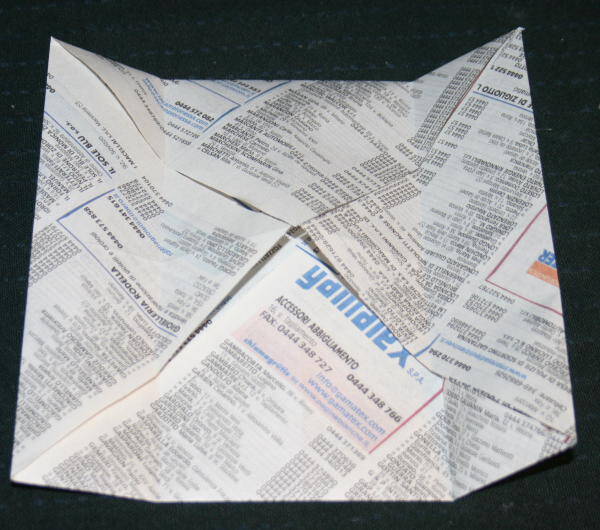
e fate le stesse piegature anche agli altri due lati del quadrato:
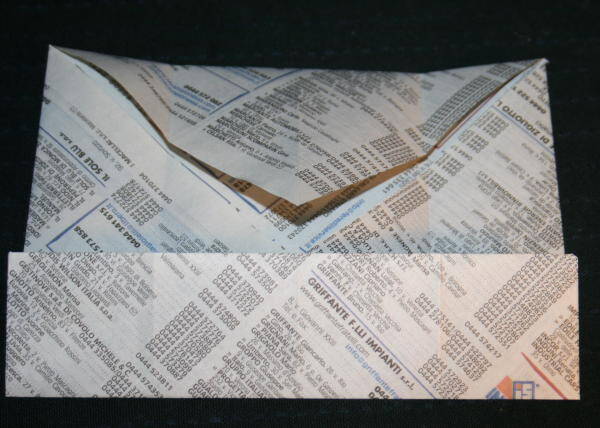
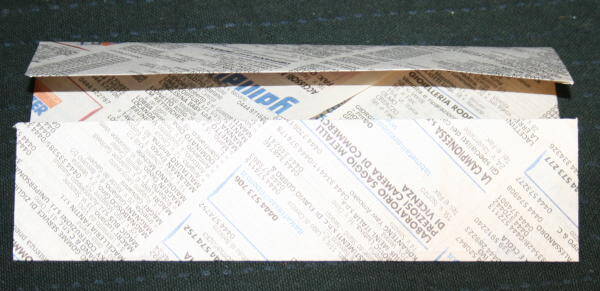
quindi aprite nuovamente:
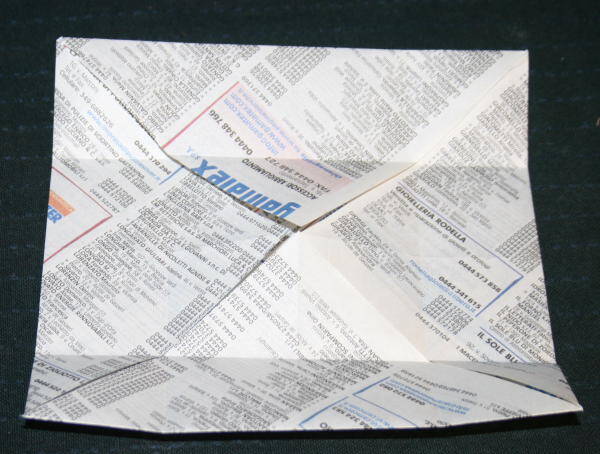
E continuate ad aprire il foglio, lasciando soltanto due triangoli opposti piegati, così:
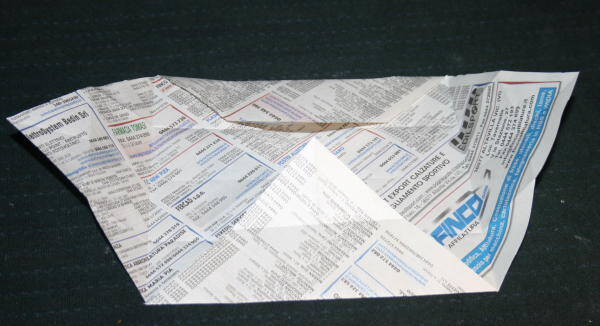
Ogni triangolo presenta già un piega sulla punta; rivoltate il triangolino verso l’interno, poi ripiegate un’altra volta tutto il lato verso il centro:
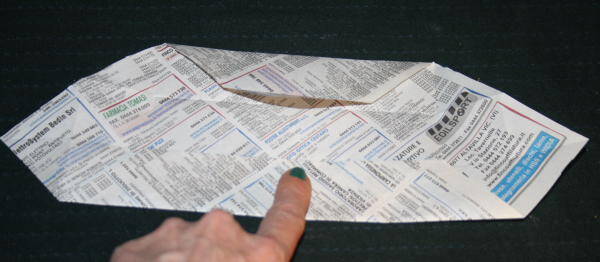
Fate la stessa cosa sull’altro lato:

ripiegate il triangolino sotto al foglio (insomma nascondetelo sotto):
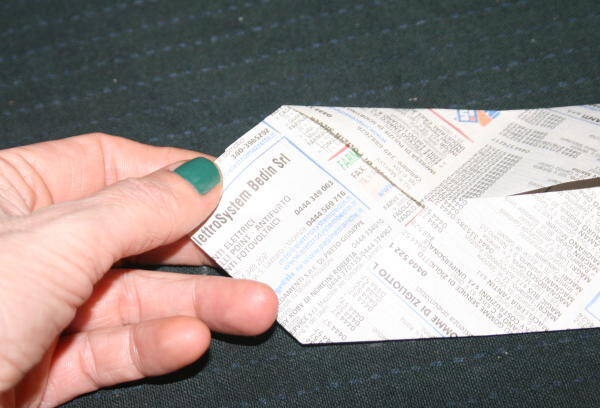
così:
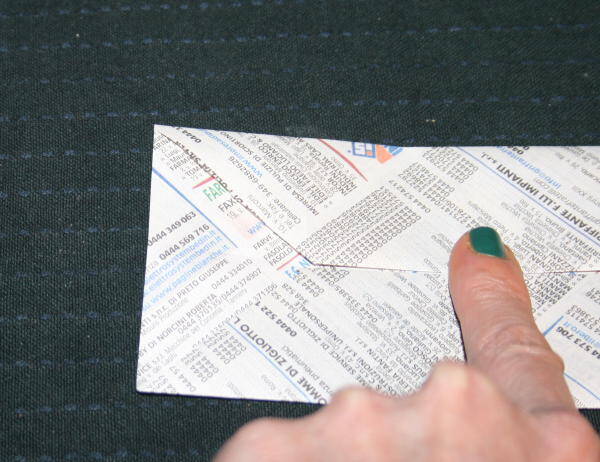
ora piegate portando il lato corto a sinistra sul lato lungo in alto:
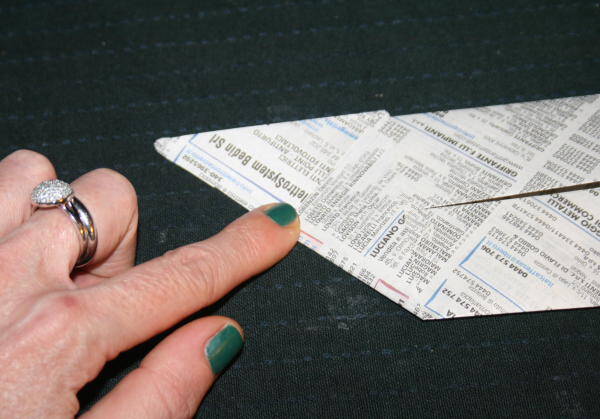
Aprite, e ripetete portando il lato corto sul lato in basso:
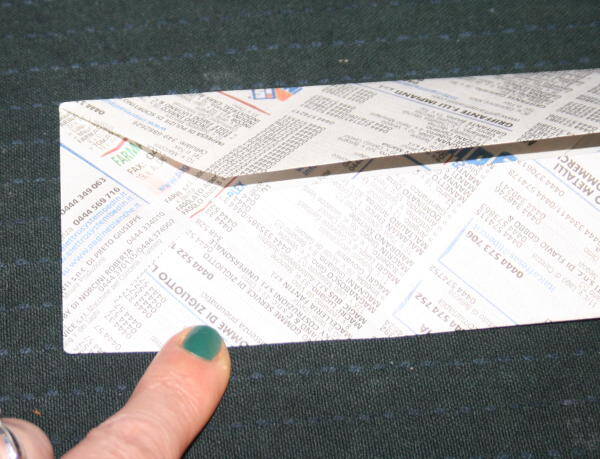

Aprite e ripetete anche col margine destro; alla fine aprite:
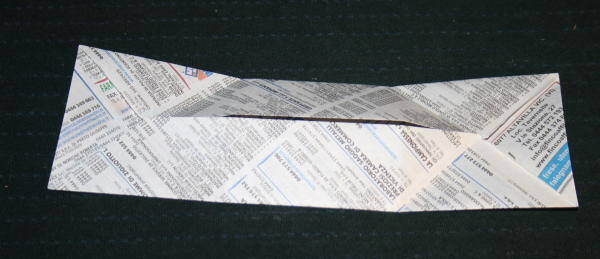
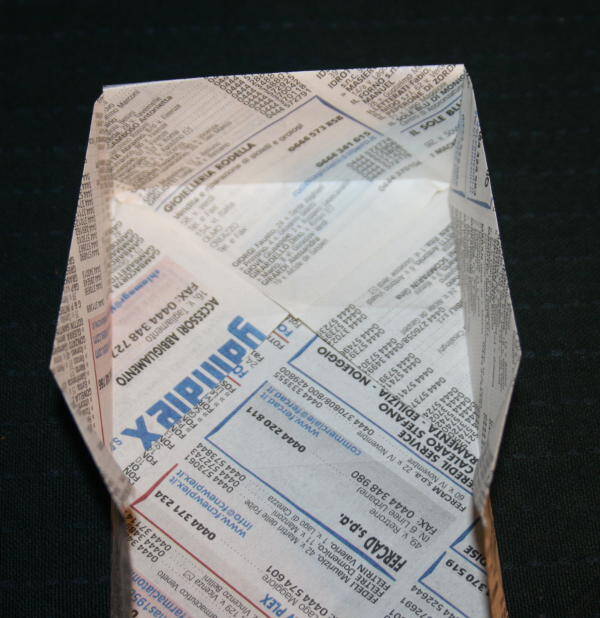
A questo punto tutte le piegature necessarie sono fatte, e non resta che dare forma alla scatolina; noterete che le piegature hanno formato al centro un quadrato: quello è il fondo della vostra scatola origami. Facendo leva su questi margini, i lati della scatola si solleveranno molto facilmente:
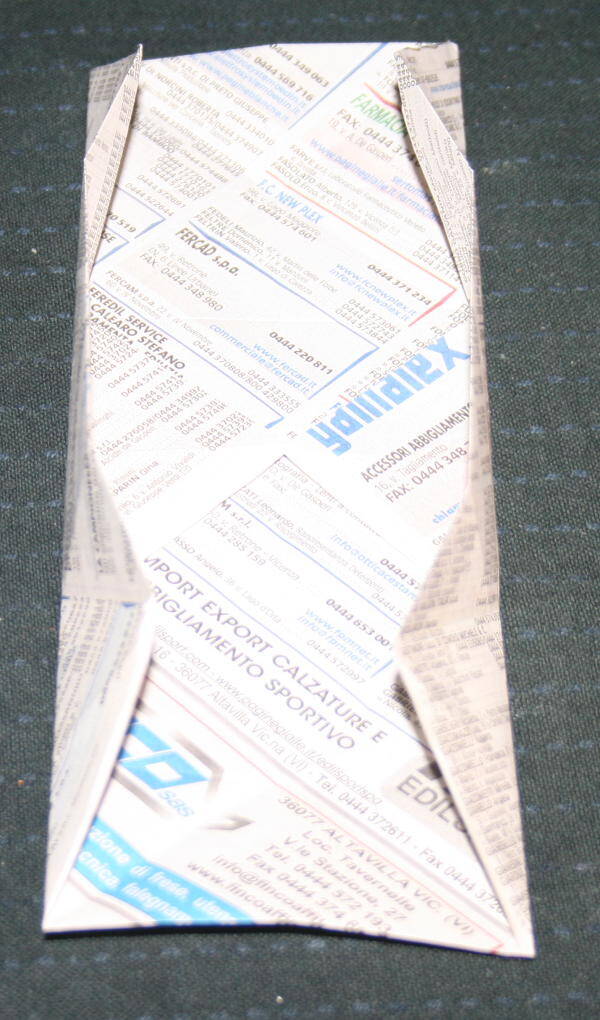
e vi troverete con della carta che sporge, così:
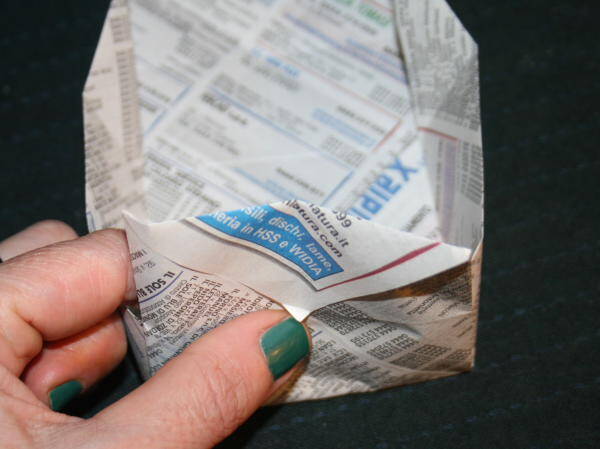

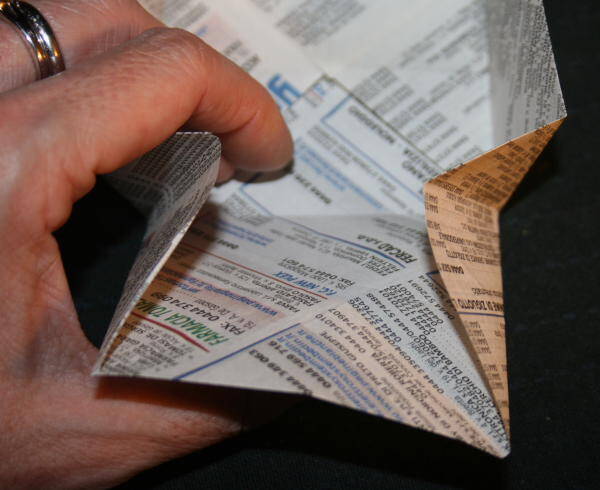
Ripiegatela verso l’interno, poi distendete il triangolino sul fondo:
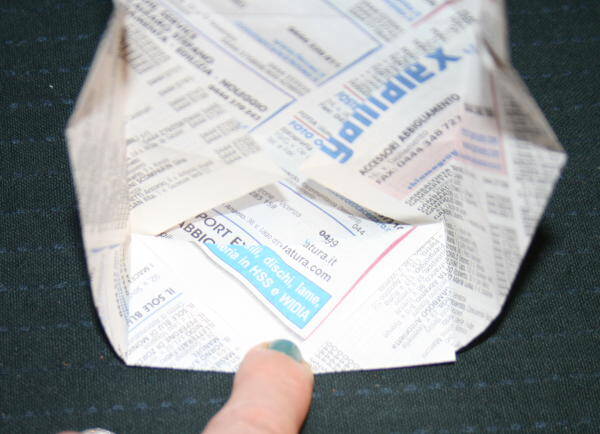
Rigirate la vostra scatola origami e fate la stessa cosa sull’altro lato:
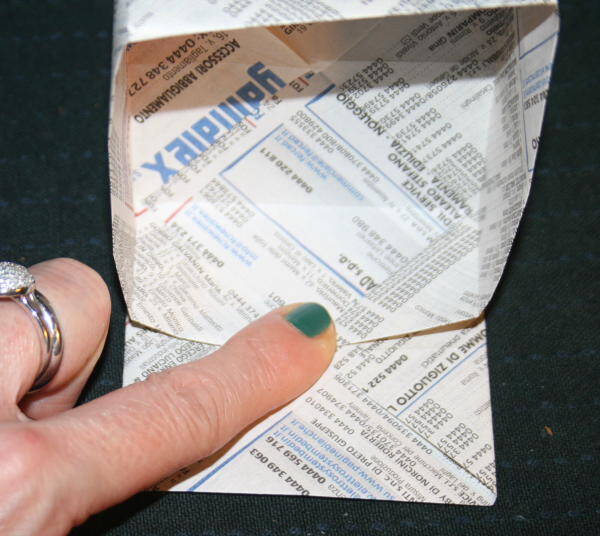
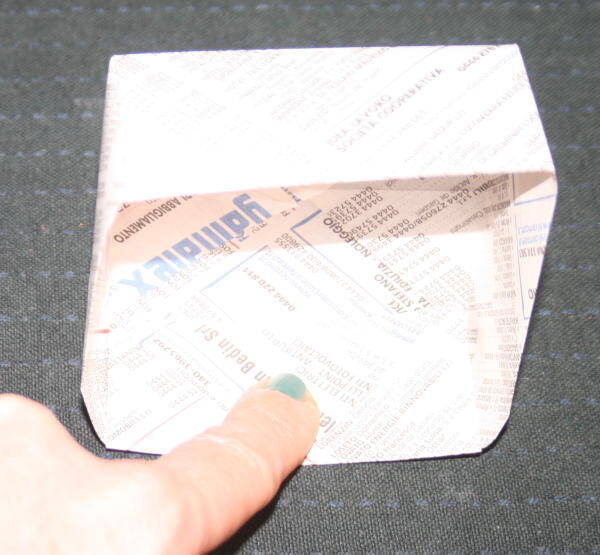
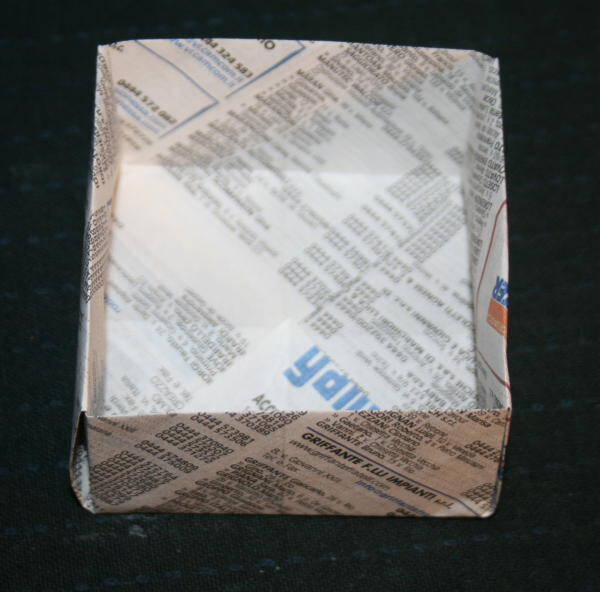
La vostra scatola origami è pronta!
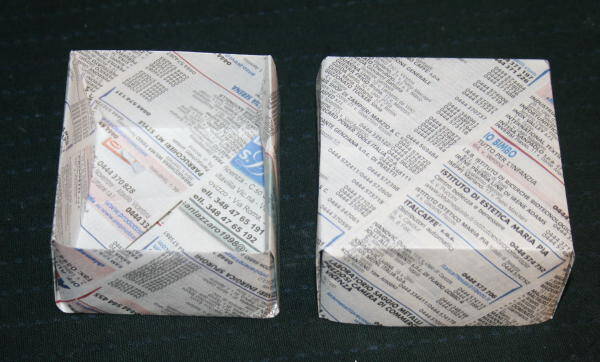
preparate col secondo foglio il coperchio, seguendo naturalmente lo stesso procedimento:
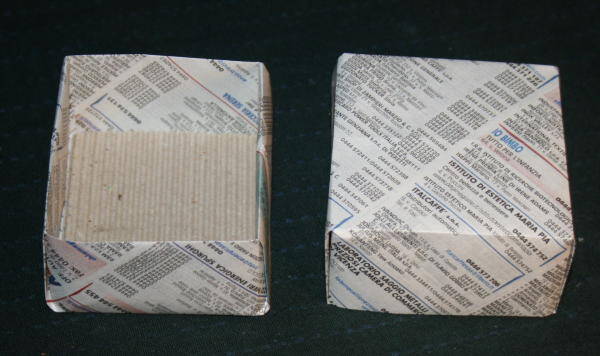
Se volete aggiungete del cartoncino al fondo:
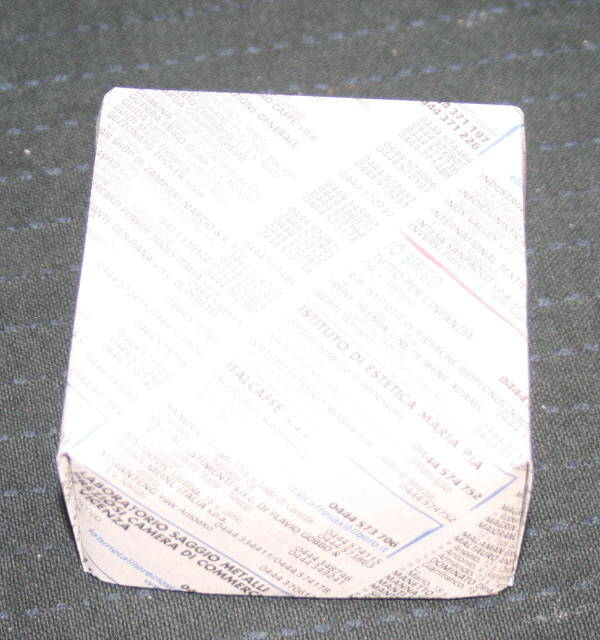
e chiudete:

Questo articolo fa parte dell’Album di Vita pratica:

Origami box with lid tutorial, in the simplest version I know. The boxes, especially with the kids (and especially if you sympathize with the Montessori method), there is never enough … These square boxes, with lid, can be realized to the extent that you want, and also using recycled paper or cardboard. They may be prepared in a few minutes.

Origami box with lid tutorial
What do you need?
two sheets of square paper, (one for the box and one for the cover);
one of the two square must be about half a centimeter smaller than the other.
I used sheets of the phonebook
Origami box with lid tutorial
What to do?
To get the square I folded the paper diagonally and I cut margins in excess:

If you have a sheet already squared, still fold diagonal:

open:

fold the other diagonal:

open:

Now fold the four corners (tip that falls at the intersection of the diagonals, at the center of the sheet), so:


Fold the square obtained from outer edge to the center, as well:

and do the same with the opposite edge:

open:

and do the same folds to the other two sides of the square:


then open again:

And continue to open the sheet, leaving only two triangles opposing folded:

Each triangle has already a fold at the tip; turn the triangle to the inside, then fold again all the side to the center:

Do the same thing on the other side:

fold the triangle under the sheet (in short hide it below):

in this way:

Now fold bringing the short side to the left on the long side at the top:

Open, and repeat taking the short side on the side bottom:


Open and repeat even with the right edge; at the end open:

At this point all the folds necessary are made, and it just has to give shape to the box; you will notice that the folds formed at the center a square: that is the bottom of your origami box. Leveraging on these margins, the sides of the box will rise up very easily:

and you will find yourself with some paper sticking out, like this:


Fold it inward, then straighten the triangle on the bottom:

turn over your origami box and do the same thing on the other side:


Your origami box is ready!

prepare with the second sheet the lid, following naturally the same procedure:

If you want add a piece of cardboard to the bottom:

and close:


