Scatola origami con coperchio: un progetto un po’ più laborioso di questo,
ma non particolarmente difficile…

Materiale occorrente
fogli quadrati tutti della stessa dimensione:
5 per la scatola
4 per il coperchio
Come si fa – scatola origami
Ponete il primo foglio sul tavolo:
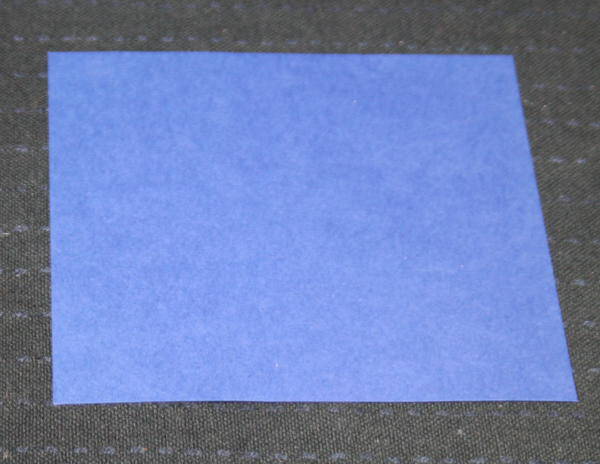
segnate la metà del lato a destra, ma senza piegare tutto il foglio, così:
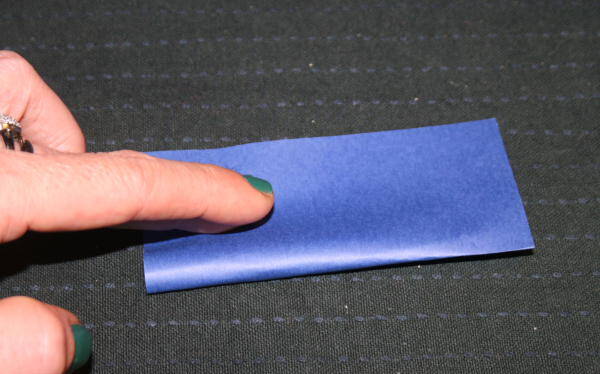
aprite (per rendere più chiari i passaggi io ho accentuato le pieghe con la matita):
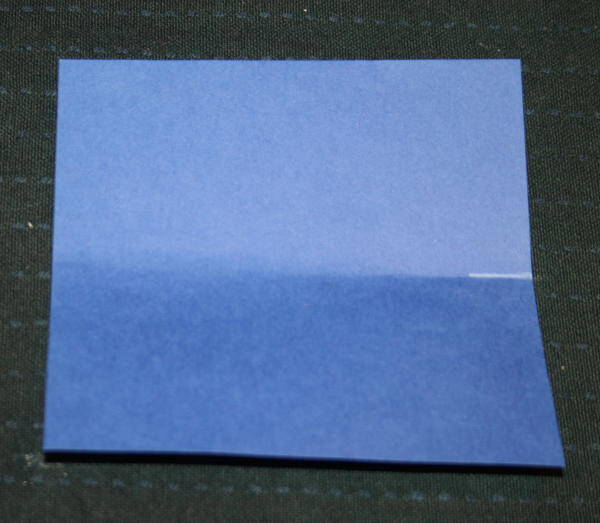
ora piegate dal margine al segno:
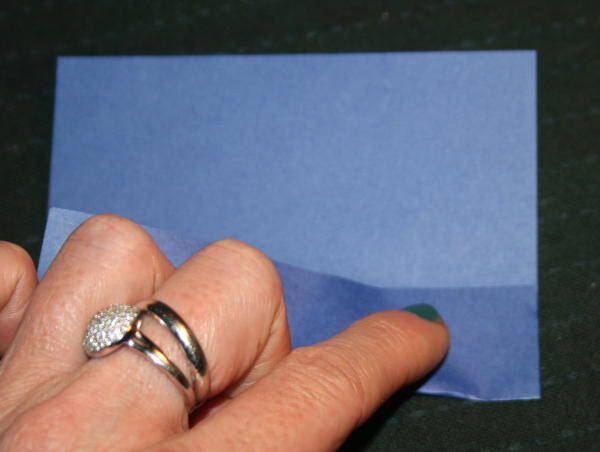
e aprite:
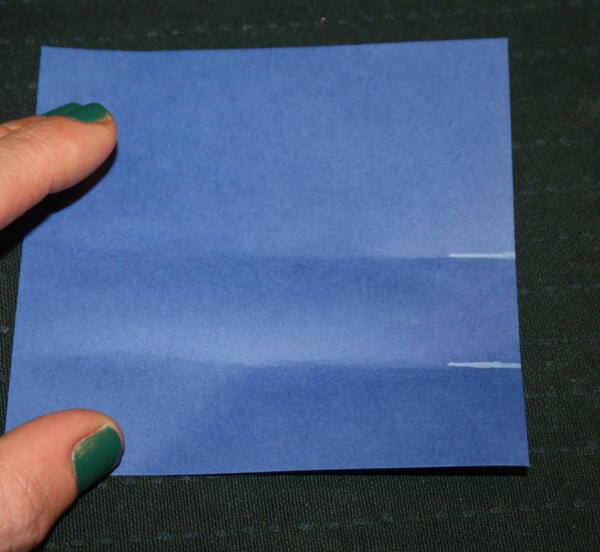
ora piegate dal margine all’ultimo segno fatto, e aprite nuovamente:
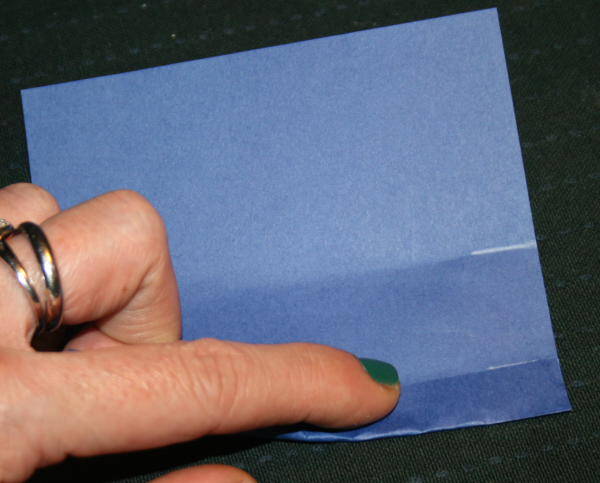
Infine piegate in modo da dividere a metà il secondo spazio che avete creato con le pieghe:
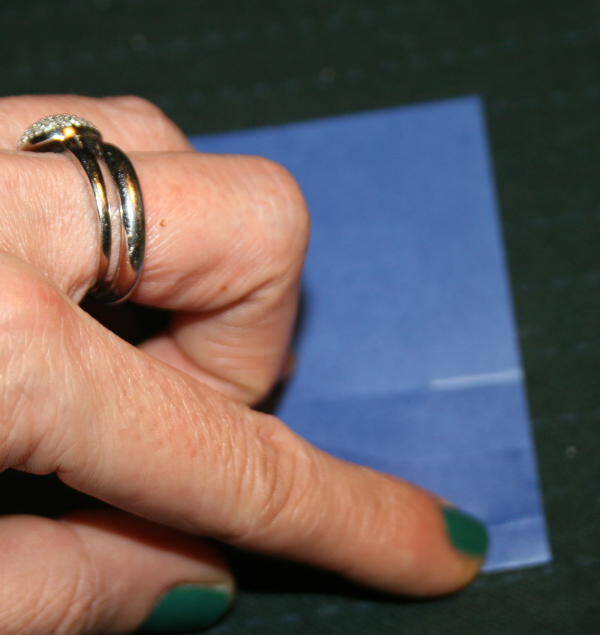
otterrete questo risultato:
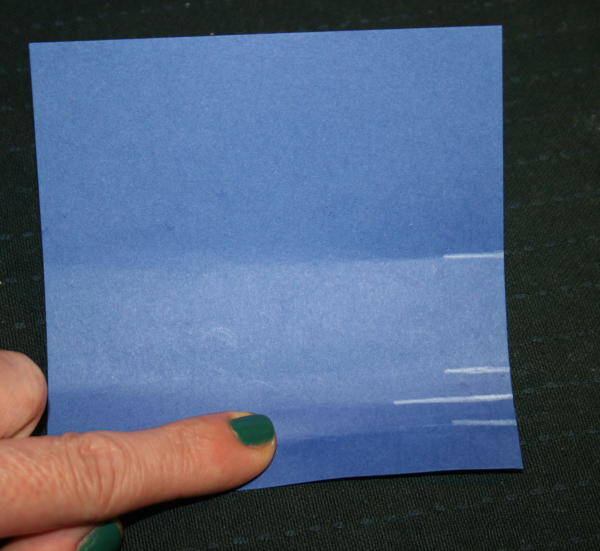
La piega contrassegnata col segno più lungo (cioè l’ultima fatta) è la prima che andrà fatta proseguire per tutta la lunghezza del foglio, così:
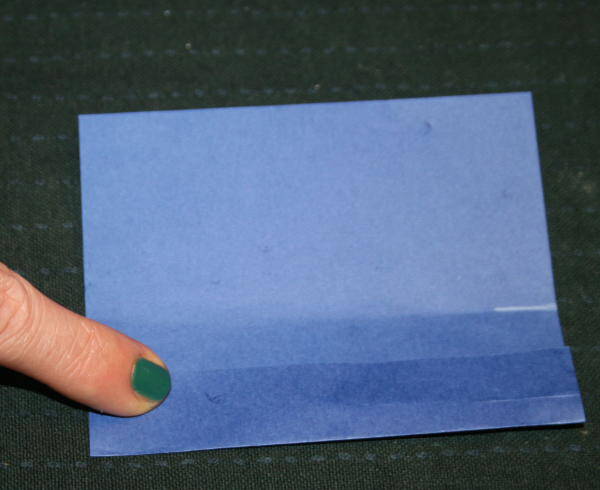
Tenendo la piega fatta, piegare nuovamente verso il segno del centro:
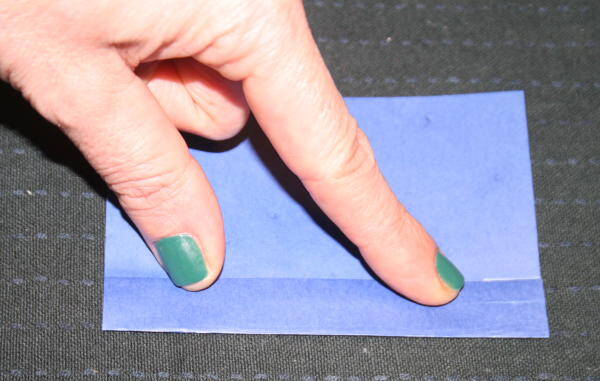
Aprendo il risultato sarà questo:
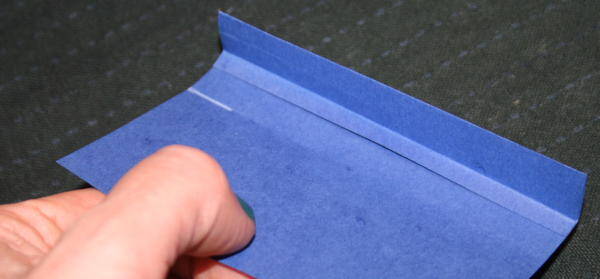
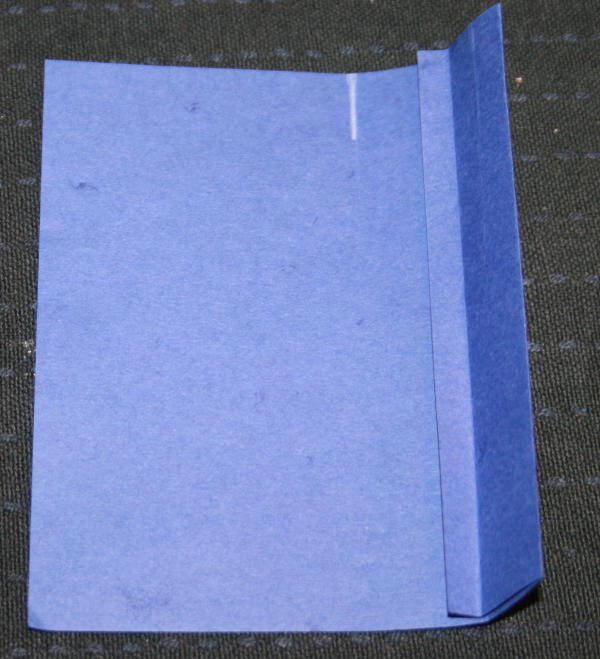
lasciate aperto così, ponete sul tavolo:
e girate:
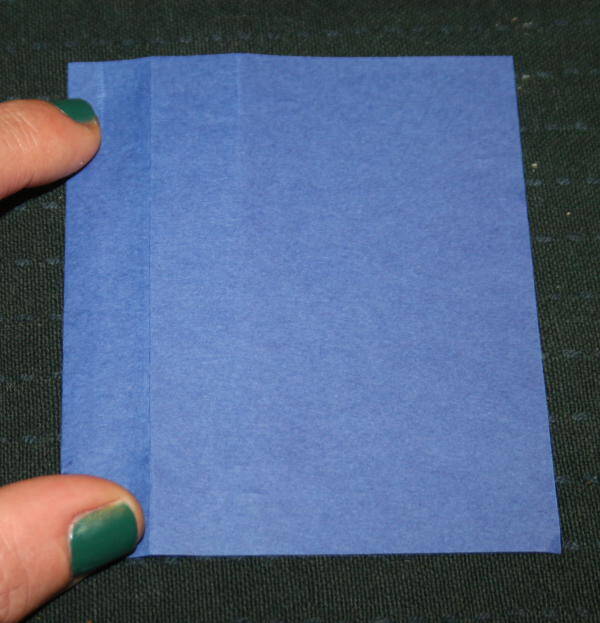
piegate dall’alto verso il basso un triangolo, in questo modo:
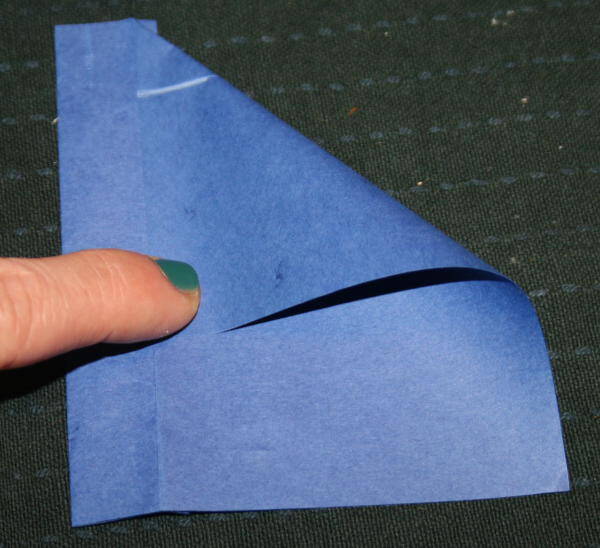
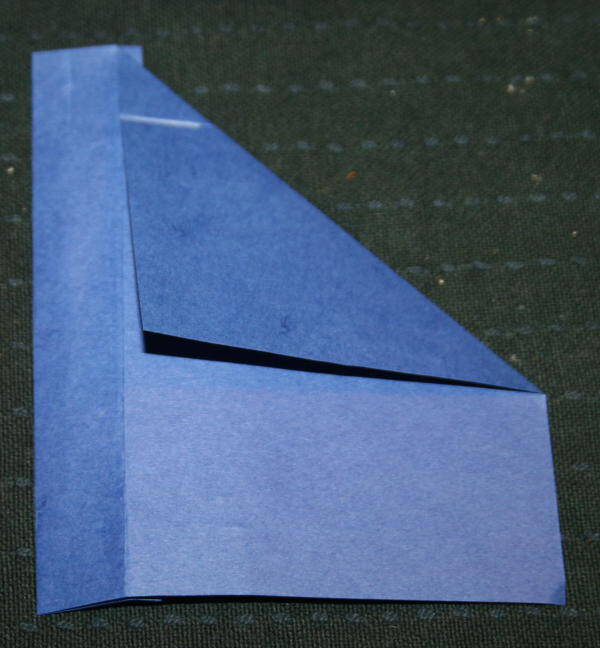
girate:
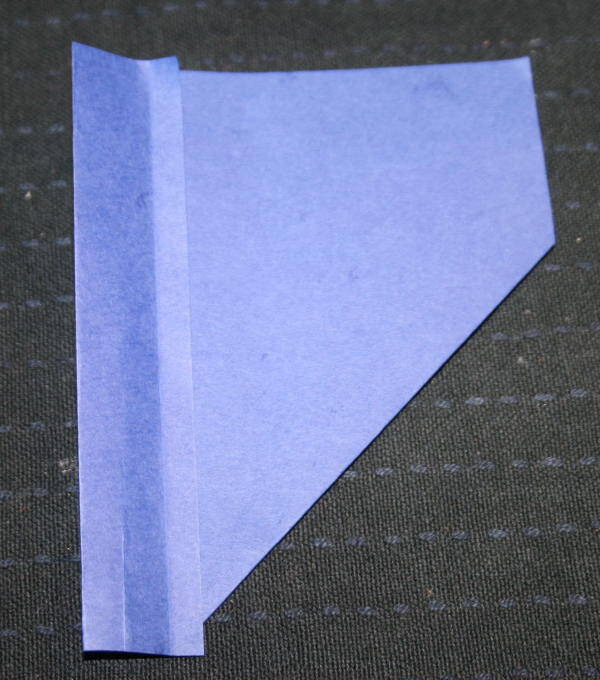
e piegate il lato in alto così:
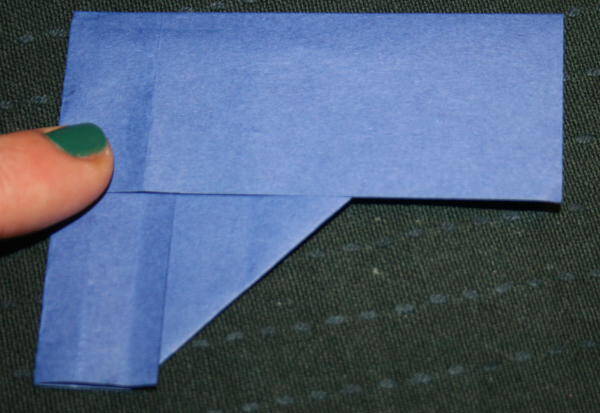
Aprite il foglio, lasciando chiusa solo la prima piega fatta:
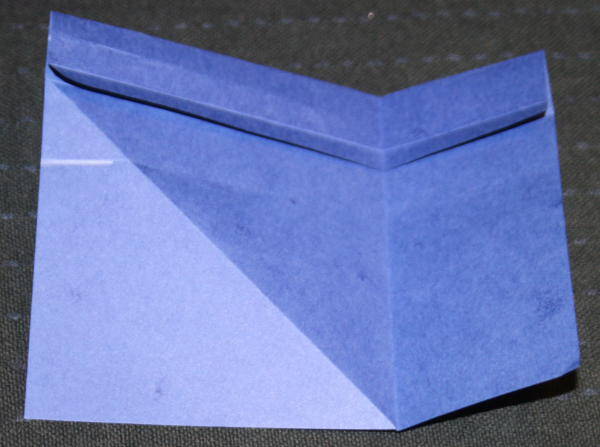
ponete il foglio sul tavolo col margine piegato alla vostra sinistra, e marcate l’avvio della seconda diagonale:
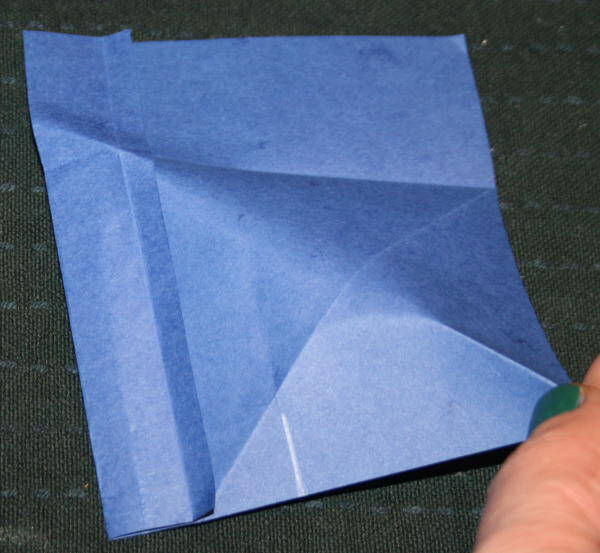
Capovolgete il foglio, tenete ad angolo il margine piegato tra le dita:
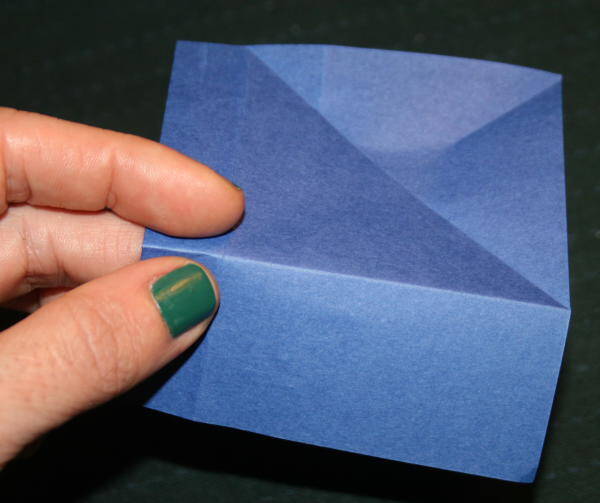
girate e completate la piegatura della seconda diagonale:
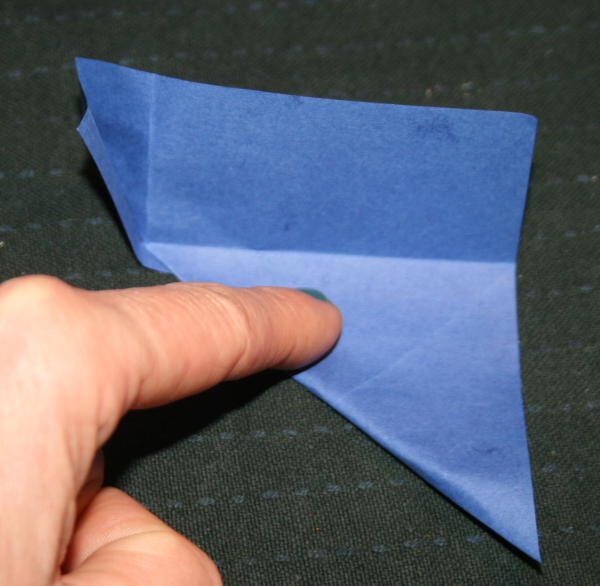
aprite:
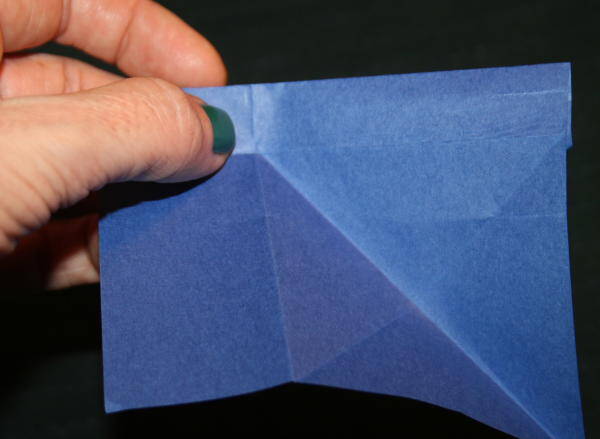
e richiudete seguendo l’andamento delle pieghe fatte, con questo risultato:
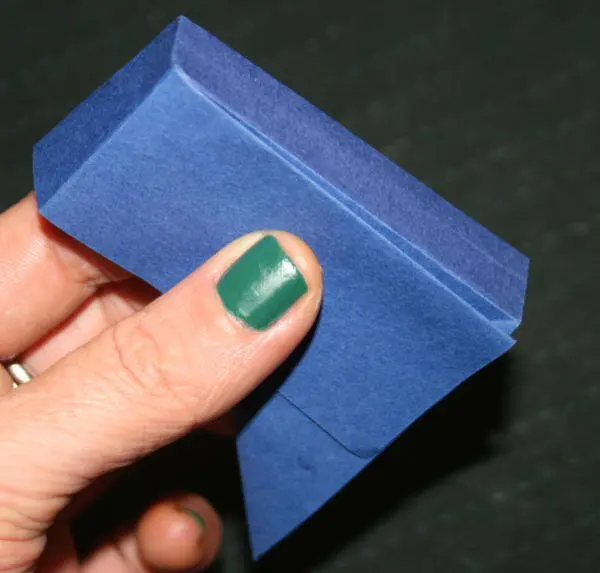
poggiate sul tavolo:
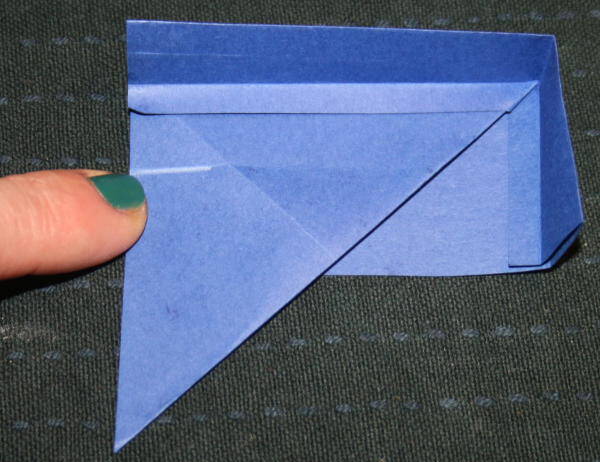
nascondete metà del triangolino sotto, così:
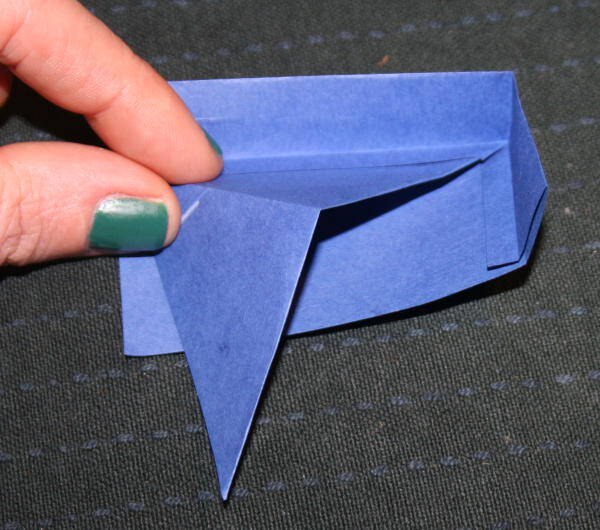
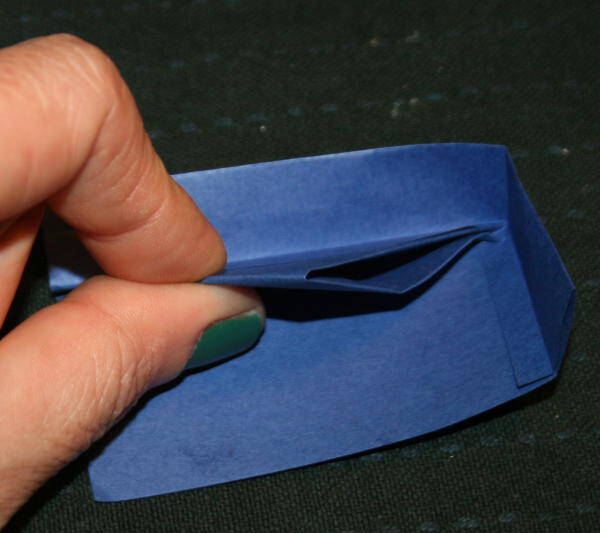
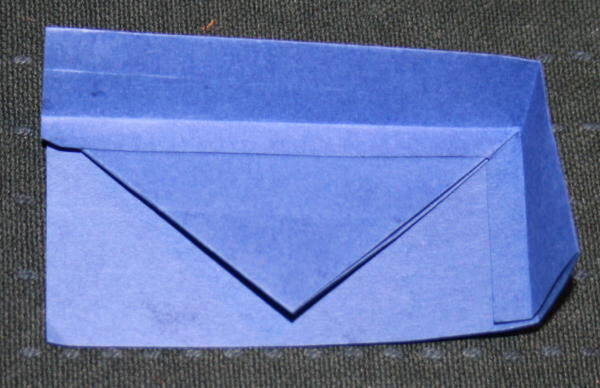
Infine piegate il lembo a sinistra sul triangolo, così:
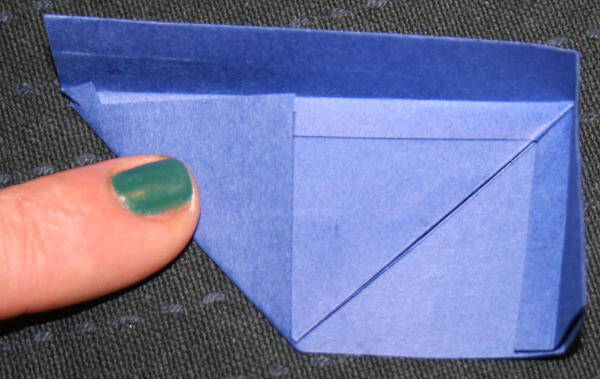
Il primo elemento della scatola origami è pronto:
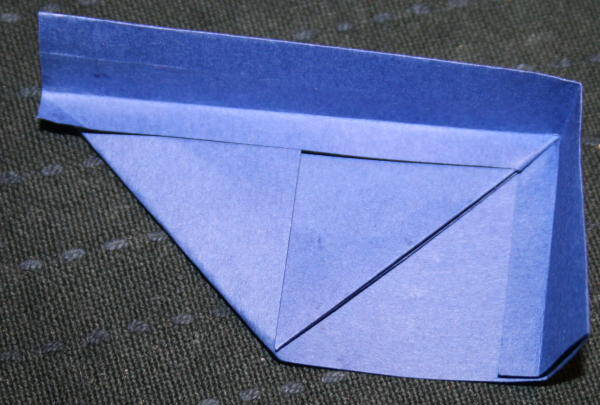
Preparatene 4:
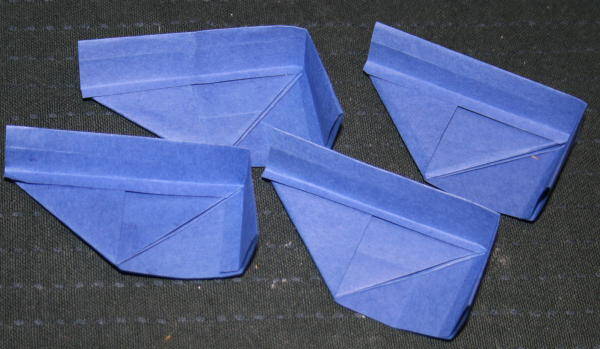
Uniteli tra loro in questo modo:
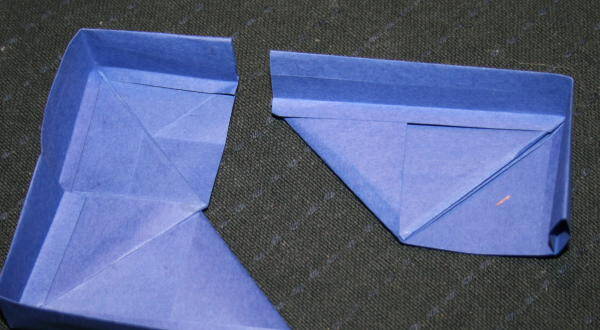
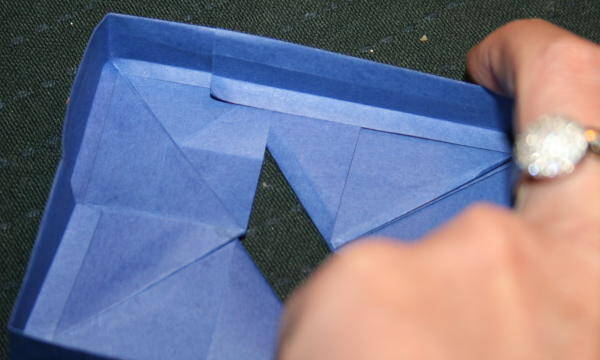
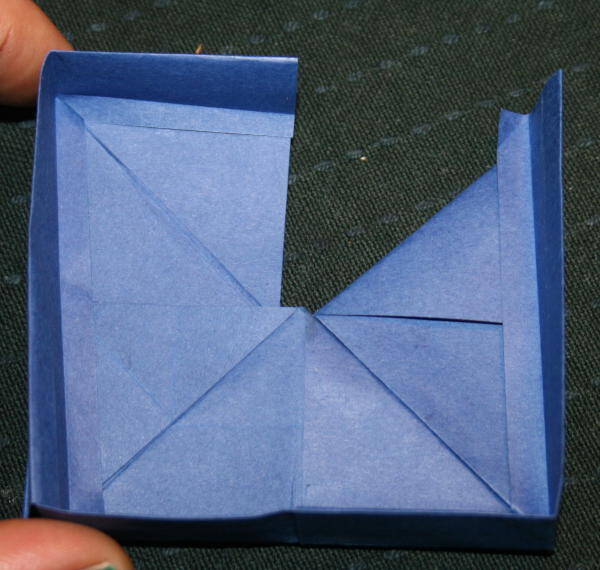
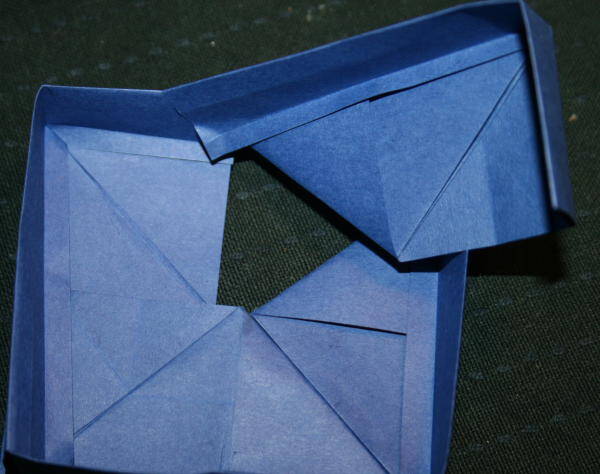
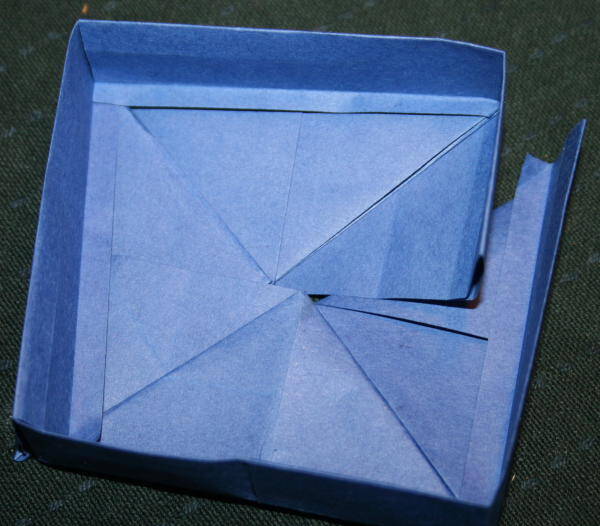
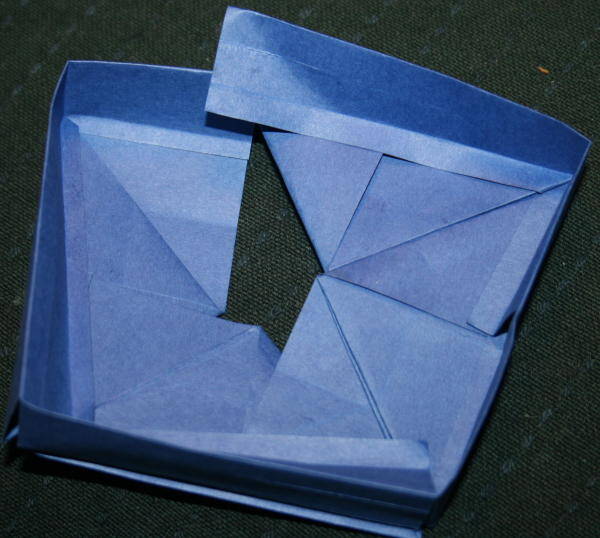
Con questo risultato:
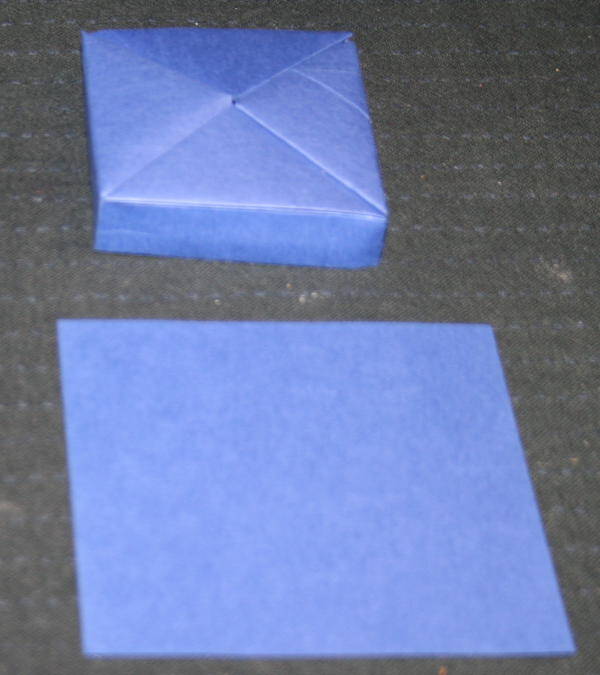
Prendete ora un quinto foglietto quadrato:
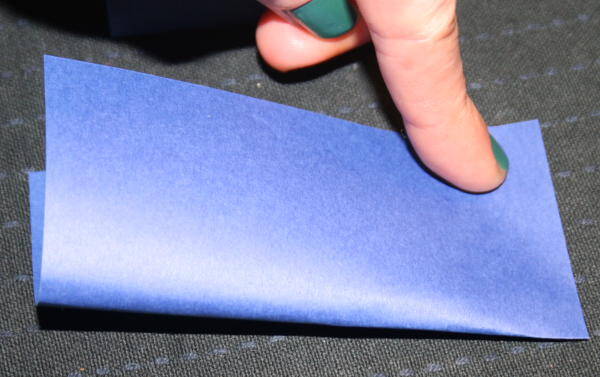
e con le solite piegature marcate la metà di ogni lato:
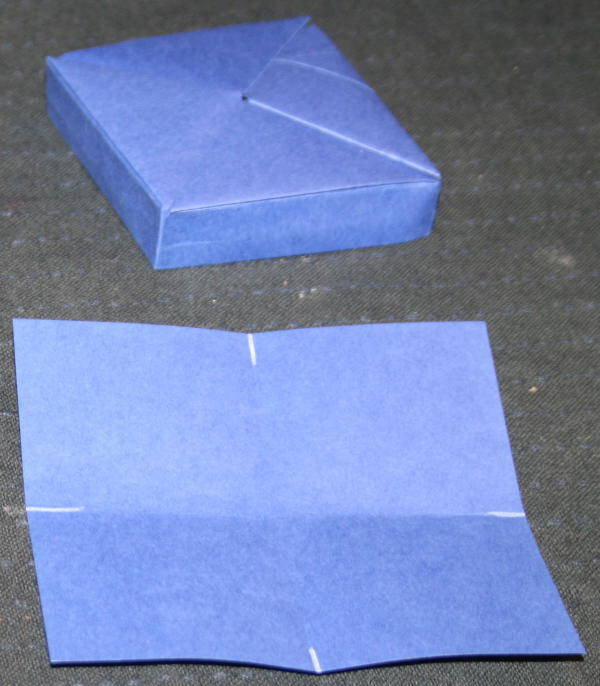
piegate i quattro angoli del foglio così:
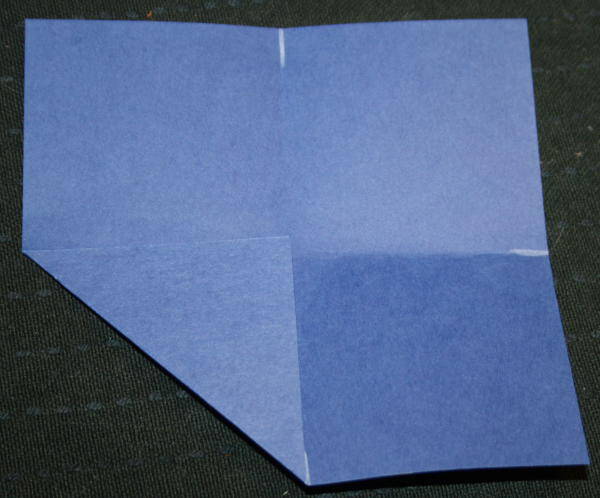
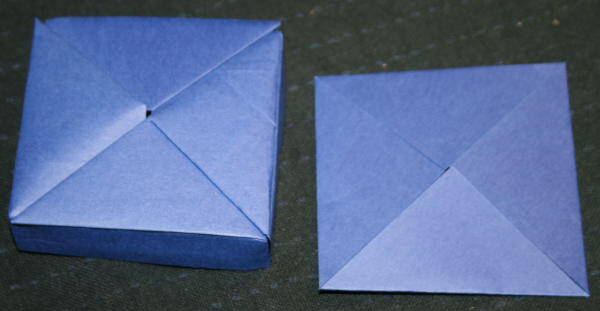
Inserite un triangolo del quinto foglio in ognuna delle fessure che si trovano sulla scatola origami, così:
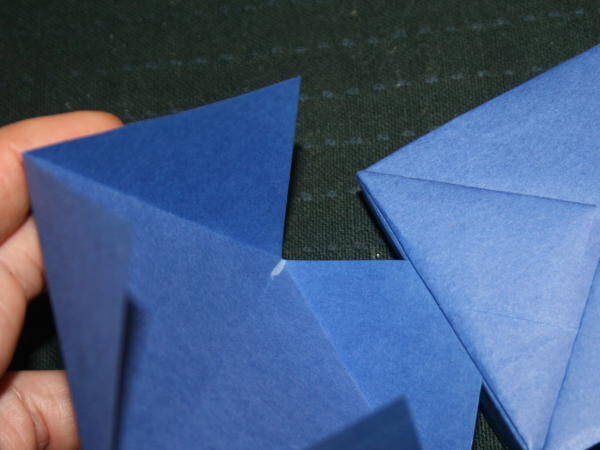

Con questo risultato:
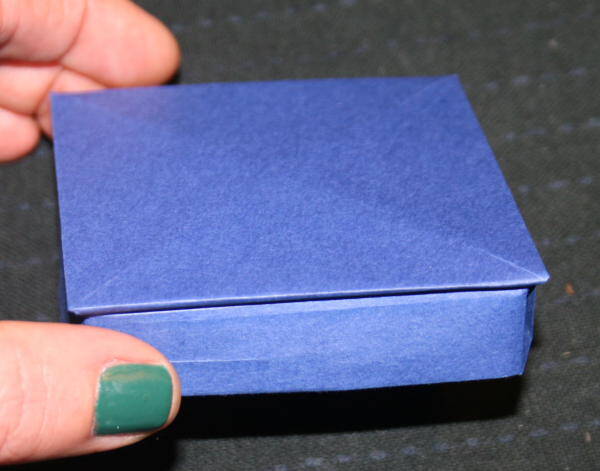
Per il coperchio prendiamo il primo foglio quadrato:
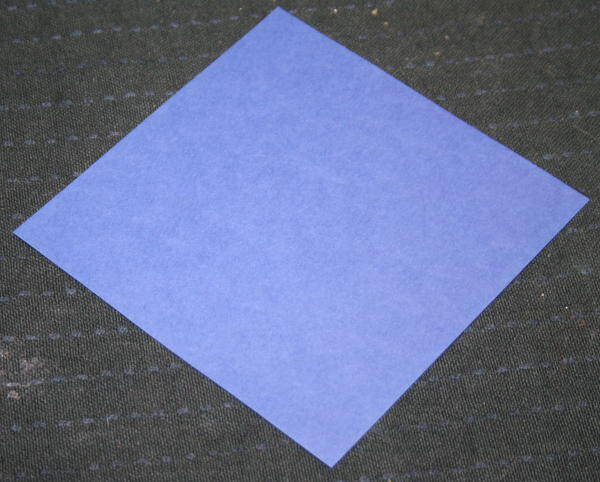
Pieghiamo la prima diagonale:
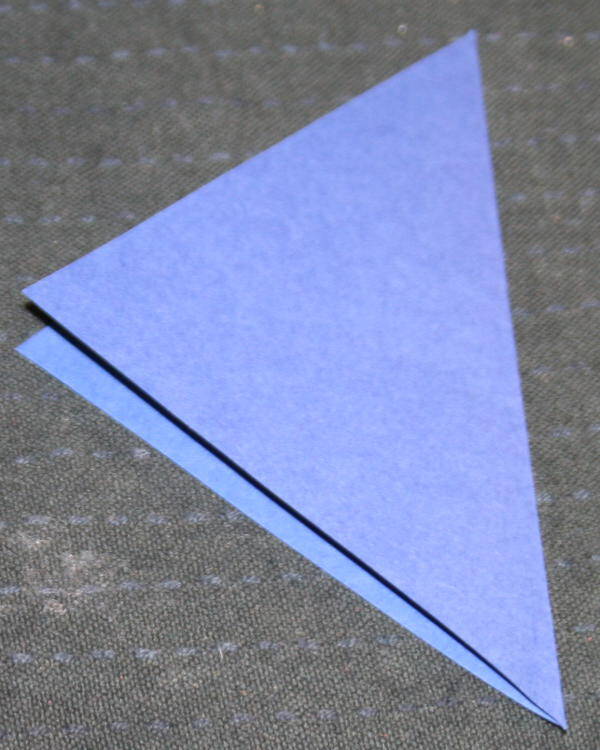
poi portiamo l’apice che si trova in basso nell’immagine su quello che si trova in alto, così:
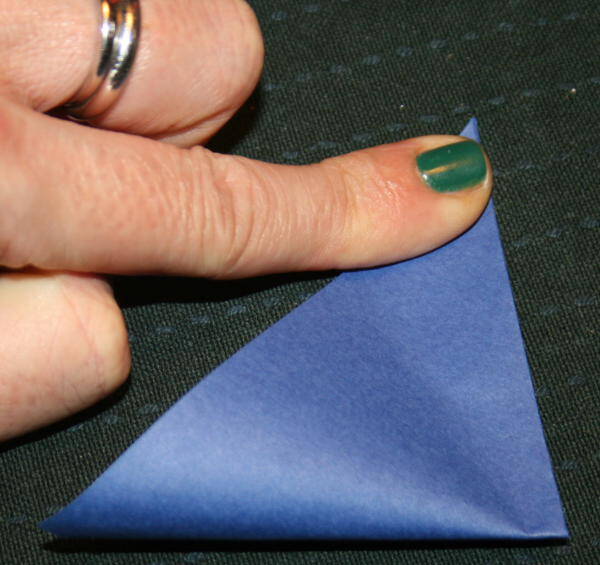
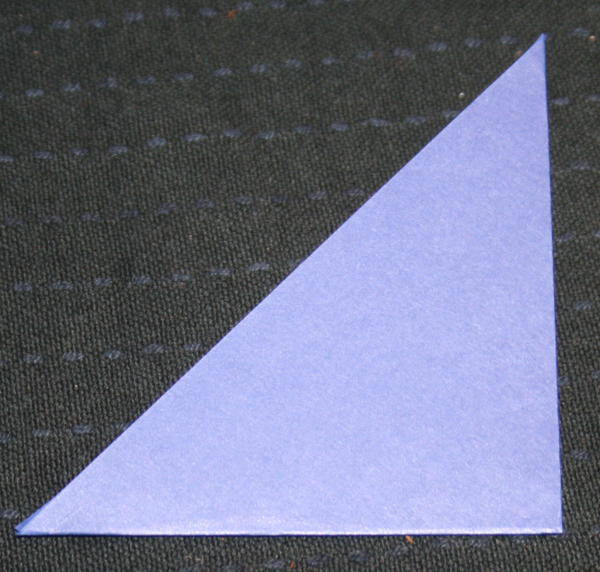
Apriamo il foglio sul tavolo:
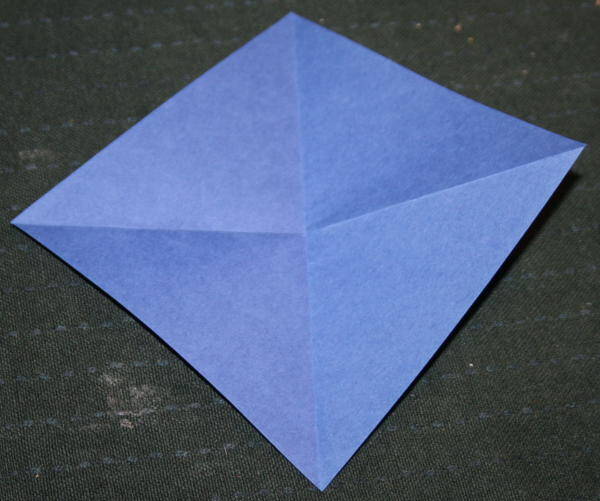
E giriamo, facendo attenzione a tenere in basso la piega verticale “a montagna” (cioè in rilievo) e in alto quella “a valle”:
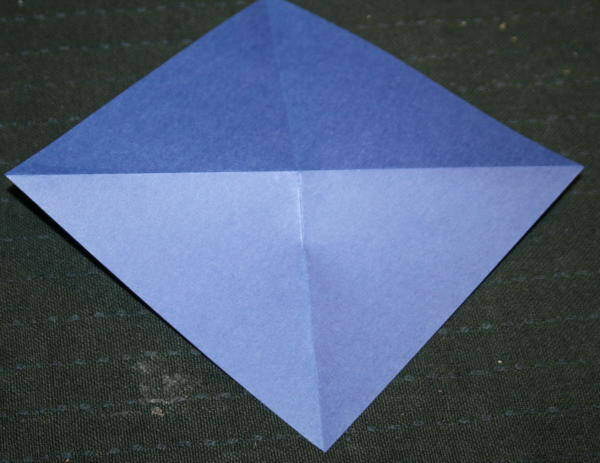
portiamo la punta al centro, e pieghiamo:
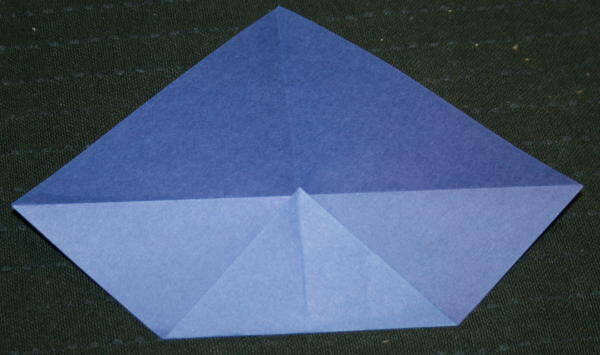
giriamo il foglio:
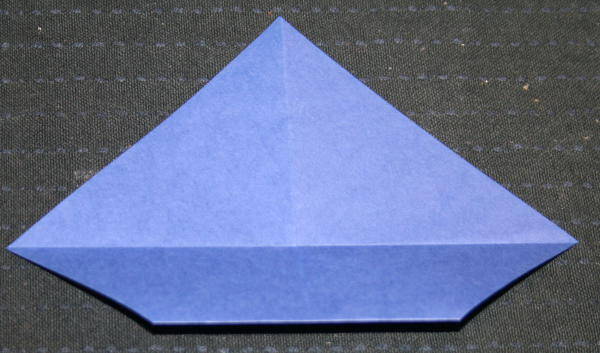
e pieghiamo a metà, così:
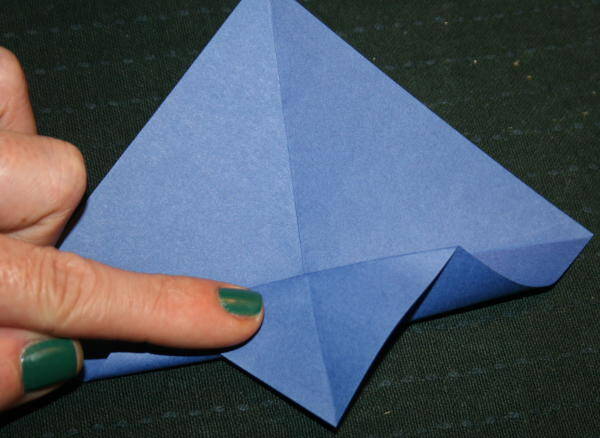
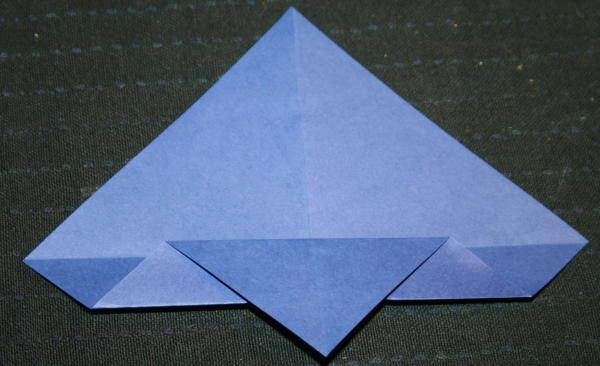
Poi solleviamo il triangolino:
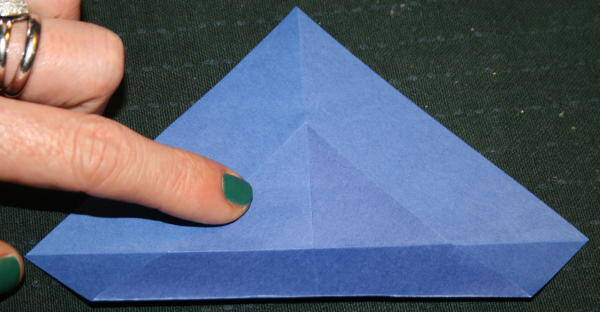
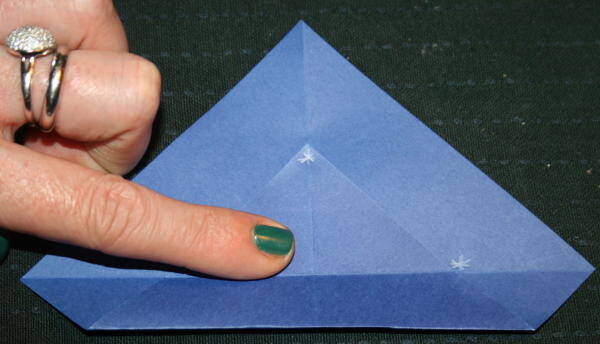
ora pieghiamo facendo in modo che i due asterischi (le due piegature su cui si trovano) combacino :
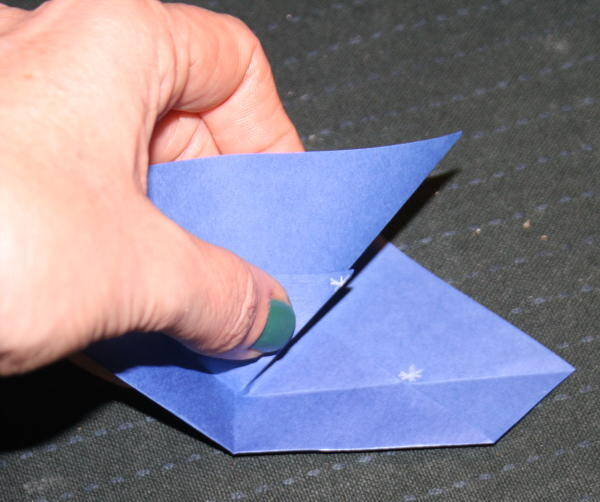
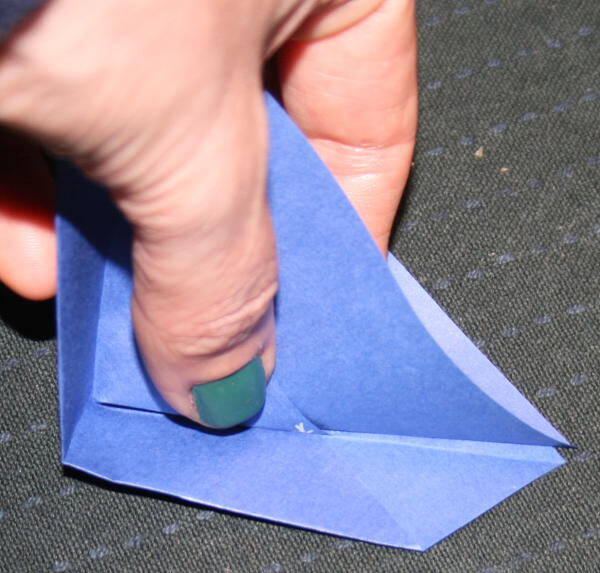
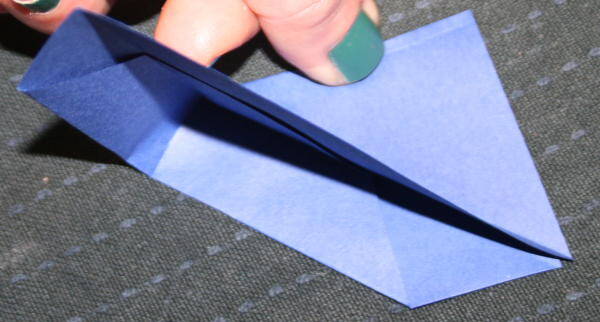
Quindi modellando la carta seguendo le pieghe fatte, otterremo questo risultato sotto:
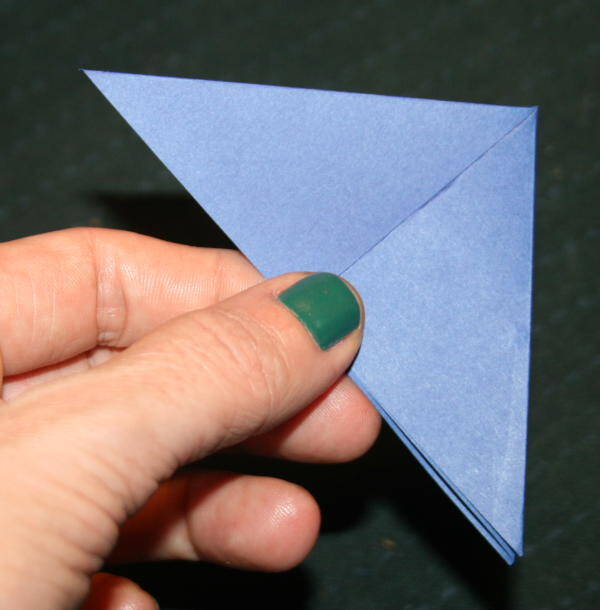
sopra:
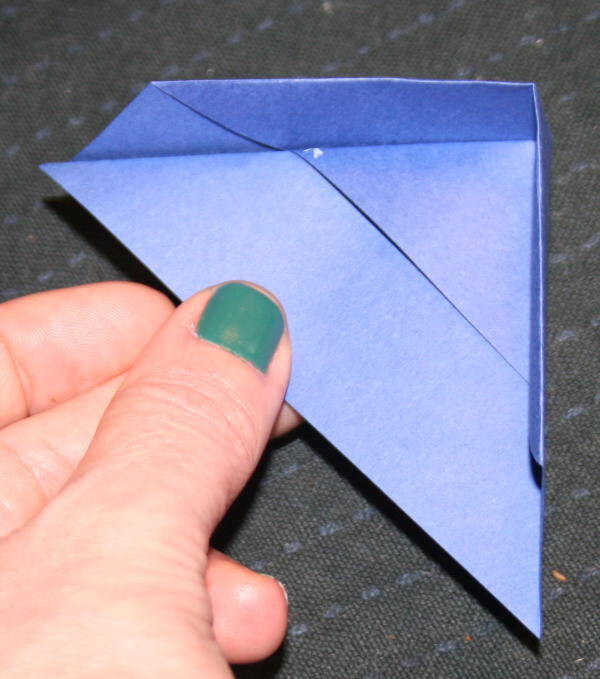
Prepariamo quattro di questi elementi:
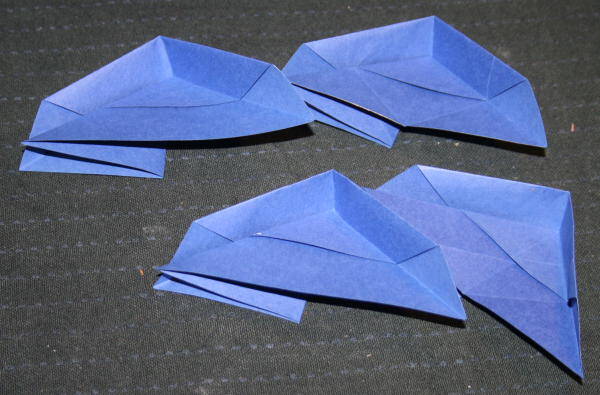
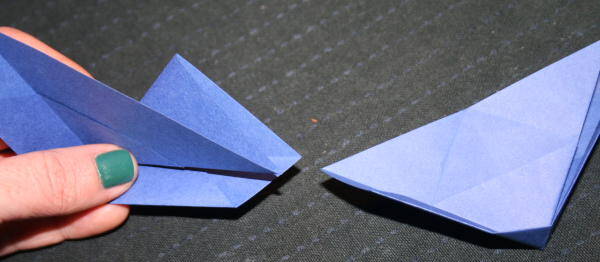
e assembliamoli tra loro così:

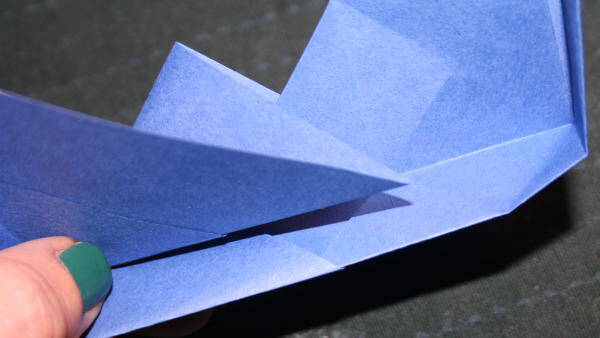


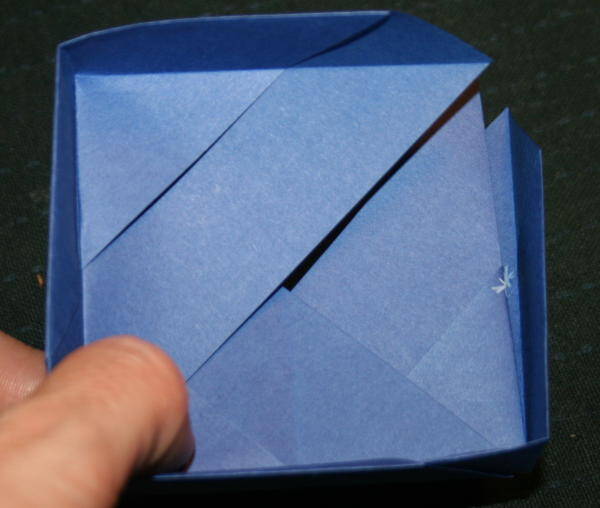
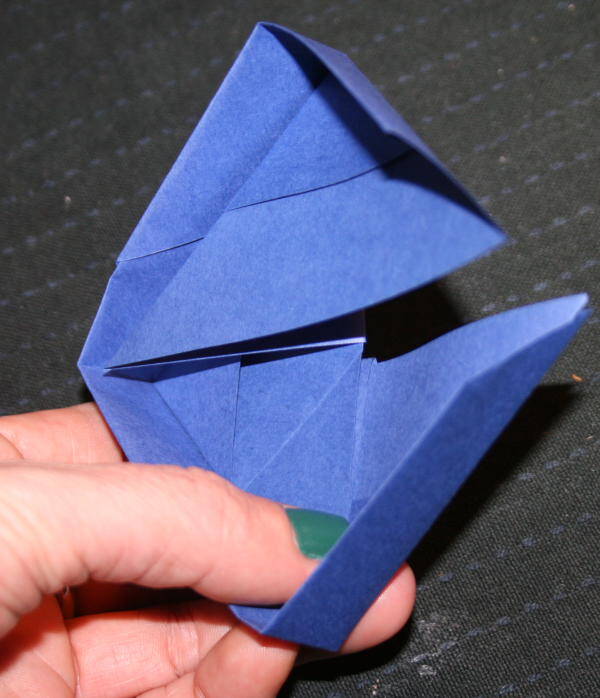
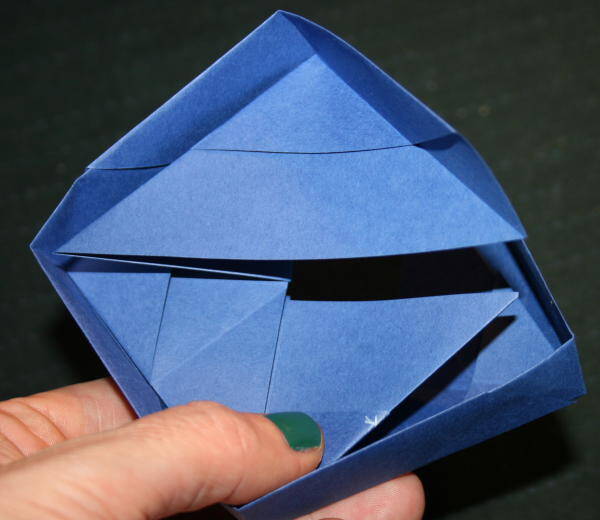

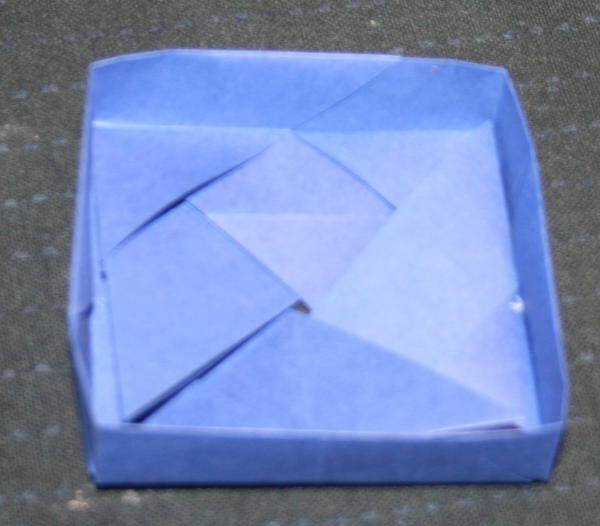
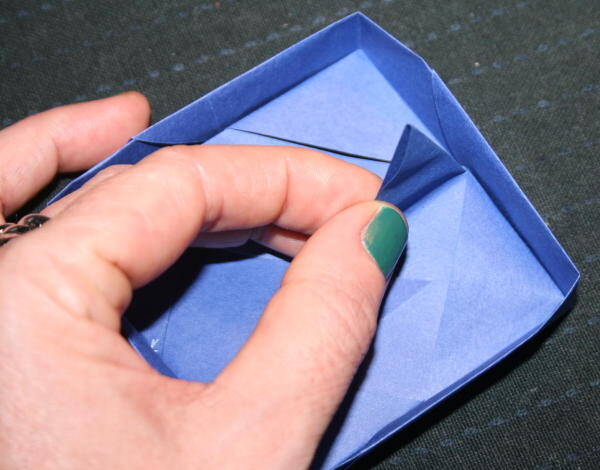
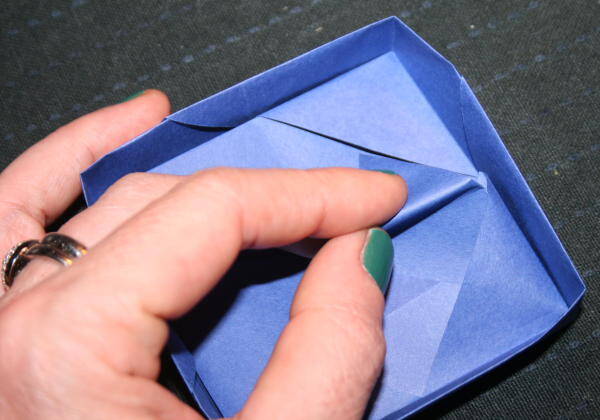
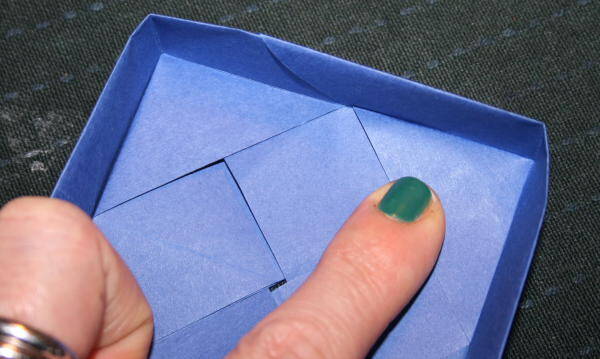
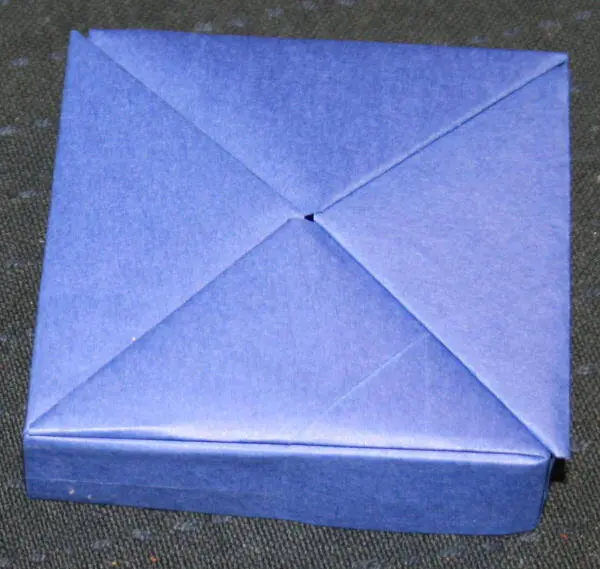
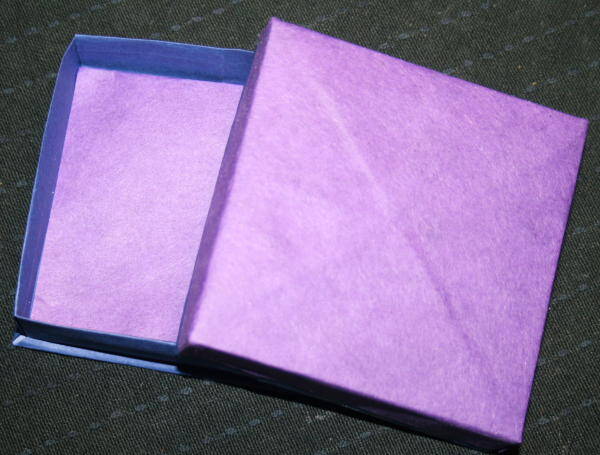
Anche il coperchio della scatola origami è pronto:
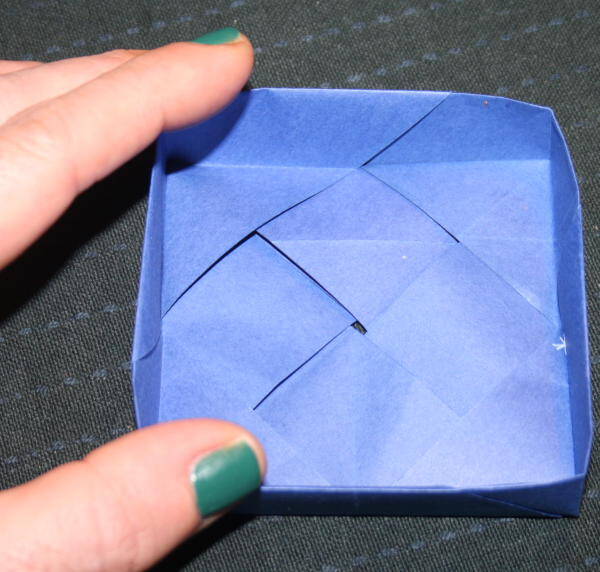

La scatolina può essere decorata e rivestita, anche a seconda dello scopo:
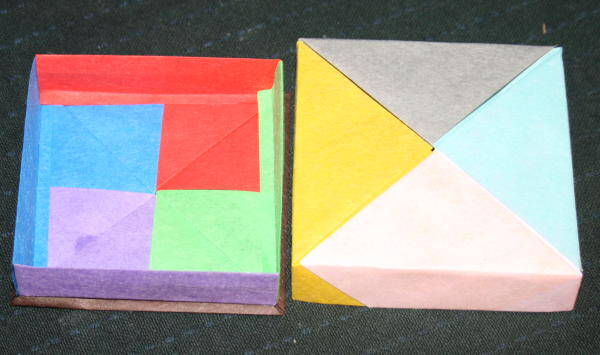
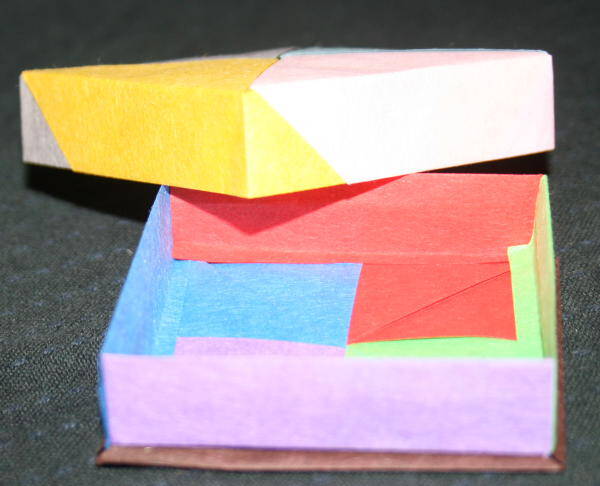
Utilizzando fogli di colore diverso si esaltano disegno e piegature:
Questo articolo fa parte dell’Album di Vita pratica:

Origami box with lid tutorial (second version): a project a bit more laborious than that, but not especially difficult …

Origami box with lid tutorial (second version)
What do you need?
square sheets all of the same size:
5 for the box
4 for the lid
Origami box with lid tutorial (second version)
What to do?
Place the first sheet on the table:

marked half of the side to right, but without folding the whole sheet:

open (to help clarify the steps I have accentuated the folds with a pencil):

now fold from the edge of the sign:

and open:

now fold from the edge to the last sign made, and open it again:

Finally fold in order to split in half the second space you have created with the folds:

you will get this result:

The fold marked with the sign longer (ie last made) is the first that will be made to continue for the entire length of the sheet:

Keeping the fold made, fold back toward the sign of the center:

Opening, the result will be this:


leave open and put on the table:
and then turn it:

fold from the top downwards a triangle, in this way:


turn:

and fold the top side:

Open the foil, leaving closed only the first fold made:

place the paper on the table with the folded edge to your left, and marked the start of the second diagonal:

Turn over the paper, keep at an angle the margin folded beween your fingers:

turn and complete the folding of the second diagonal:

open:

and close following the trend of the folds made, with this result:

put on the table:

hide half of the triangle below, as follows:


Finally fold the flap to the left on the triangle:

The first element of the origami box is ready:

Prepare 4 of them:

Join them together in this way:


With this result:

Now take a fifth sheet:

and with the usual folds marked half of each side:


fold the four corners of the sheet:


Enter a triangle of the fifth sheet in each of the slots that are located on the origami box:


With this result:

Origami box with lid tutorial (second version)
lid
For the lid we take the first square sheet:

We fold the first diagonal:

then we bring the apex which is located at the bottom in the image on what is in the top:


Open the paper on the table:

And turn it, taking care to keep at the bottom the vertical fold “mountain” (ie in relief) and at the top the “valley”:

we carry the tip to the center, and fold:

turn the sheet:

and fold it in half:


Then we raise the triangle:


now fold in such a way that the two asterisks (the two folds on which they are located) fit together:


Then modeling the paper following the folds made, we will get this result (below):

above:

We prepare four of these elements:

and assemble them to each other:


Also the lid of the box origami box is ready:


The box can be decorated and coated, also depending on the purpose:

Using sheets of different color are enhanced drawing and folds:


