Tutorial: come creare un liquido fluorescente molto economico. Creare questo liquido fluorescente è davvero semplicissimo, molto economico, e il colore che si ottiene è idrosolubile, di ottima qualità e molto fluorescente.
Questo liquido fluorescente trova tantissime possibilità di utilizzo: colorazione del play dough;
di sale, riso, pasta, gelatine per i giochi sensoriali (ma non per bambini sotto i tre anni, non essendo commestibile);
attività artistiche varie; lavoretti; giochi con la lightbox…
e naturalmente l’effetto fluorescente diventa spettacolare sotto la “luce nera”:
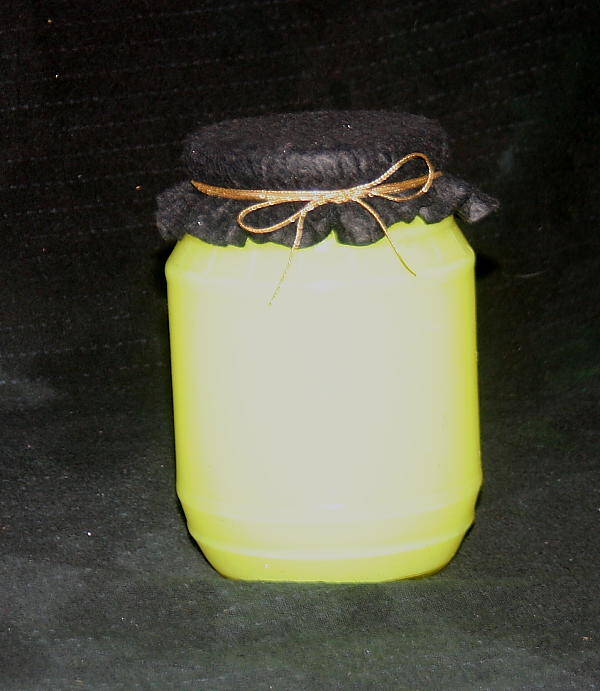
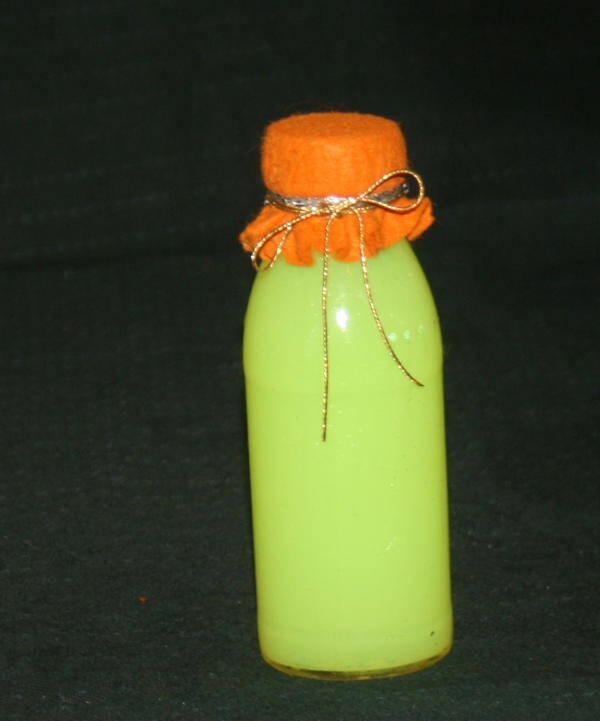
Materiale occorrente:
– pennarelli evidenziatori nuovi ma meglio ancora se da buttare o “scarichi”
– taglierino, forbici o pinza
– un vasetto di vetro trasparente con coperchio
– acqua (meglio se demineralizzata)
E’ un modo intelligente per riciclare gli evidenziatori vecchi, invece di buttarli.
Cosa fare:
Rompete semplicemente il vostro pennarello, estraete il feltro interno e la punta e mettete il tutto nel vasetto.
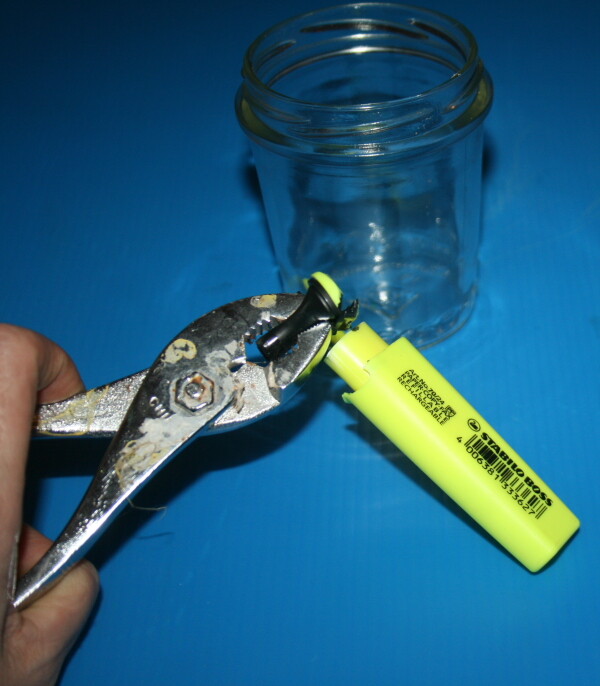
Per ottenere un liquido fluorescente molto concentrato e che si conserva a lungo, servono due pennarelli nuovi per vasetto;
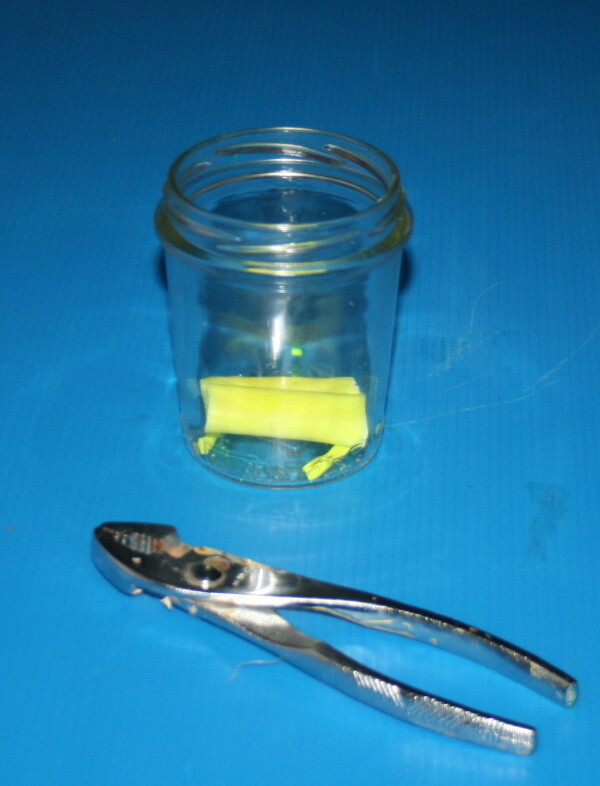
Aggiungere l’acqua demineralizzata che serve a coprire bene i feltri e lasciare senza tappo per qualche giorno. Quando un po’ dell’acqua sarà evaporata e il colore sarà intenso e concentrato, mettere il tappo al vasetto.
Se usate il progetto per riciclare gli evidenziatori scarichi, potete metterne più di due per vasetto, o anche aspettare che evapori una quantità maggiore di acqua.
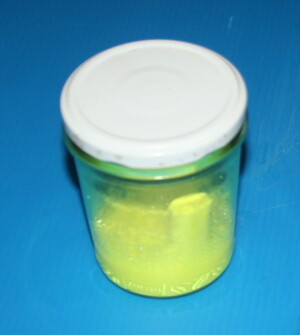
Il vostro colore fluorescente è pronto.
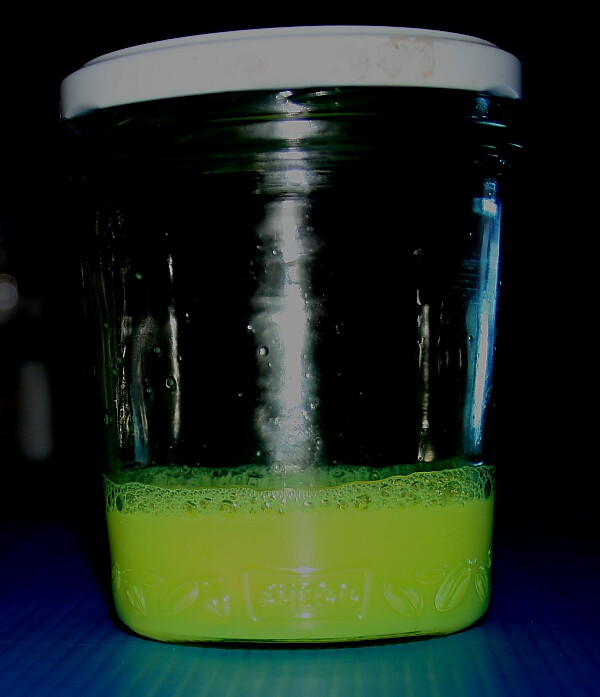
Preparando il colore in questo modo si conserva a lungo e può essere la base, pronta per essere diluita al momento a seconda degli usi che se ne vogliono fare, per le vostre preparazioni fluorescenti con l’aggiunta di altra acqua, miscelandola ai colori a tempera o ad acquarello, ecc…

Tutorial: how to make a very cheap fluorescent liquid. Create this fluorescent liquid is really very simple, very cheap, and the color you get is water-soluble, high-quality and much fluorescent.
This fluorescent liquid has many possible uses: coloration of play dough; salt, rice, pasta, jellies for sensory games (but not for children under three years old, not being edible); various artistic activities; crafts; games with lightbox … and the fluorescent effect becomes spectacular in the “black light“:


Tutorial: how to make a very cheap fluorescent liquid.
What do you need?
– Pens highlighters
– cutter, scissors or pliers
– A clear glass jar with lid
– Water (preferably distilled)
It ‘a smart way to recycle old highlighters.
Tutorial: how to make a very cheap fluorescent liquid
What to do?
Just break your felt tip pen, remove the felt inside and the tip and put it in the jar.

To obtain a fluorescent liquid highly concentrated and that lasts a long time, we need two new markers to jar;

Add demineralised water used to cover well the felt and leave without cap for several days. When some of the water evaporates and the color will be intense and concentrated, put the cap on the jar.
If you use the project for recycle highlighters discharges, you can put more than two per jar, or even wait for it to evaporate a greater quantity of water.

Your fluorescent color is ready.

Preparing the color in this way, it is preserved for a long time and can be the basis, ready to be diluted at the time depending on the uses to which you want to do, for your preparations fluorescent by the addition of more water, by mixing the colors in tempera or watercolor, etc …


Ciao! Secondo te, con questo liquido, posso disegnare su fogli( come fosse acquerello/pittura) e poi, lasciare all’esposizione si una lampada e poi poter vedere il disegno al buio una volta spenta la luce? Grazie
Ciao! Non ho provato, ma dovrebbe funzionare… Io ho una piccola torcia da pesca per giocare con la fluorescenza.